Making a wire-wrapped ring is a simple jewelry making project that stays in style year round. When autumn approaches, a Halloween themed wire wrapped ring makes an extra fun jewelry statement!
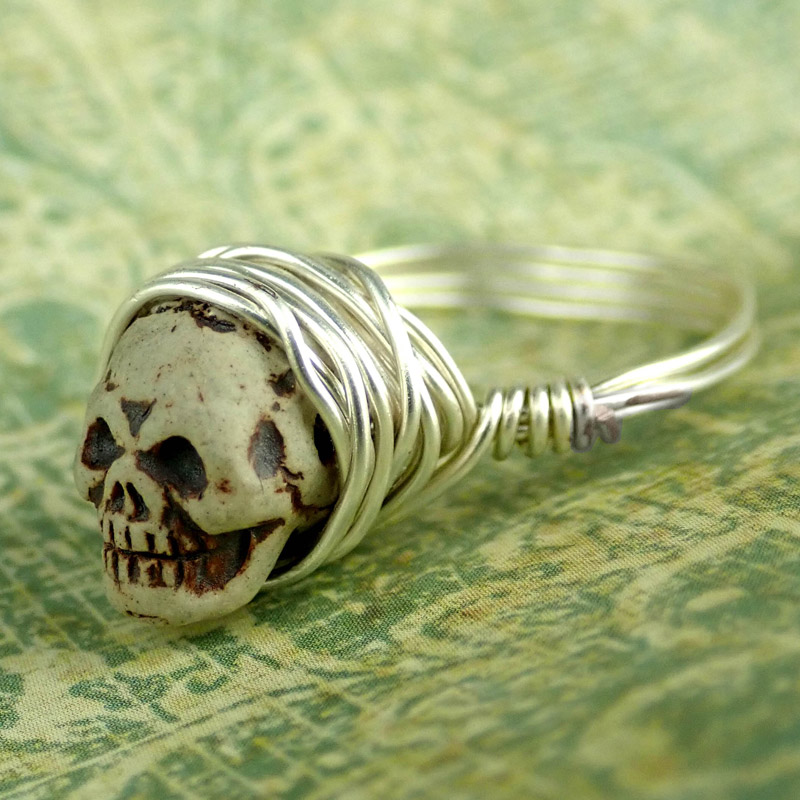
Most any shape of bead will work. Amy picked from a large selection of skull beads to learn Tiffany’s wire wrapping technique. She chose a large ceramic skull bead because the side-to-side hole placement ensured that the skull could show off its smile. Gemstone beads, faceted glass, wood beads, and crystals will also make a unique ring. Pick any bead 6-10mm in size, or 12-14mm for serious bling!
22-gauge wire works well. It is easy to manipulate and will go through holes in most gemstone beads. Choose from silver filled wire, dead soft sterling silver wire or any color of Artistic Wire.
Gather your Supplies:

Supplies for Making a Wire Wrapped Ring
Jewelry Supplies and Tools Needed:
- Ring mandrel (I used #69-151)
- 22-gauge wire (I used 22-gauge copper #47-406-SP)
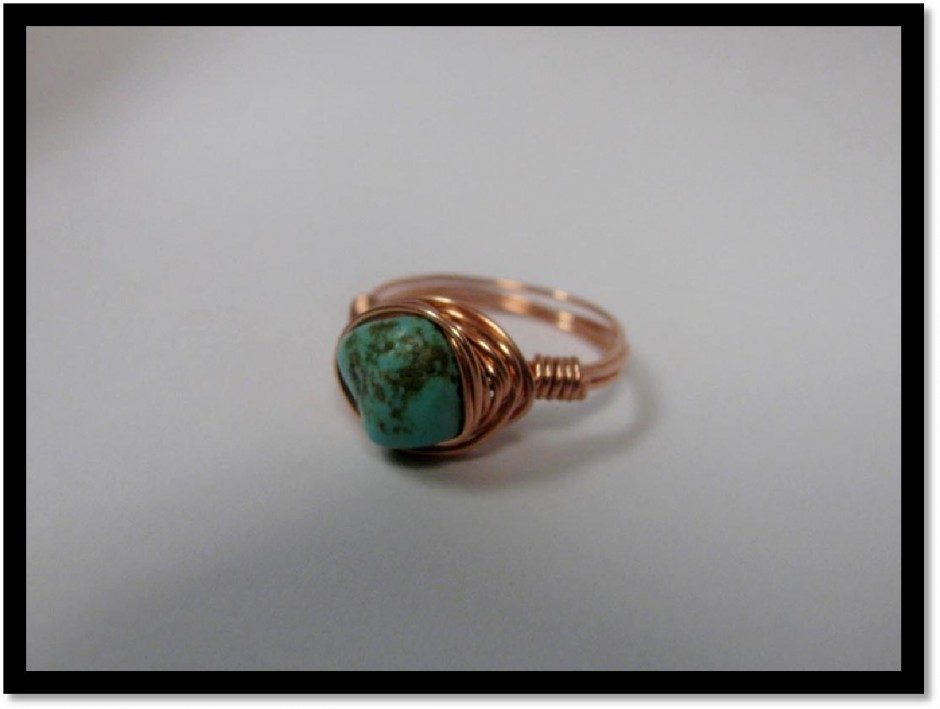
- Bead between 6-10mm in size (Swarovski mini round beads work great; the skull ring uses #28-682; the gemstone bead uses a turquoise nugget)
- Chain Nose Pliers (I used travel kit #69-292)
- Wire Cutters (I used travel kit #69-292)
- Round Nose Pliers (I used travel kit #69-292)
- XL Gel Liver of Sulfur
- Polishing Pads (#63-528)
- Clear Sealant, if using copper wire (I used #82-525-12)
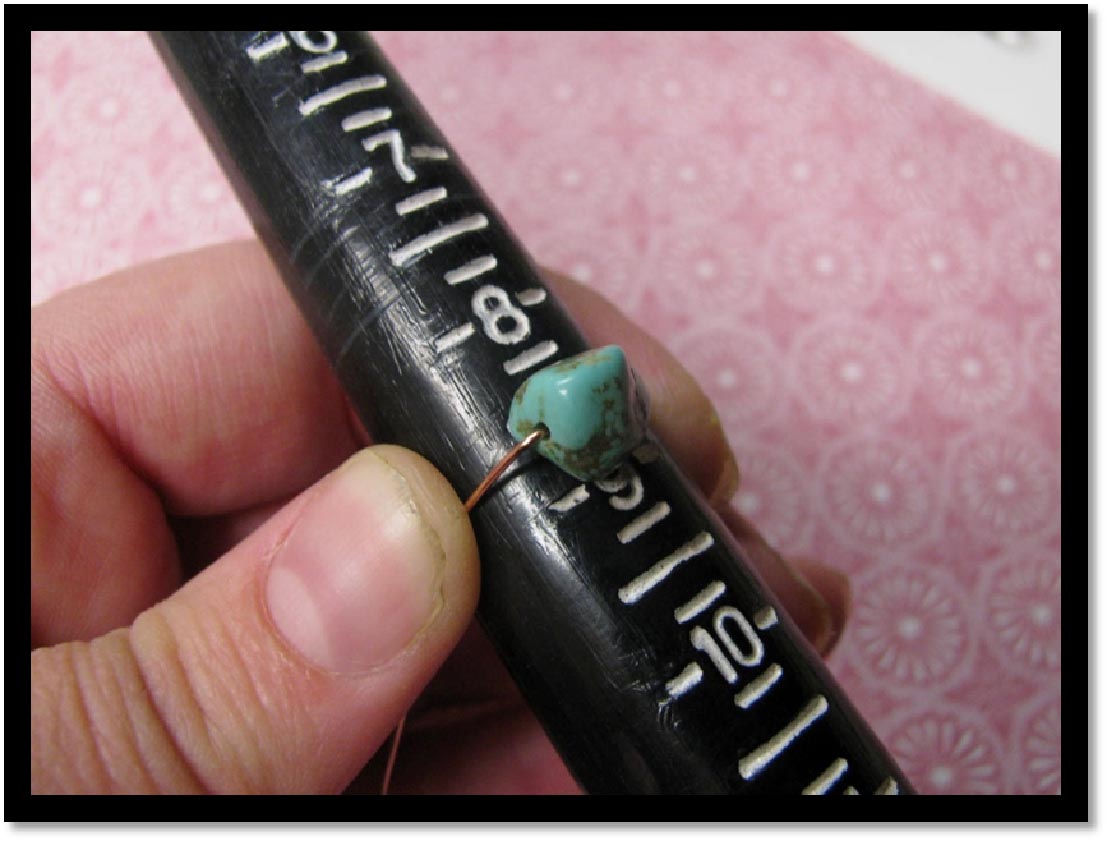
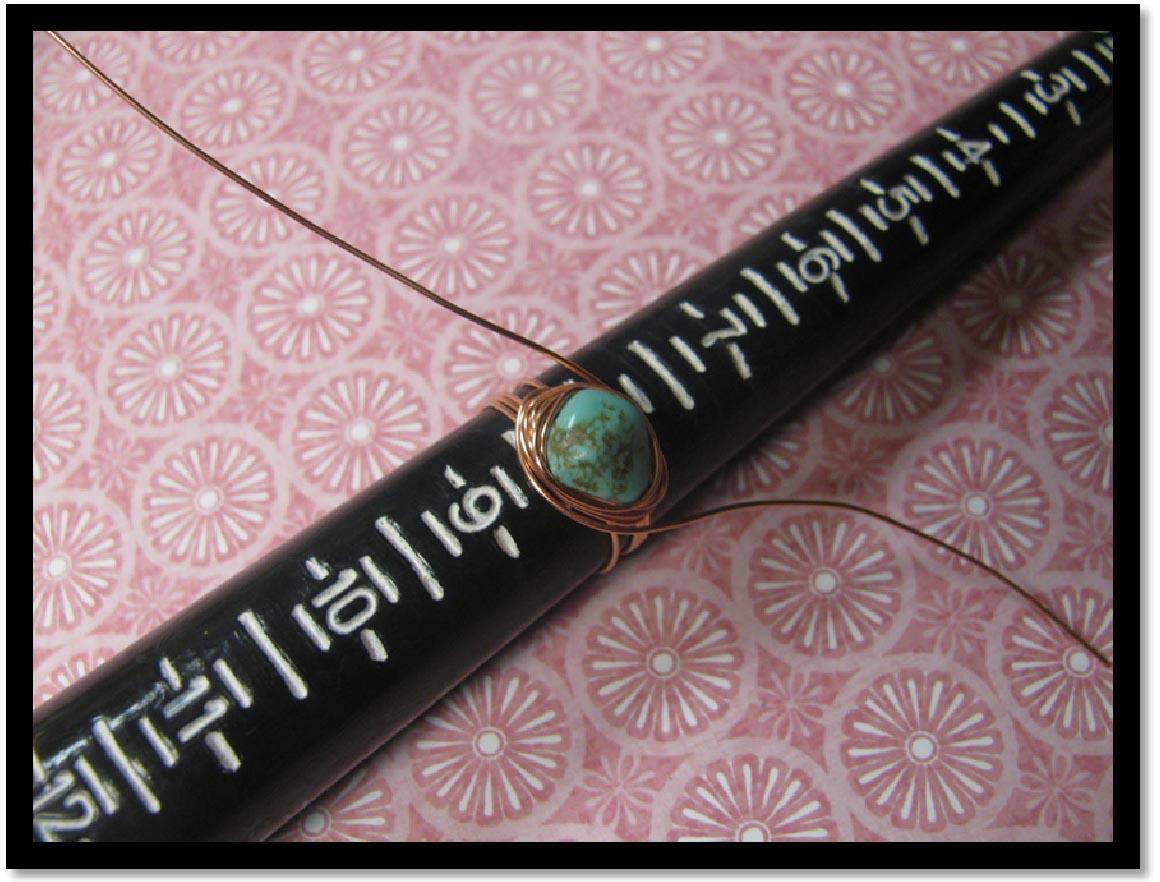
Step 1: Cut a piece of wire 18-36 inches long. The length will depend on your ring size and size of bead. String your bead onto the center of the wire. Place the bead on the mandrel 1 full size larger than the desired ring size.

Step 2: Wrap each piece of wire around the mandrel twice. You will have four layers of wire total.
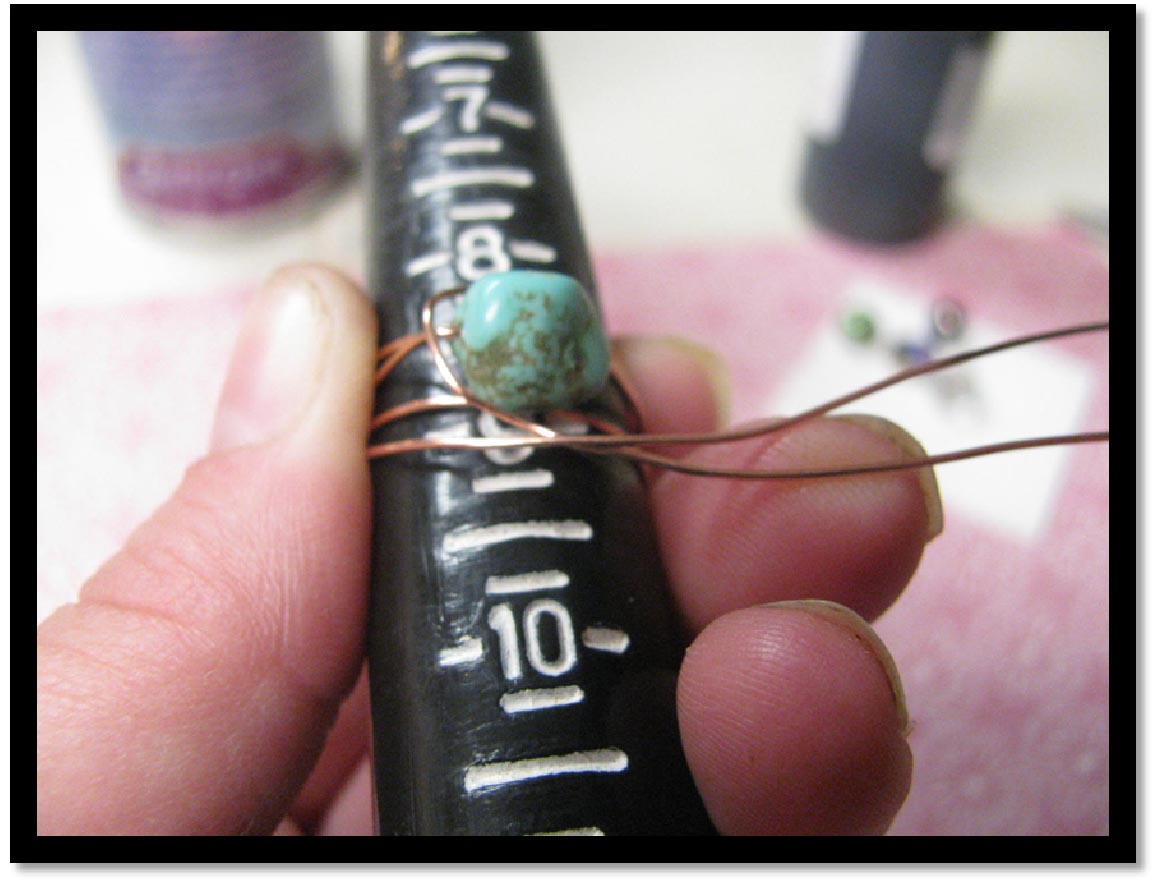
Step 3: Bring both pieces of wire to one side of the bead, and hold them together.
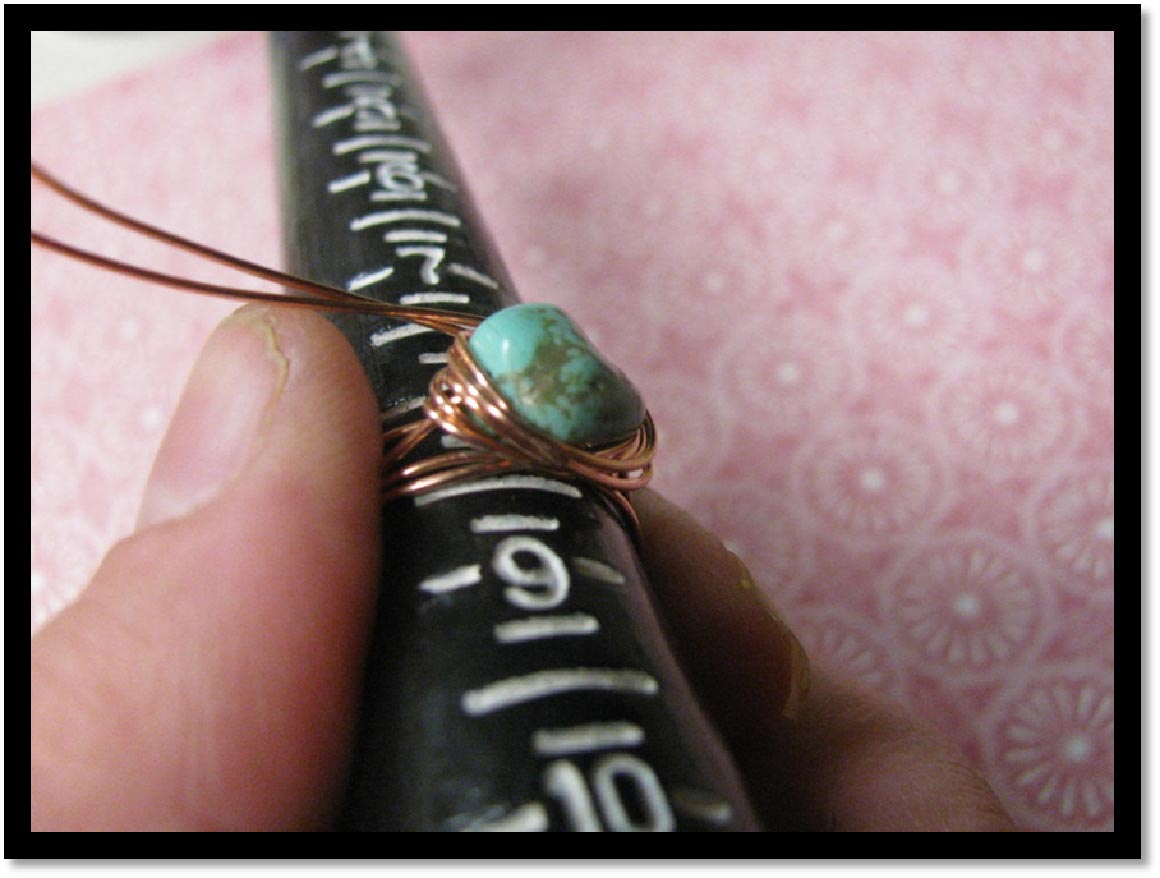
Step 4: Wrap the two pieces of wire around the bead multiple times, holding the wires together as though they were one.
Step 5: Once you have wrapped the wires around four or five times, separate the wires so that there is one on each side.

Step 6: Take the ring off the mandrel and make 5 coils with each piece of wire on each side.

Step 7: Cut the tails on each side with your cutters and tuck the wire close with your chain-nose pliers.
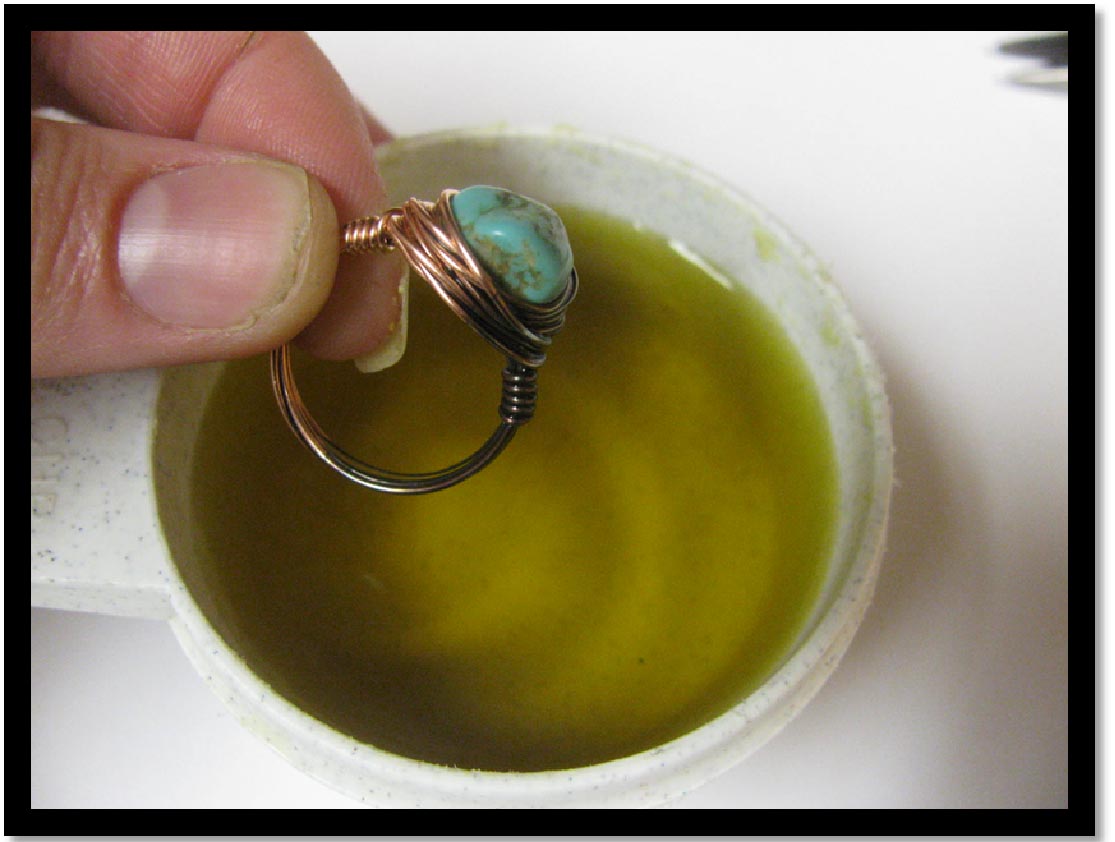
Step 8: Antique the ring, if desired with a liver of sulfur solution.
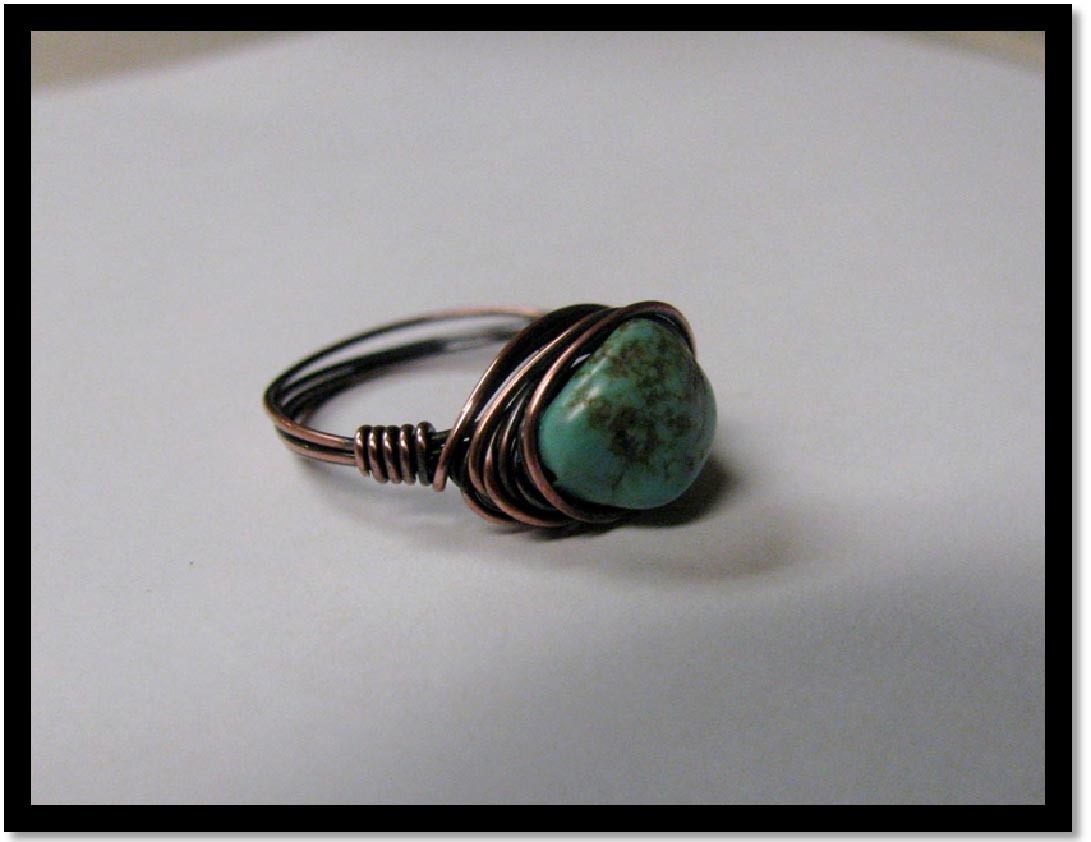
Step 9: Polish the ring with polishing pads.
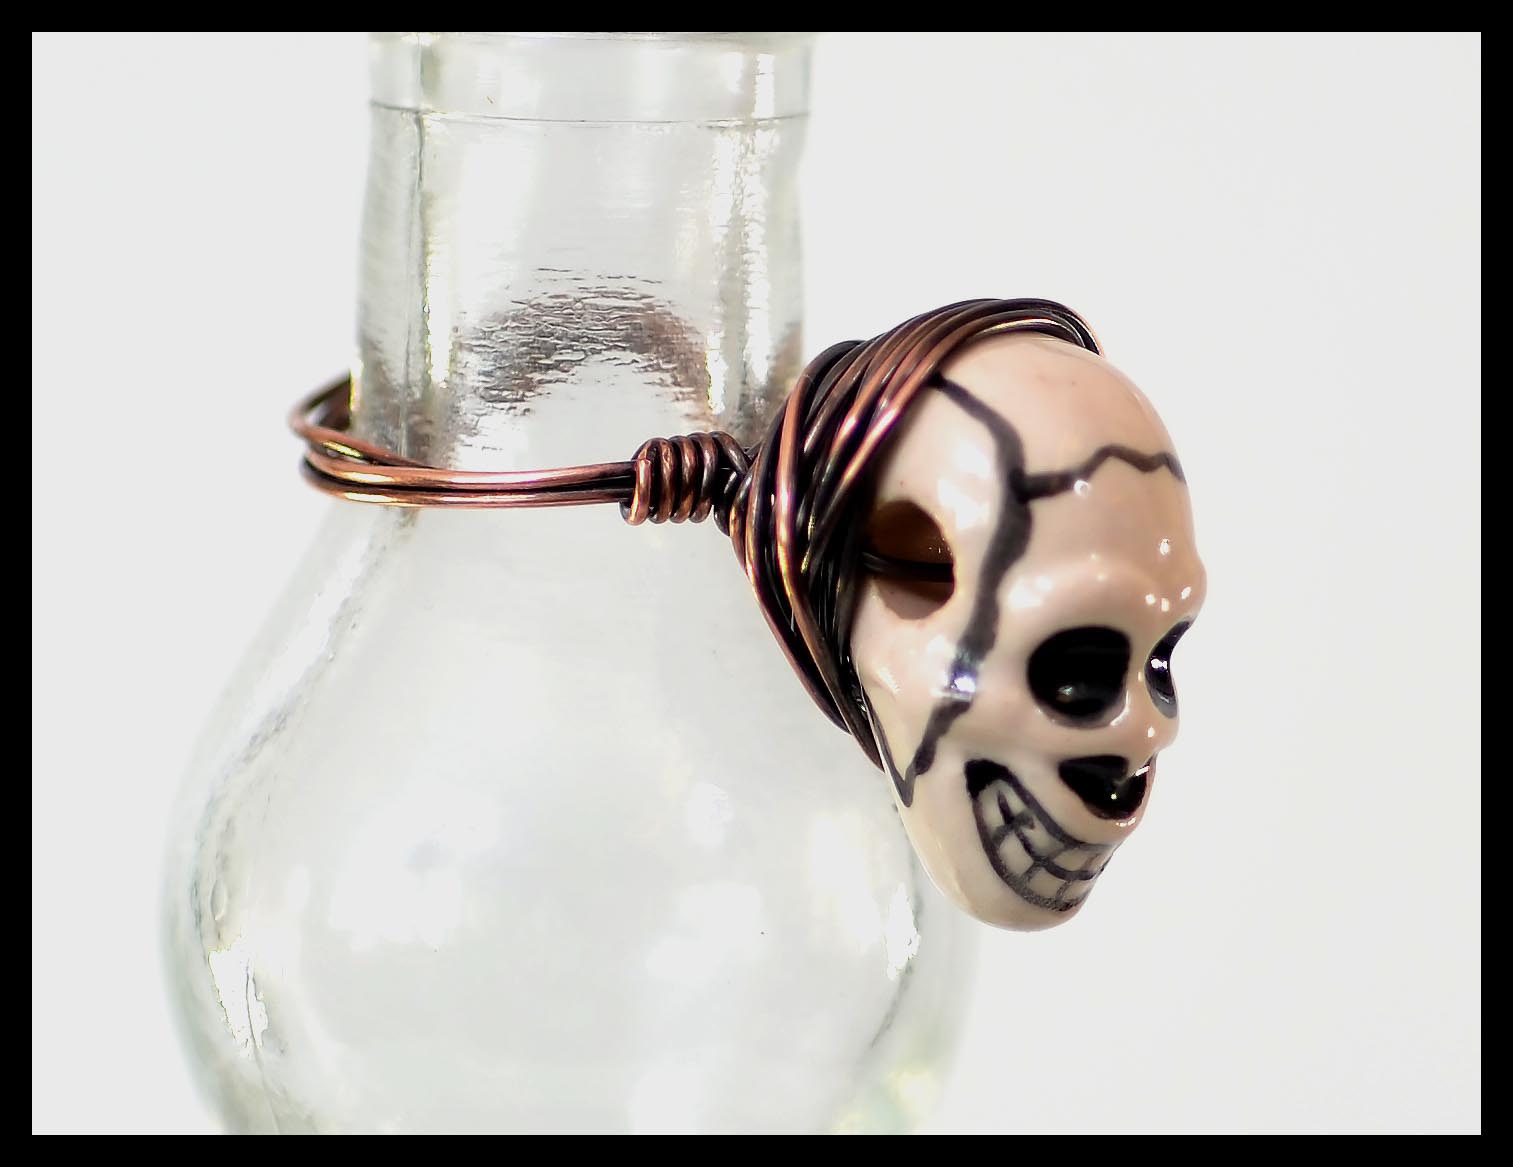
“Yorick’s Last Laugh” Wire Wrapped Ring
~~***~~
NEW!!! Visit the Rings & Things Design Gallery for this new version:
“Wickedly Simple” Wire Wrapped Ring Tutorial by Rings & Things designer Michelle Horning
Once you start making these rings, you won’t be able to stop!
~ Tiffany & Amy

No Comments