Our Store
About Us
New Jewelry Supplies
Blog Home
Browsing Category
Rings & Things Products
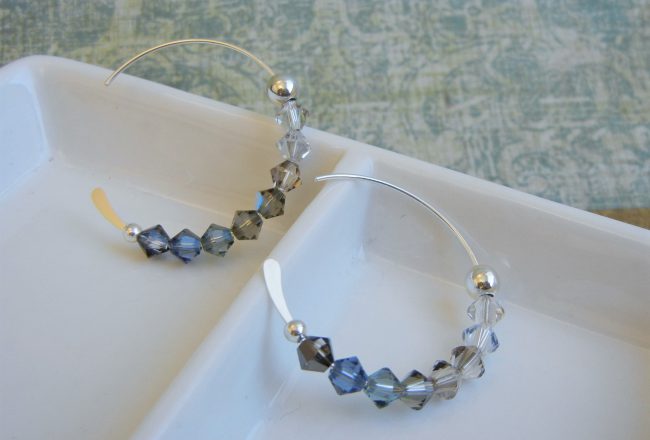
Jewelry Design Ideas for Endless Hoop Style Ear Wires
March 22, 2019