Around here I am kind of known as the “cluster earring girl”. I guess you could say it’s my signature. I just love to make earrings that resemble little bundle of grapes! Anytime I see a new bead, be it a keishi freshwater pearl or a hematite cube, I imagine, how would those look in cluster dangling from my ear?

Cluster Earrings with Cubic Zirconia Briolettes and Rainbow Sparkly Glass
I am going to show you how to make a basic cluster, using some sparkly glass beads. Once you get the basic “formula” down, the possibilities are really endless, and the results are always beautiful! You can embellish this style by adding charms, graduating the size of the beads, or mixing different materials. Clusters can be at the top of the earring, nested above a delicately wire-wrapped briolette, or they can be hanging from a focal bead or metal connector.

There are only a couple of steps to follow when it comes to making this type of earring.
Step 1. Choose a bead that has a size anywhere from about 3mm to 8mm. You can use a round, cube, chip, or rondelle shape; both smooth or faceted beads will work. Depending on how long you want the earrings you will need anywhere from 5 to 21 beads per earring.
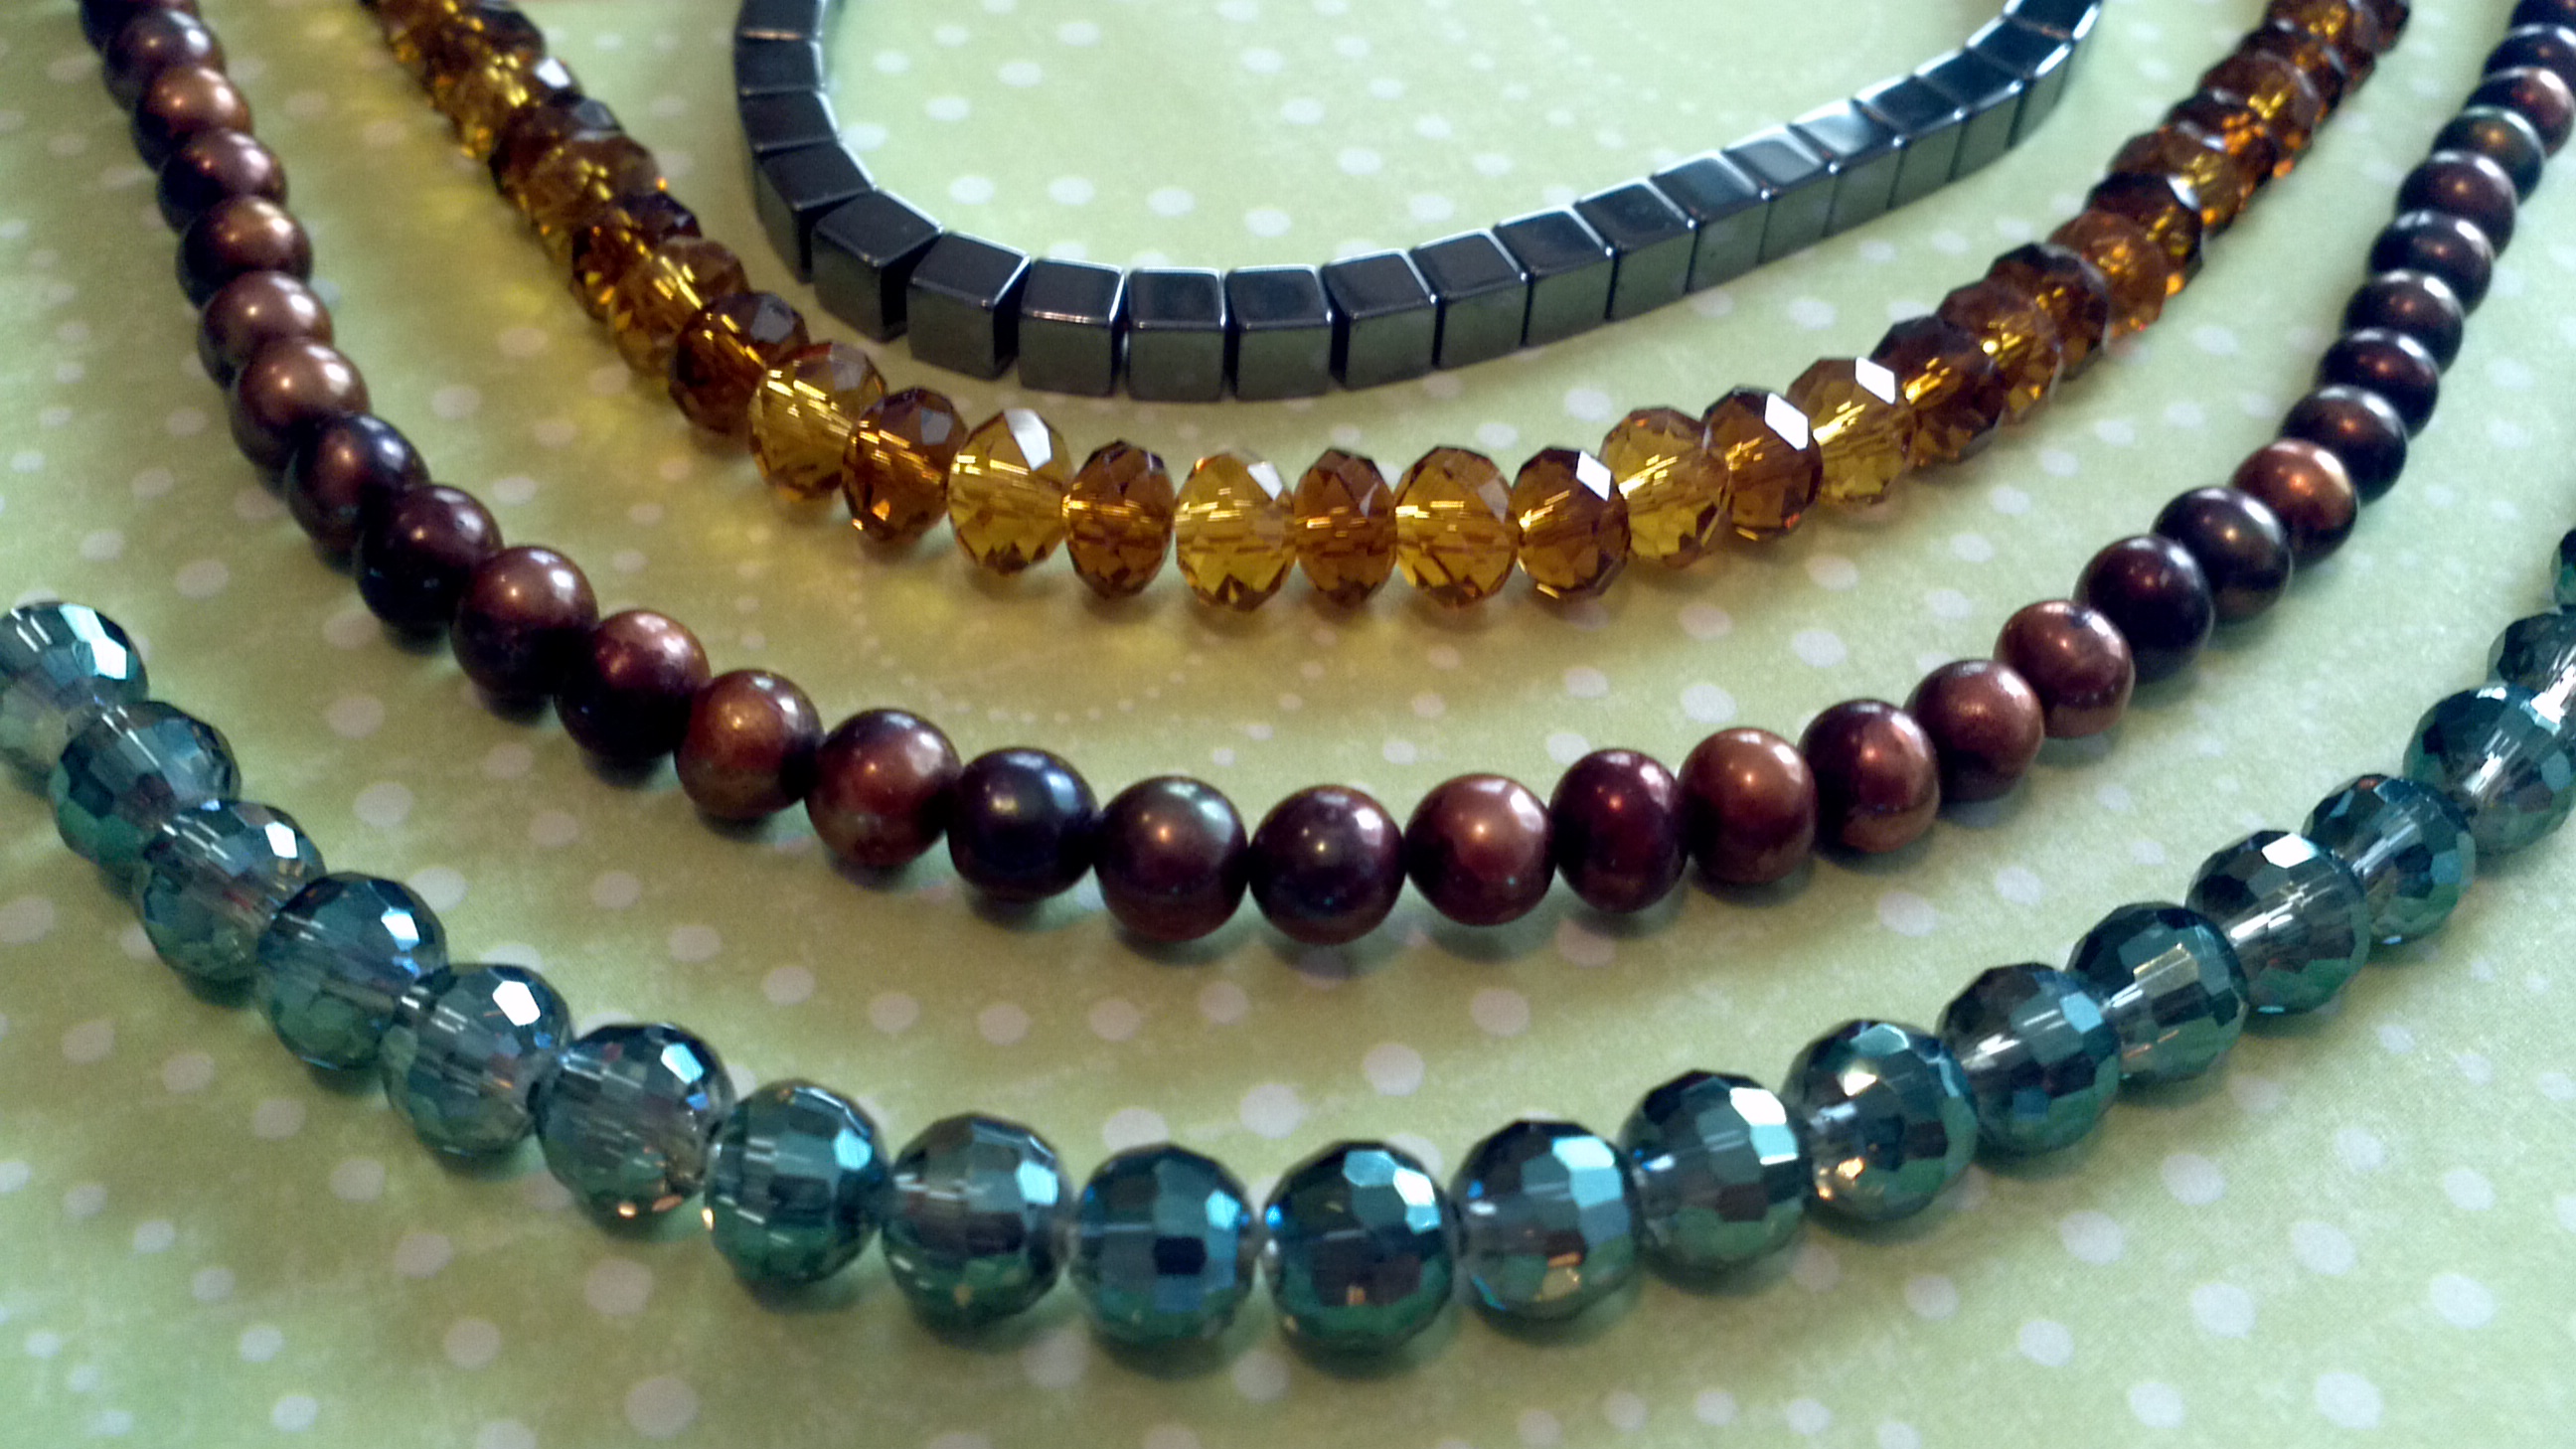
Hemetite Cubes, Freshwater Pearls, Sparkly Glass Rounds and Rondelles
Step 2. Choose head pins. My favorite are ball-end, but any head pins will work. If you are doing a simple loop, 1″ headpins are long enough. If you would like to try a wrapped loop you will want 1.5″ or longer.

Ball end head pins are my favorite!
Step 3. Assemble your cluster pieces. Do this by putting one bead onto every headpin and securing with a loop. You can do a simple loop or for a fancier look try a wrapped loop. Use side-cutters to clip any excess wire and chain nose pliers to tuck the extra wire. Assemble all the beads on head pins, before you assemble the earrings.

Place beads on head pins first.

You will need side cutters to clip the excess wire

On the left are wrapped loops, on the right are simple loops. Either will work for this style of earring.
Step 4. Once you have all of your pieces made, you can begin assembling the clusters. To do this you will need jump rings. Smaller jump rings will create a tighter cluster, larger jump rings will make a looser, more airy cluster. I follow a very basic pattern for the assembly. On the first jump ring, place only one looped head pin. Add a jump ring and two more head pins, one on each side. Continue, forming a chain until you reach your desired length.

Attach one beaded head pin to a jump ring

Attach a second jump to the first jump ring and place two more beaded head pins

Keep building your cluster!

I used eleven beads on each earring.
Step 5. Attach ear wires! I sometimes I add one more looped head pin to the ear wire itself, though this step is not necessary. It’s that simple! (p.s. the earring wires I used are niobium! They are great for sensitive ears and will match your antique copper and antique brass earring designs!)

Attach earring wires and you are done! These completed earrings are the exact same, except one has small jump rings and one has larger jump rings.
Examples of Cluster Style Earrings


Well, I hope you enjoyed my tutorial 🙂 For more designs with “Cluster Style” check out the design gallery at our online store, Rings-things.com. If you have any questions about the beads I used for any of these earrings please leave a comment and I’ll get back to you as soon as possible! Happy Beading!
Tiffany @ The Rings and Things Showroom
Other great how-to blogs:
How to Make Wrapped Leather Bracelets
♥ ♥ ♥ ♥ ♥ ♥ ♥ ♥ ♥ ♥ ♥ ♥ ♥ ♥ ♥ ♥ ♥ ♥ ♥ ♥ ♥ ♥ ♥ ♥ ♥ ♥ ♥
Inspired by this blog post? Visit the Rings & Things Design Gallery for more inspiring “cluster earrings” designs! The free jewelry-making instructions include a complete supply list!
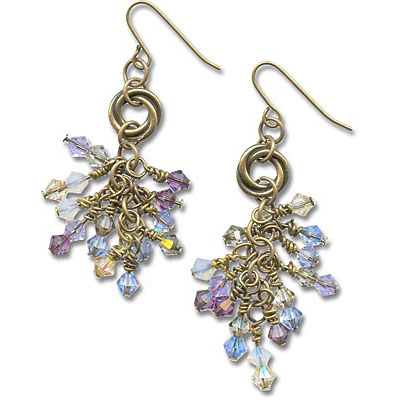
“Tiny Dancer Earrings” Tutorial by Rings & Things designer Valorie Nygaard-Pouzar.
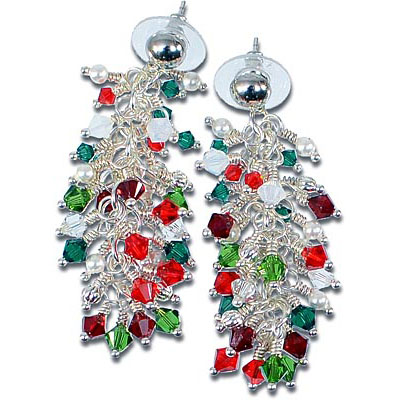
“Christmas Cluster Earrings” Tutorial by Rings & Things designer Rita Hutchinson.
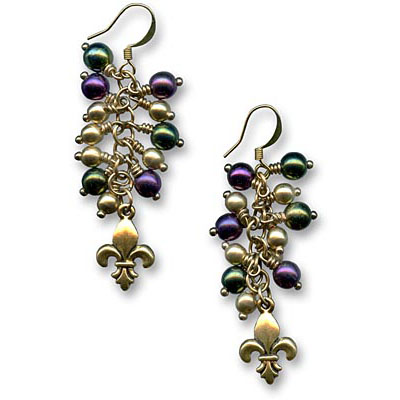
“Mardi Gras Earrings” Tutorial by Rings & Things designer Tiffany White.
♥ ♥ ♥ ♥ ♥ ♥ ♥ ♥ ♥ ♥ ♥ ♥ ♥ ♥ ♥ ♥ ♥ ♥ ♥ ♥ ♥ ♥ ♥ ♥ ♥ ♥ ♥
Editor’s note: This had a few old & broken links, but since this is such a great Winter holiday jewelry design technique, the links are all freshly updated as of November 2019.
p.s. Here are some more Winter Holiday jewelry design ideas, and a slew of semi-formal / prom / bridal jewelry tutorials, too.

25 Comments
Thank you so much for sharing this one. It’s a great help to all of us. I’m a fan of earrings.
The earrings looks so trendy and wonderful the making of earrings really sounds good thanks for the beautiful share. Keep posting!
love all the great stuff thanks
What size are the crystals and large jump rings in the first example?
I use 8’s so much, and I forget that I need to usually use a 6mm for earrings.
These are so awesome!!! Thank you for sharing!
Hi scarletbegonias! 6mm round sparkly glass beads and 5-6mm jump rings for that first pair. But as you can see, you can mix and match quite a variety of sizes and get great results!
I love these. I haven’t been able to find my style wedding earrings anywhere, so I figured I’d make them, this helped me a lot.
Beatiful and thanks for sharing!
http://icycrystalgalleria.blogspot.com/
Beautiful and thanks for sharing the great tips!
http://icycrystalgalleria.blogspot.com/
I must be brain dead. I get the first cluster but I don’t know where to build on to. Mine look sad. I’ll keep trying
It happens to us all, Lynne! Just keep playing around until you get a look you like. 🙂
I am just beginning to make cluster earrings! I am so excited. This is the first site that I have come across that showed exactly the type of cluster I was looking for. I plan to make my mother and sisters a pair for mothers day! Wish me Luck! I will let you know how they turn out! Thanks for the insight (: Have a wonderful day!
Sincerely,
Stephanie Hall
Thank you! I’ve been trying to figure this technique on my own, and it just wasn’t working. What a relied! :0D
Thank you so much. I have been searching for a tutorial to make cluster earrings that was not so complicated. I have tried several other ways but they were time consuming and as a beginner it was disappointing. I am looking forward to creating beautiful earrings.
I am just now beginning, and this has been SO helpful. I’m having so much fun. I’m so excited.
THANK YOU AND HAVE A GREAT DAY!!!
Thank you so much! Your tutorial is great and the earrings are beautiful!
I was looking for a site on how to make earrings and yours seems perfect. Your instruction was simple and clear for any beginner. I can’t wait to start. Thank you so much.
Love this tutorial, thank you!
Could you tell me what you are using as your earring cards? are those regular playing cards?? 🙂
Hi dOvey!
Yes, yes they are – and here are some other great DIY earring card ideas from Tiffany: http://www.rings-things.com/blog/2012/07/20/diy-earring-cards-that-wont-break-the-bank
~Polly
Hi!! very nice earrings. How do you make the wrapping on the top of the bead? I try but I can’t.
Hi Laura,
Are you talking about the wire-wrap on top of the briolette (teardrop) bead, like this:
http://blog.rings-things.com/2011/04/14/how-to-wire-wrap-a-briolette,
or the basic/classic wire-wrapped loop for any head pin / eye pin like in the first PDF on this page:
https://www.rings-things.com/Products/Free-Jewelry-Making-Technique-Sheets/ ?
One of those links should do the trick.
~Polly
Thank you so much for this tutorial! I’ve tried clusters before but was never happy with my outcome. Now that I know the right way to do it I’m a cluster earring machine!! 🙂
Hi Luanne,
I’m so glad this tutorial was the key! Cluster earrings are a lot of fun to wear, and depending on the beads you use, they can be super-sparkly, or more subtle and formal.
~Polly
Excellent earrings.All design very cute.Explore our curated collection of Ethnic Earrings. Browse our Afrocentric, Natural Hair, Map of Africa and Nefertiti earrings. Tons of earrings at great prices.
afro earrings
Really interesting earrings.
THANK YOU! A friend has asked me to make her a pair just like her ‘favorite pair’… the pattern is slightly different, you might want to try it, but it is so nice to see how to do this in pictures. I love the cluster style, too!
Here is how her earrings are laid out: The top jump ring has 2 dangles.
The next jump ring is a little smaller, and has 1 dangle.
The next jump ring is back to the larger size, and has 3 dangles: 2 on one side, and 1 dangle on the other.
Finally, one last jump ring, the smaller size, with 2 dangles.
They hang cute, more like a ball of balls than a cluster, but they are acrylic, lightweight and just fun!