News & Information (3)
-
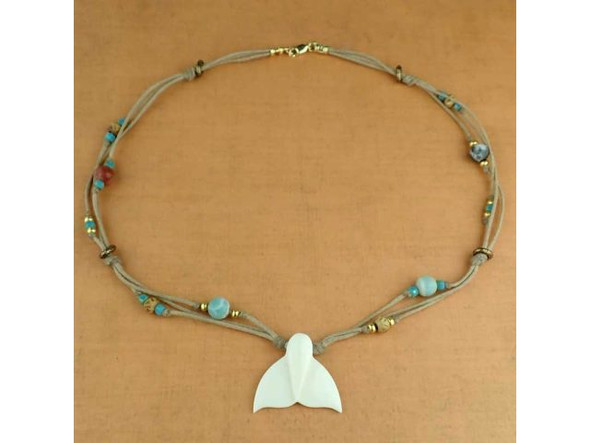
Aventurine Spiral Clip-on Earrings Tutorial(Post)
Created by: Polly Nobbs-LaRueDesigner TipsAdd desired beads to eye pin, and use one-step looper (or wire cutters and round-nose pliers) to make a simple loop at the other end.When creating your new l ...
Great Odin's Raven Viking Knit Bracelet Tutorial(Post)Created by: Jaci BostonDesigner TipsFollow the instructions that come with the Lazee Daizee™ to create two Viking knit sections for the bracelet.The Lazee Daizee™ accommodates various sizes of wire.
Tangerine Delta Earrings Tutorial(Post)Created by: Megan HoldenDesigner TipsClean the inside of the rivoli settings with alcohol swabs, and allow to dry.Place a small drop of E-6000 or GS Hypo Cement into the cup of each setting and light ...
Products (0)
- Product
- Qty in Cart
- Quantity
- Price
- Subtotal
Featured Products
")
")
TOHO Amiet Beading Thread, Burgundy (20 Meters/22 Yards)
TOHO
$4.15
Creating colorful looks is easy with this TOHO Amiet beading thread. TOHO's Amiet thread can be used with beads that are size 11/0 and larger. This 100% polyester thread can be threaded without using...
")
")
TOHO Glass Seed Bead, Size 8, 3mm, Transparent Rainbow Frosted Amethyst (Tube)
TOHO
$1.69
The uniform size and shape of Toho seed beads make them an excellent choice for beadwork and consistently-sized spacers.Toho seed beads are usually colorfast; however, galvanized and silver-lined ...
")
")
The BeadSmith Jewelry Pliers, 1-Step Looper, 2.25mm (Each)
The Beadsmith
$29.95
See Related Products links (below) for similar items and additional jewelry-making supplies that are often used with this item. Visit our blog or watch the video below,for tips on using The...
")
")
Magnet, Round, 18mm (35 Pieces)
$9.67
Which Glue is Best? For the most durable bond, we almost always recommend epoxies rather than other types of glue, but it depends on a few factors... Check out the options, plus tips for successful...
")
")
14kt Gold-Filled Lobster Clasp, 10mm (Each)
$2.64
See Related Products links (below) for similar items and additional jewelry-making supplies that are often used with this item. Questions? E-mail us for friendly, expert help!
")
Leather Cuff Bracelet, 1" - Denim (Each)
$4.13
See Related Products links (below) for similar items and additional jewelry-making supplies that are often used with this item. Questions? E-mail us for friendly, expert help!
")
")
Leather Wrap Bracelet, 1/2" - Natural (Each)
$7.23
See Related Products links (below) for similar items and additional jewelry-making supplies that are often used with this item. Questions? E-mail us for friendly, expert help!
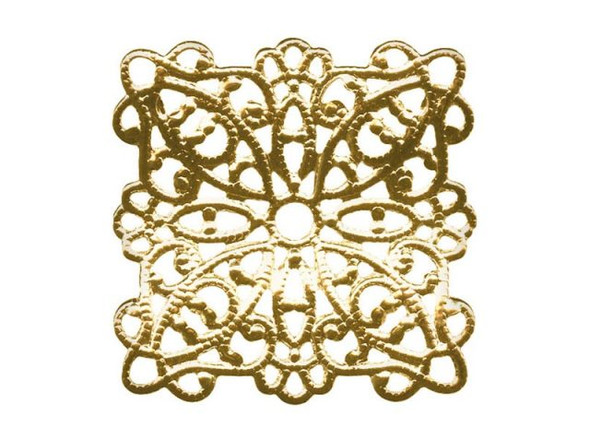
22mm Raw Brass Wavy Square Filigree
$0.15
This 22mm raw brass filigree features a beautifully detailed wavy square design, perfect for adding elegant vintage character to your jewelry creations. Its delicate craftsmanship and openwork...
")
")
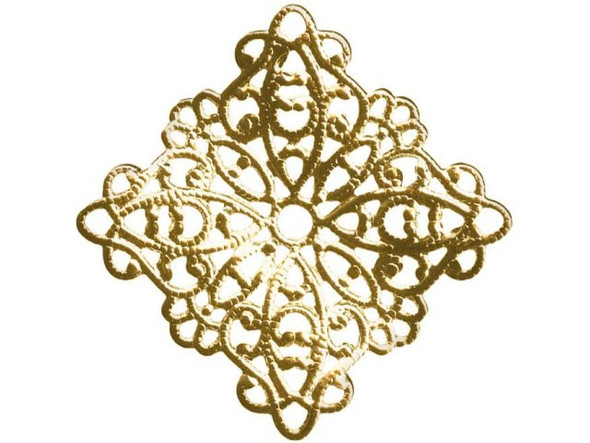
Raw Brass Small Oval Filigree with 4 Loops
$0.20
This raw brass filigree component features a beautifully detailed small oval design with four loops for versatile connections. The delicate craftsmanship makes it ideal for vintage-inspired and...
")
Antiqued Copper Plated Hair Pin, 15mm Flat Pad (12 Pieces)
$4.13
Which Glue is Best? For the most durable bond, we almost always recommend epoxies rather than other types of glue, but it depends on a few factors... Check out the options, plus tips for successful...
")
Silver Plated Teardrop Clip, Auto Close, Small, 24x18mm (12 Pieces)
$6.31
See Related Products links (below) for similar items and additional jewelry-making supplies that are often used with this item. Questions? E-mail us for friendly, expert help!