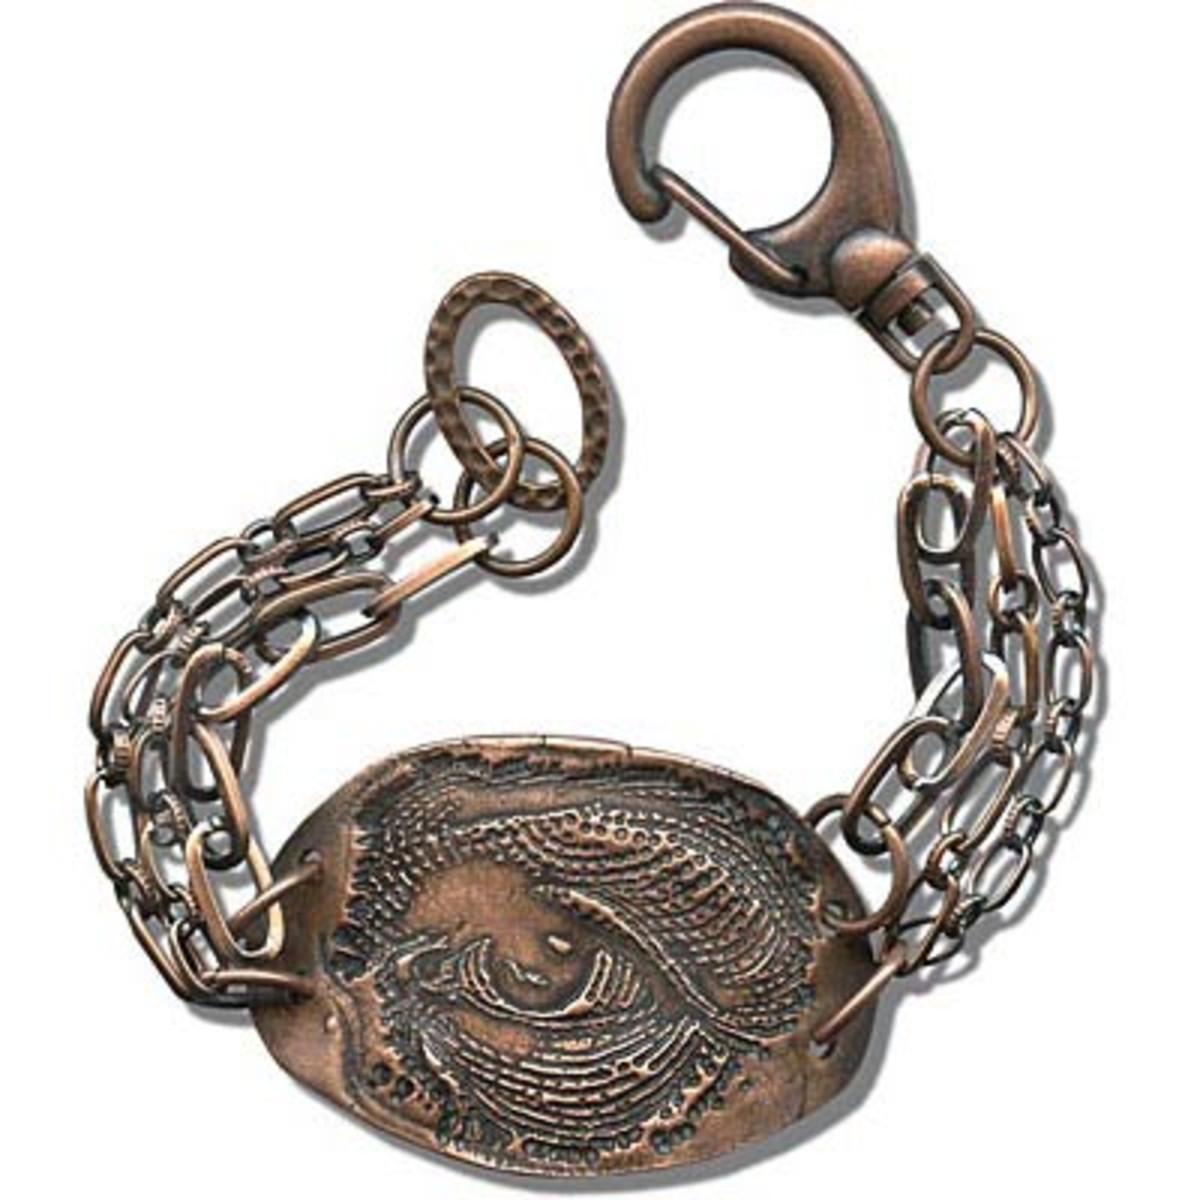
All Seeing COPPRclay® Bracelet Tutorial
Created by: Joe Hentges
Designer Tips
- Create the COPPRclay centerpiece according to the manufacturer's instructions. Like most other metal clays, COPPRclay must be fired in a kiln. COPPRclay shrinks approximately 20% from package to finished product.
- To create the curve, let the COPPRclay piece dry over a round object before firing.
- Clean COPPRClay with water then 0000 steel wool.
- UseWin-Ox™ (#86-343>86-343) to patina and then polish with Wetordry Polishing paper 1200 grit (#69-257-1200>69-257-1200).

Suggested Supplies
- 1 spool [use 6"] #40-099-41-7 Chain, Footage, Flattened Long & Short, 3.4mm
- 1 spool [use 6"] #40-099-35-7 Chain, Footage, Flattened Long & Short, 4.1mm
- 1 spool [use 6"] #40-099-47-7 Chain, Footage, Square-Wire Drawn Cable, 5.8mm
- 1 ea #87-100 COPPRclay™, Combo Pack
- 1 oz [use 7] #37-178-7 Jump Ring, Round, 10mm
- 1 pkg of 10 [use 1] #49-947-43-7 Link, Cast, Oval, Hammertone, 13x18mm
- 1 doz [use 1] #30-620-01-7 Swivel Clip, Auto Close, Teardrop, 33x20mm
- 1 ea #86-343>86-343 Win-Ox™, 3 oz.
Tools
- #69-257-1200>69-257-1200 Polishing Paper, Wetordry™, 1200 Grit (Blue)
- #87-071 Rings & Things Metal Clay Tool Kit (dedicated for use with COPPRclay™)
- #69-275-53 Tool, Baby Wubbers™, Chain-Nose Pliers
- #69-275-58 Tool, Baby Wubbers™, Flat-Nose Pliers
- 0000 steel wool (from hardware store)
- Decorative rubber stamp (with eye design) (from craft supplier)
- Kiln
Jan 1st 2021
Our Bead Blog
-
Edgy Elegance Necklace
Mar 22nd 2024Created by: Guest Designer Deb FlorosSuggested Supplies 1 #20-111-204 TOHO Glass Seed Bead, Size 11
-
Elegant Button Earrings
Mar 22nd 2024Created by: Guest Designer Deb FlorosSuggested Supplies 1 #27-841-042-50 Beadalon Bead Bumper, 1.5m
-
Abstract Painted Cuffs
Feb 26th 2024Created by: Guest Designer Deb FlorosSuggested Supplies 1 #51-810-05-17 Leather Cuff Bracelet, 1/2"


