I love leather cuff bracelets! Whether I wear one alone, or layer them with other metal and leather bracelets, I think they are always in style. They are bohemian, and can be in funky bright colors or subdued earth tones. With the large selection of pre-made cuffs we sell, the possibilities are endless! I made a few examples using the TierraCast eyelet setting tool and eyelets to show you! Check out how to make them below!
Continue Reading…
DIY Leather Bracelets: Setting Rivets and Eyelets
February 19, 2015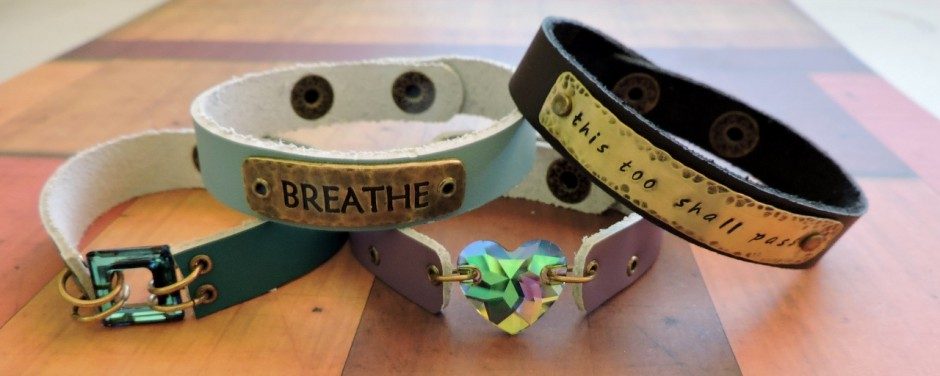
![Our team from left to right. Jewelry Designer, Tiffany White of Geisha Creations, Angelana Perez, Mandy Vahlkamp, Nikki, Savannah Prochnau, Laurin Crosby, Amanda Hillmann, [...], and Eco Chic Clothing designer Alyssa Perez. Photo by Yassir Ketchum. Our photographers were also there, Eric Barro and Jac James.](http://blog.rings-things.com/wp-content/uploads/2013/09/sugar-and-art.jpg)
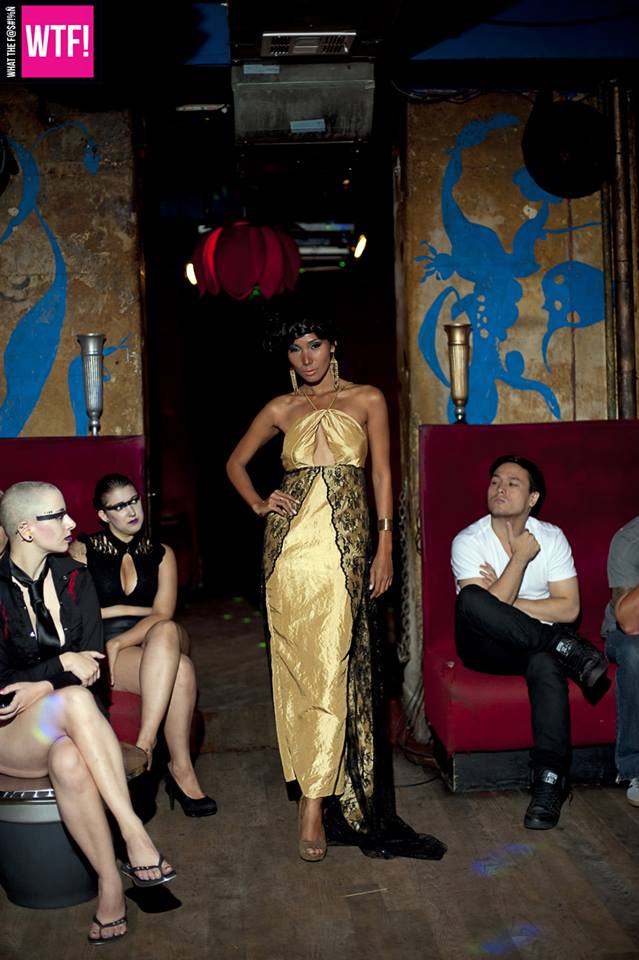
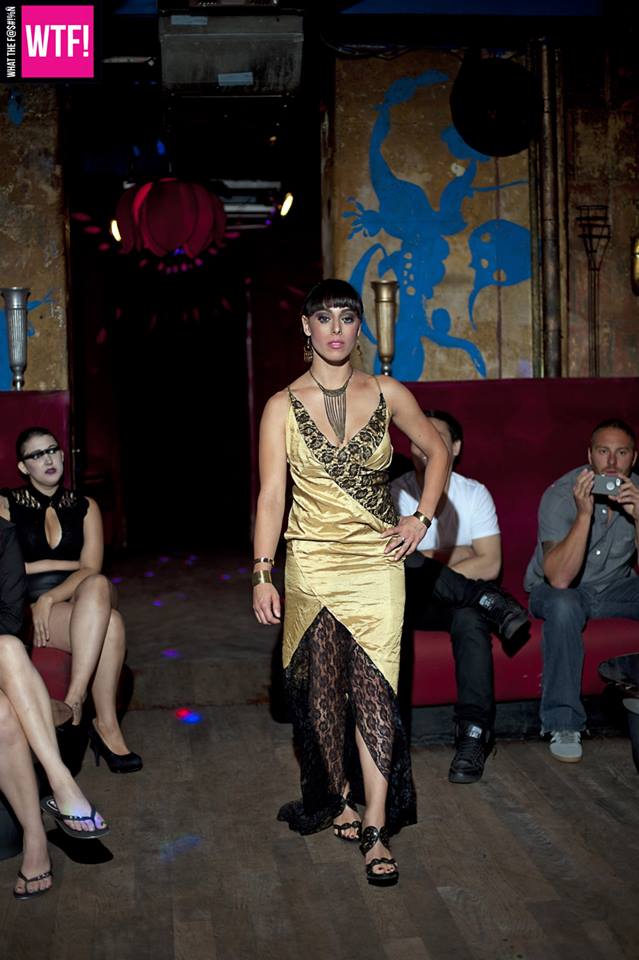
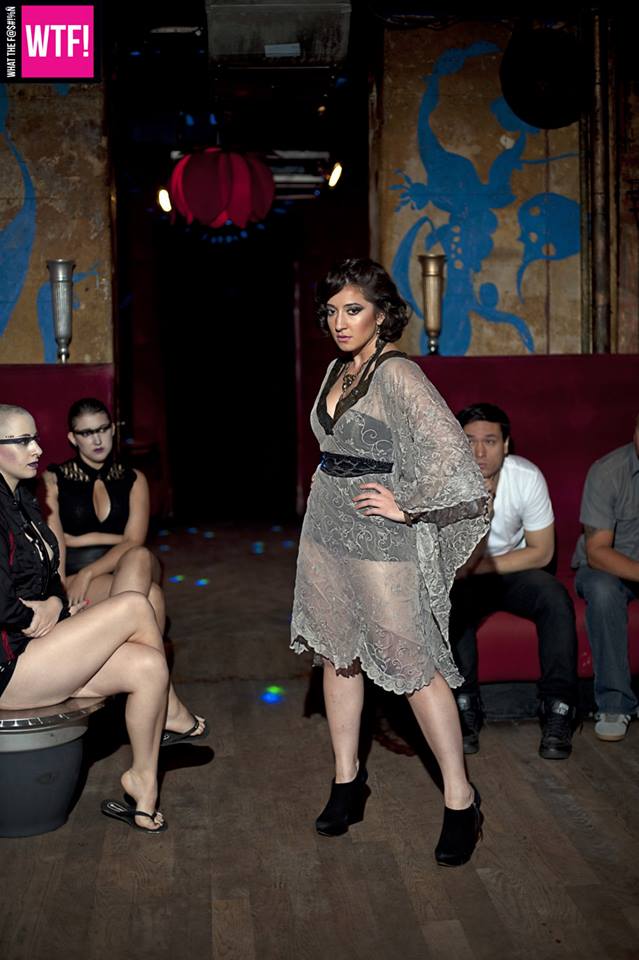
![A few of the models in front of the entrance to Mercedes Benz Fashion Week. Though the show we did was a smaller underground show, we went down to where the big shows were to get the attention of fashion bloggers and photographers. Models: Amanda Hillmann, Laurin Crosby, Angelana Perez, and [...]. Photograph by Eric Barro, WTFashion Magazine.](http://blog.rings-things.com/wp-content/uploads/2013/09/1234195_542143062517979_1175633250_n.jpg)


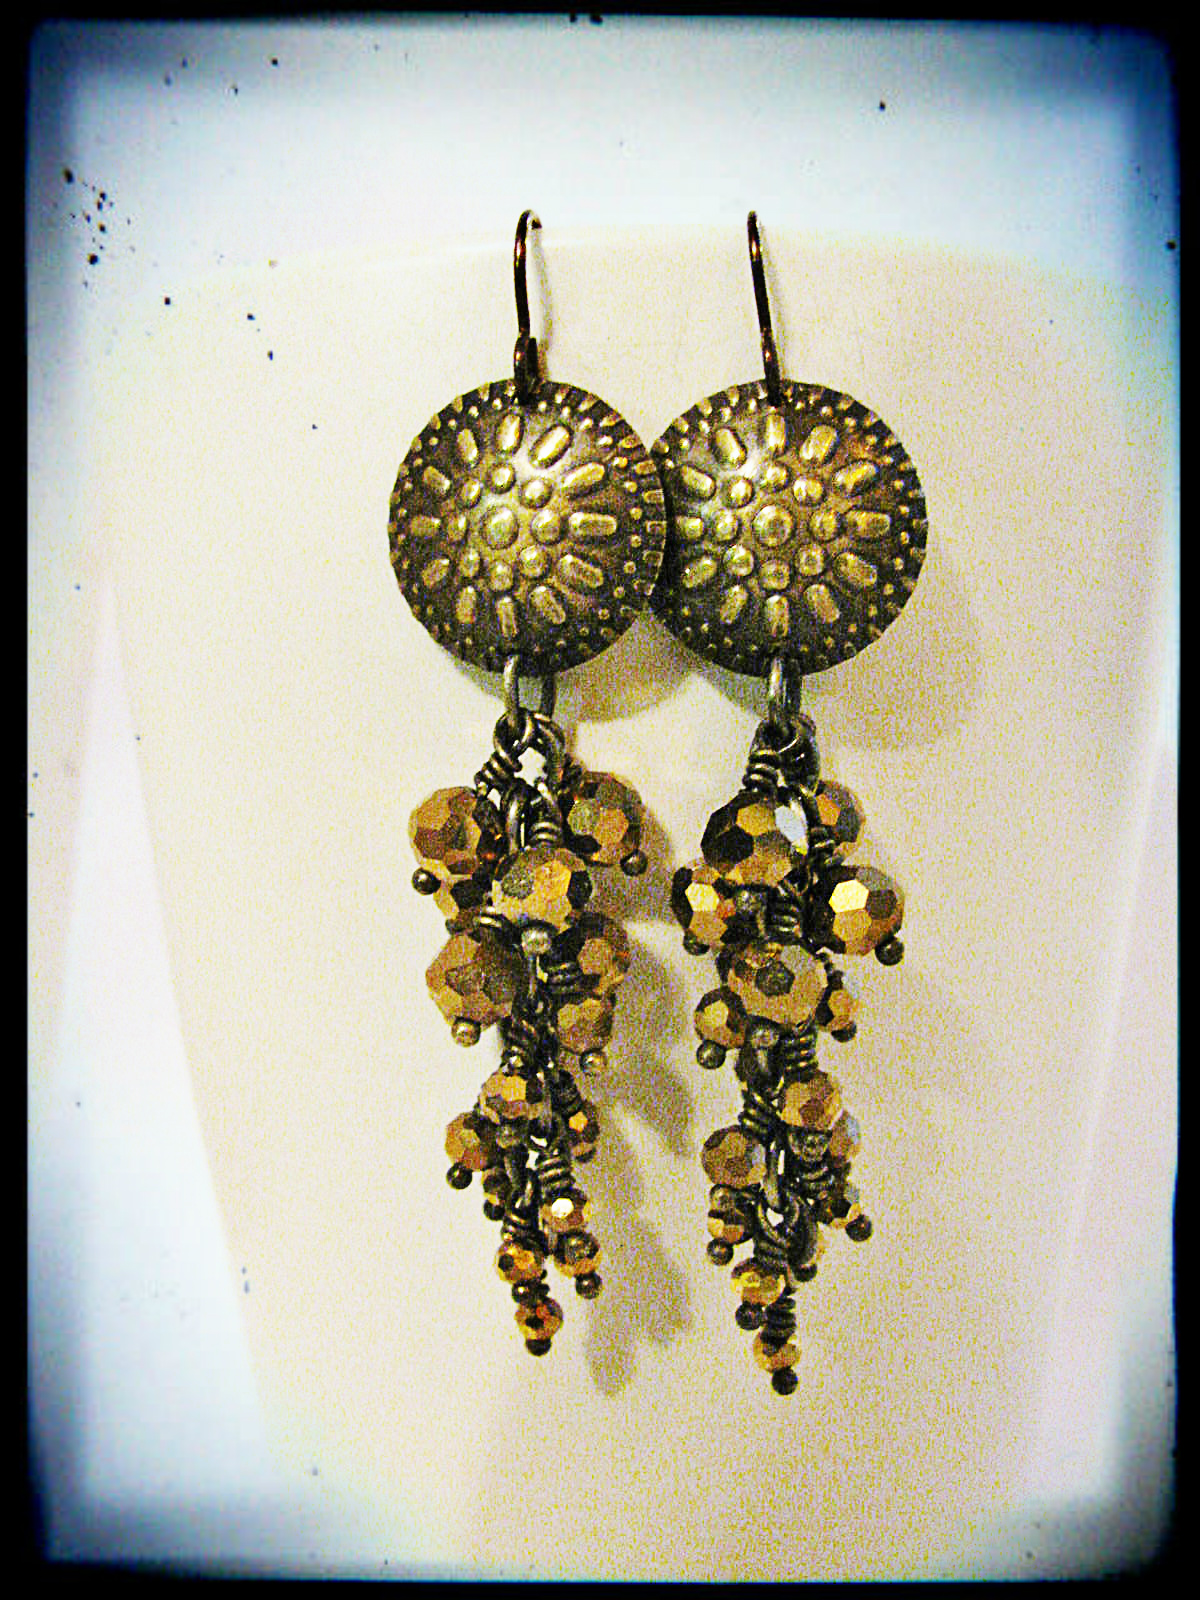
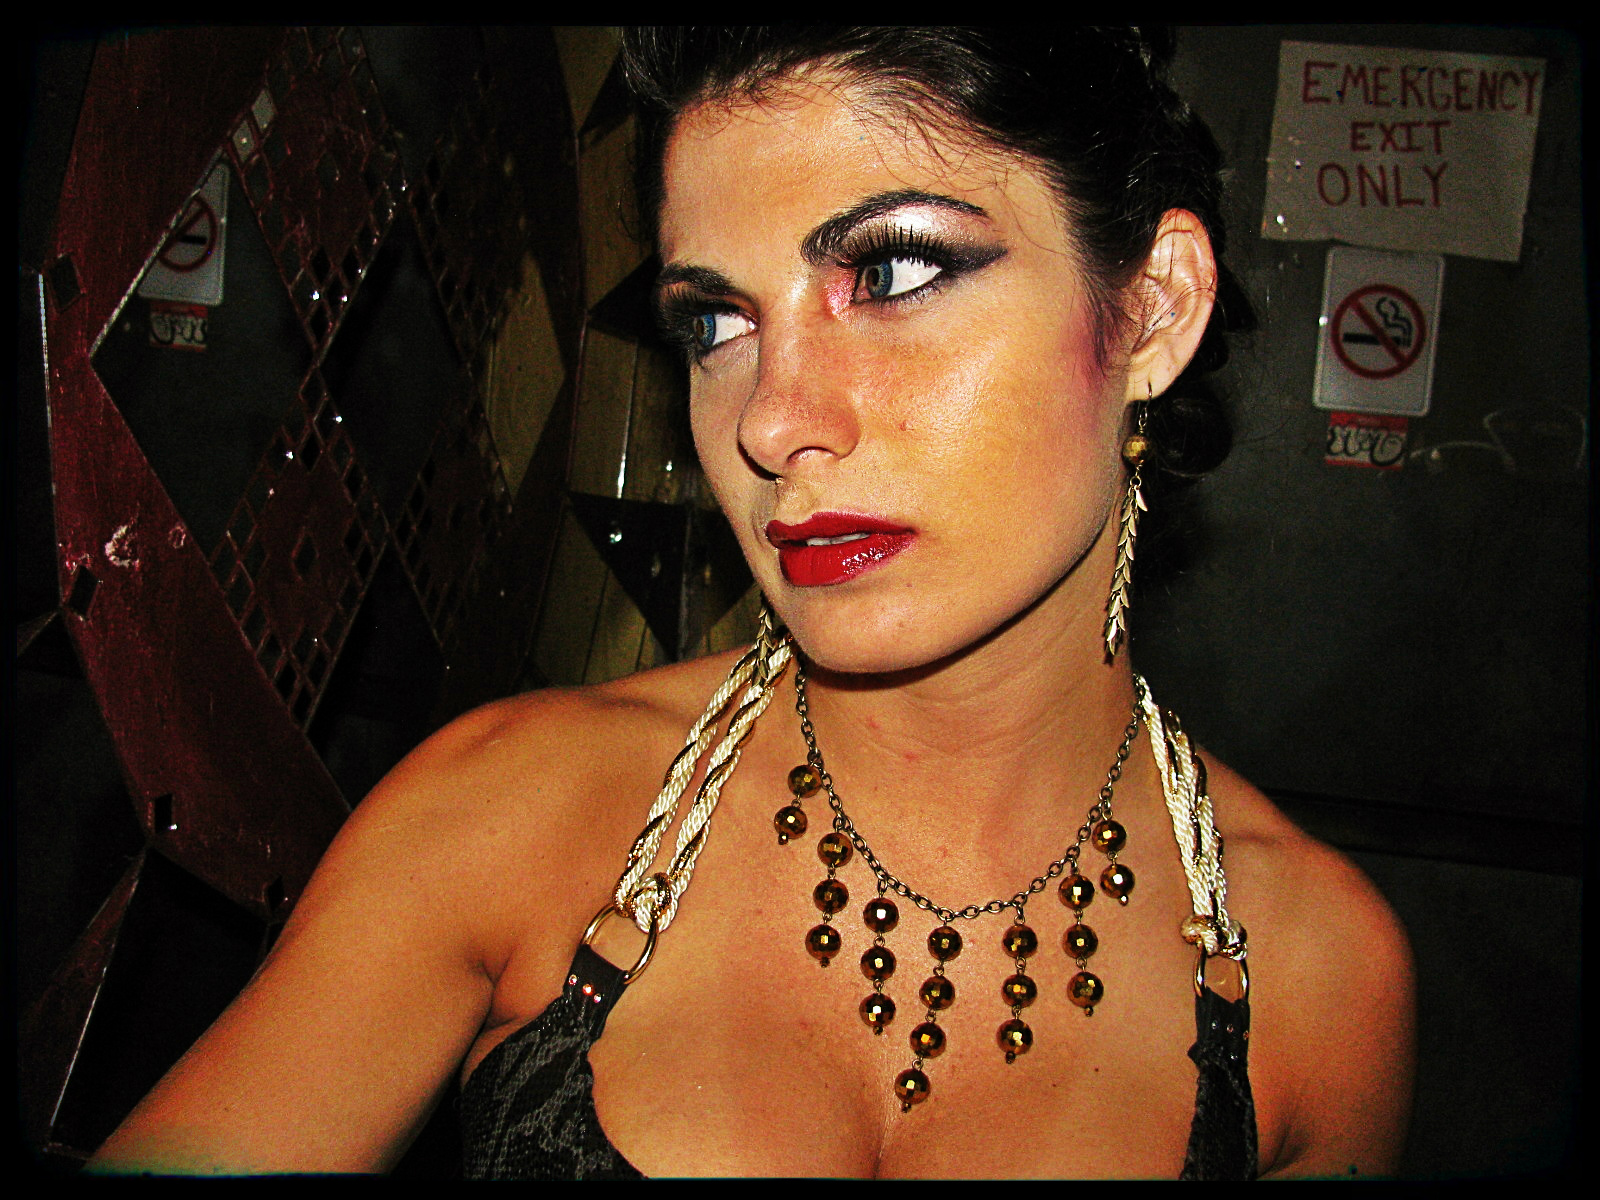
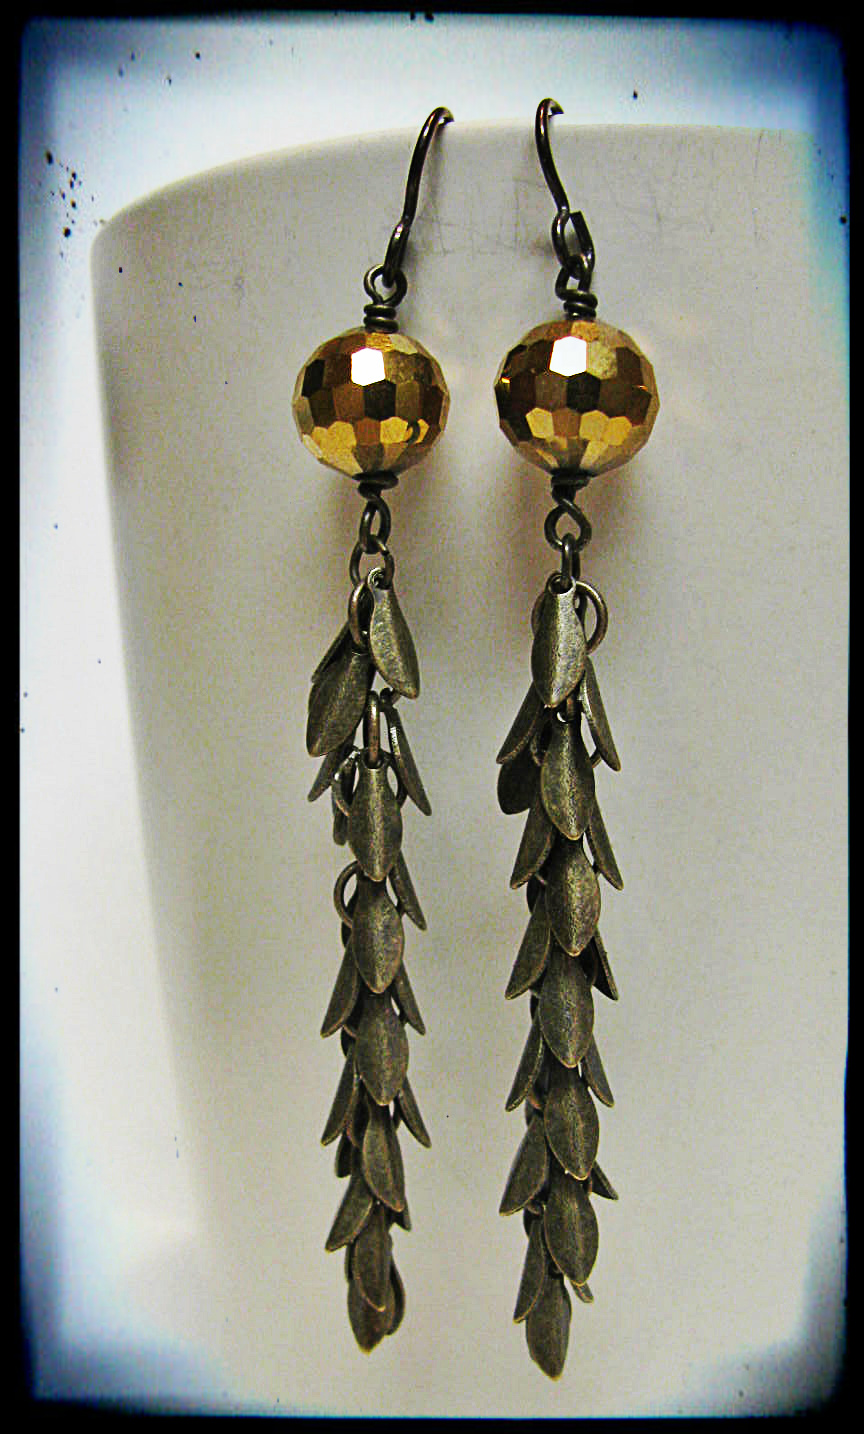
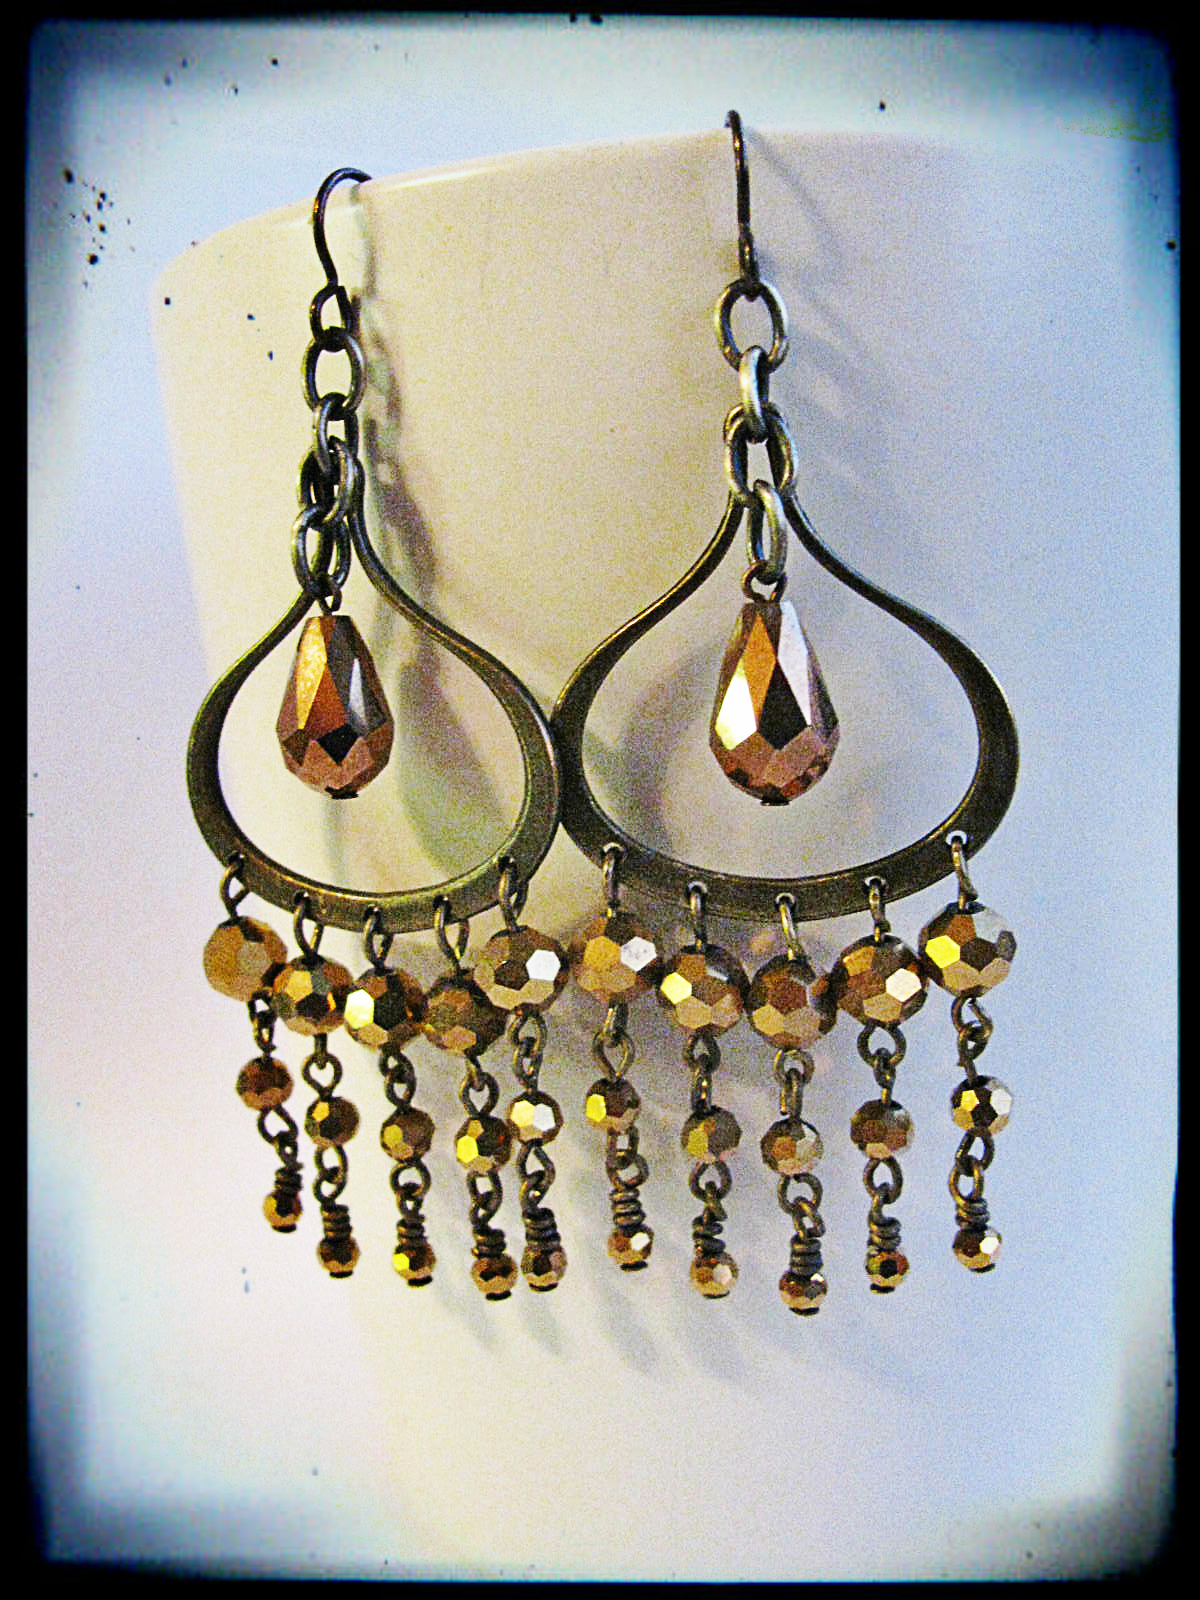
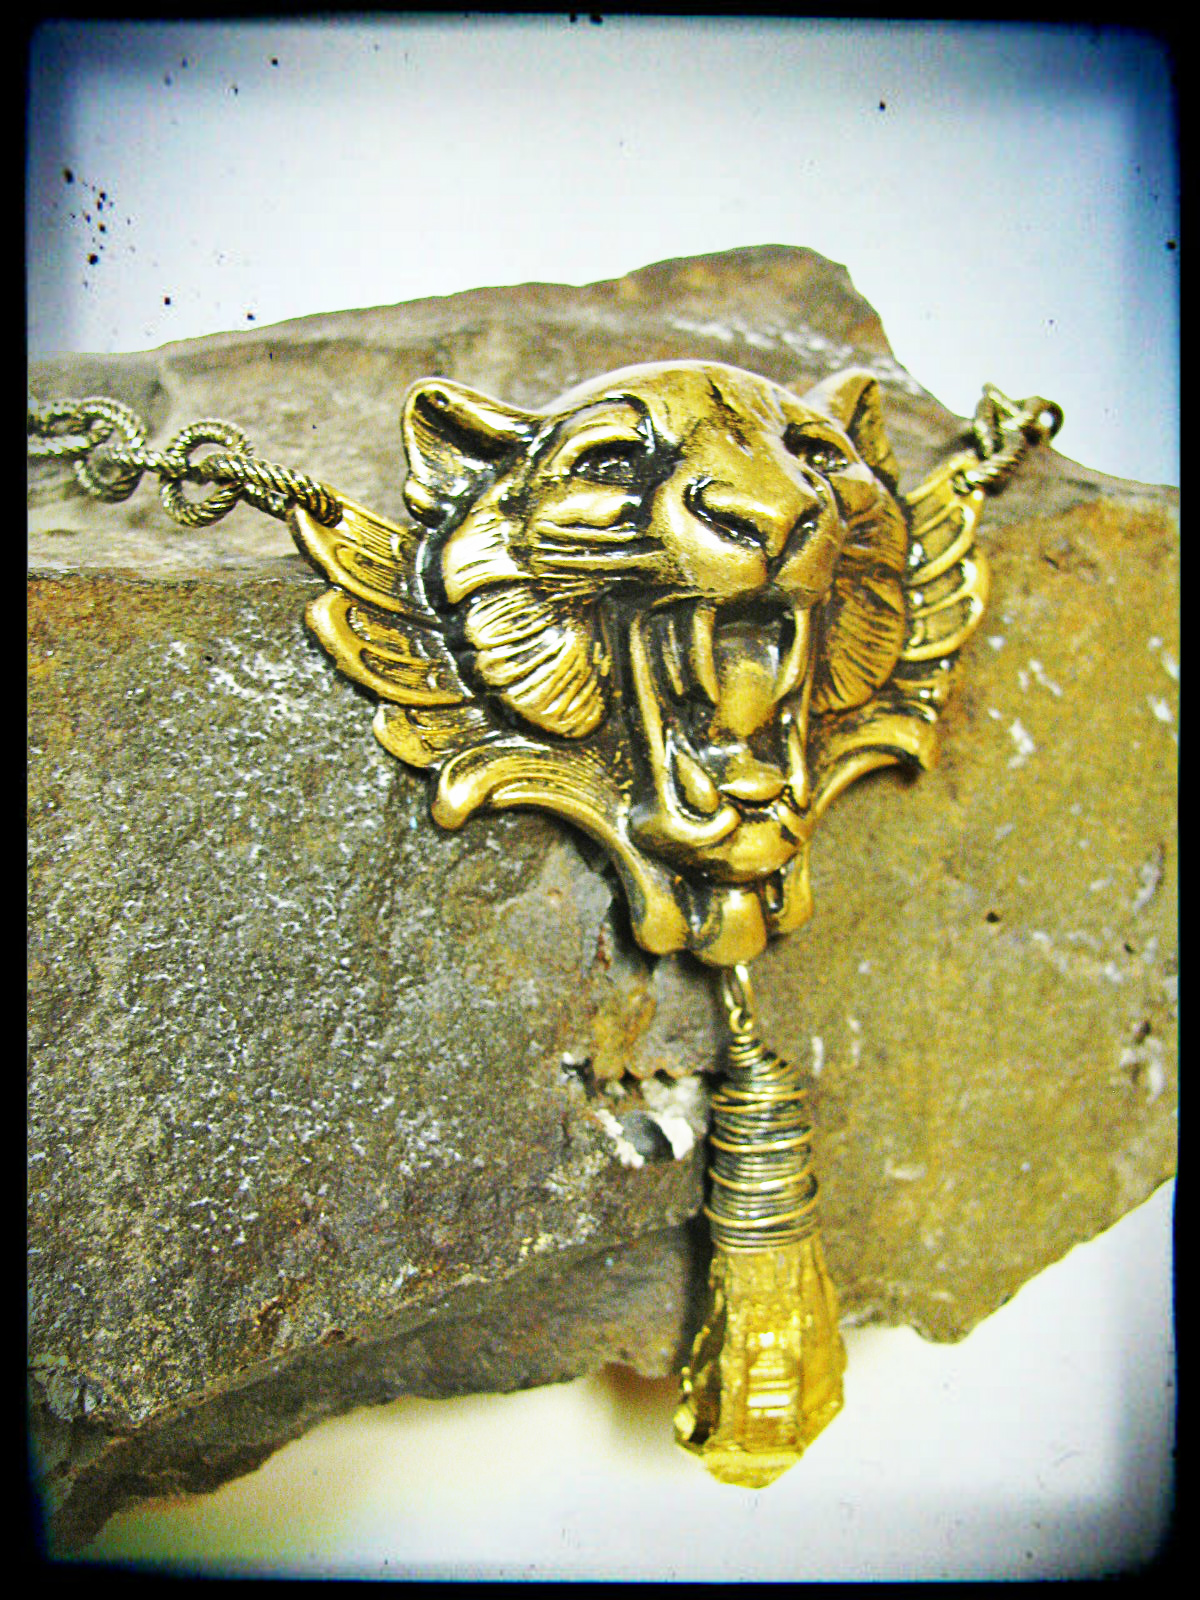
![The necklace made for [...]. I antiqued and sanded this piece of raw brass and then added golden sparkly glass to give it some pizzazz..](http://blog.rings-things.com/wp-content/uploads/2013/09/dripping-in-gold1.jpg)


 Handmade magnetic bottle cap necklace with assorted buttons


