Rings & Things has added a whole new line of enameled copper jump rings and clasps from Weave Got Maille, and a handful of Byzantine kits and box chain kits to go with them.
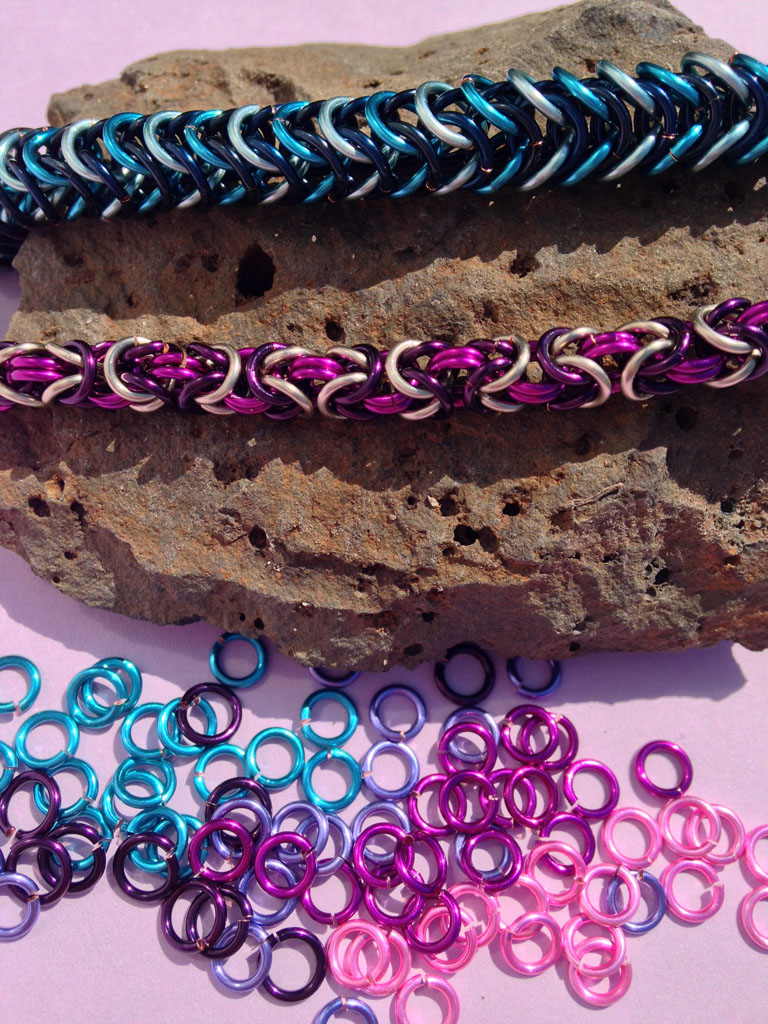
Weave got Maille Bracelet Kits and Jump Rings
Melissa and I tested the kits, to produce some quick example pieces for our website, and I have to say, I think the kits are a great way to go for anyone who is new to chain maille, or to a specific weave of maille.
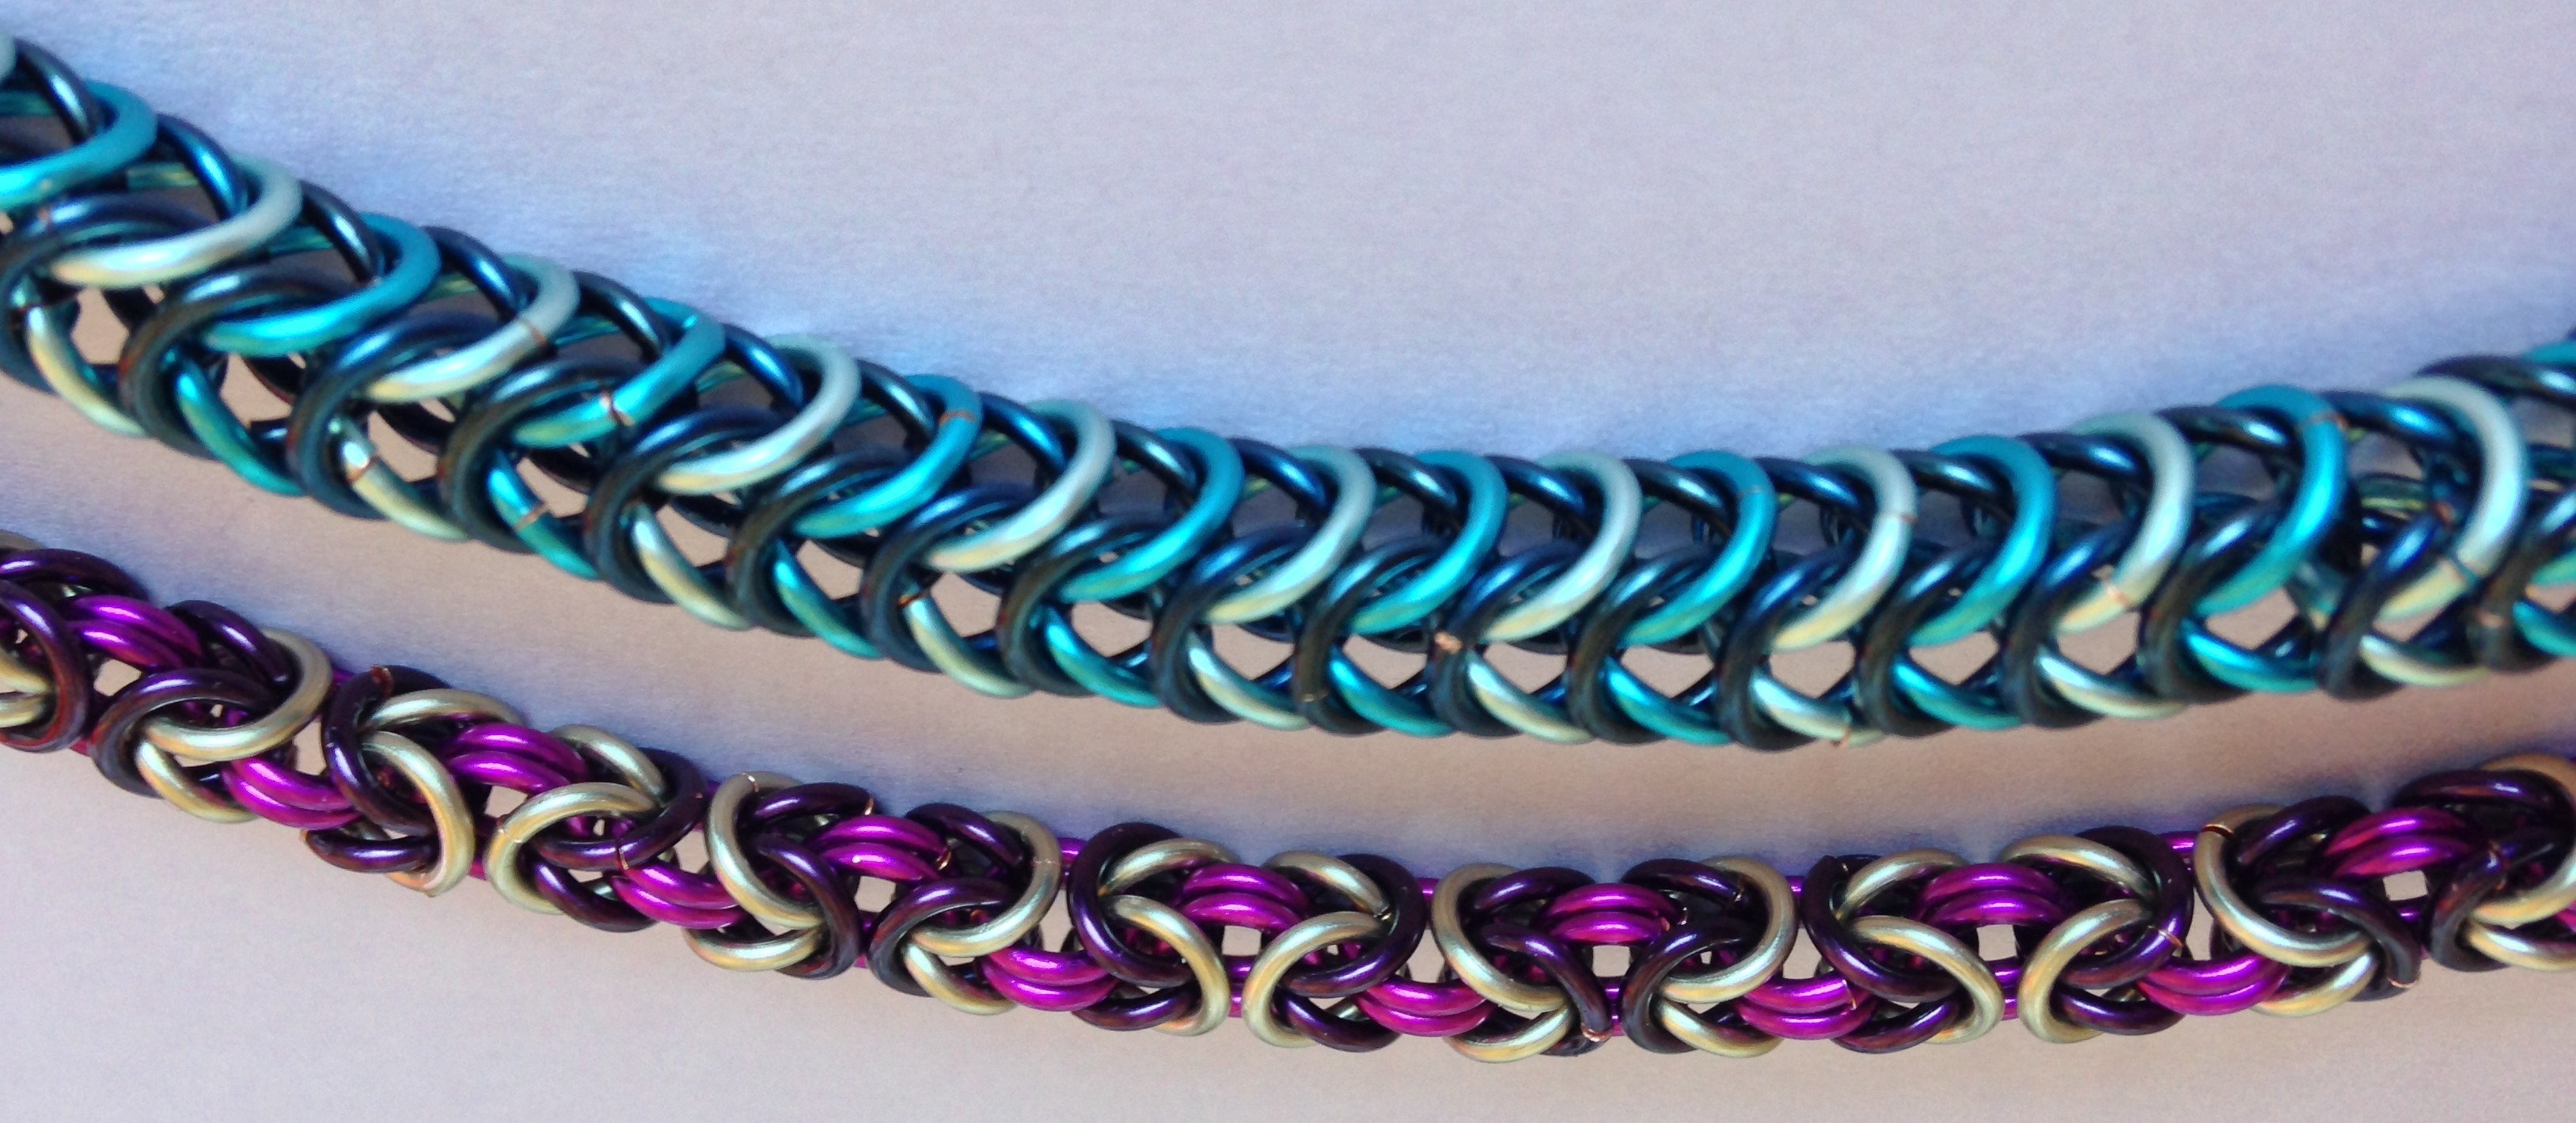
Weave Got Maille kit Chain Maille Bracelets
I chose to use the Morgana kit, which produces a 3-color byzantine chain maille bracelet. There are enough rings in the kit to make a bracelet up to 8 1/2″ long, but the final length can be shortened easily by stopping at the end of any completed unit.
Morgana Bracelet Kit
The instructions are the property of the kit maker, so I won’t be listing the step by step instructions here, but the step-by-step sheet included has great close-up pictures and is easy to follow (and once you have made up the kit project, you have the instructions to make as many more as you like, by just purchasing additional jump rings and clasps).

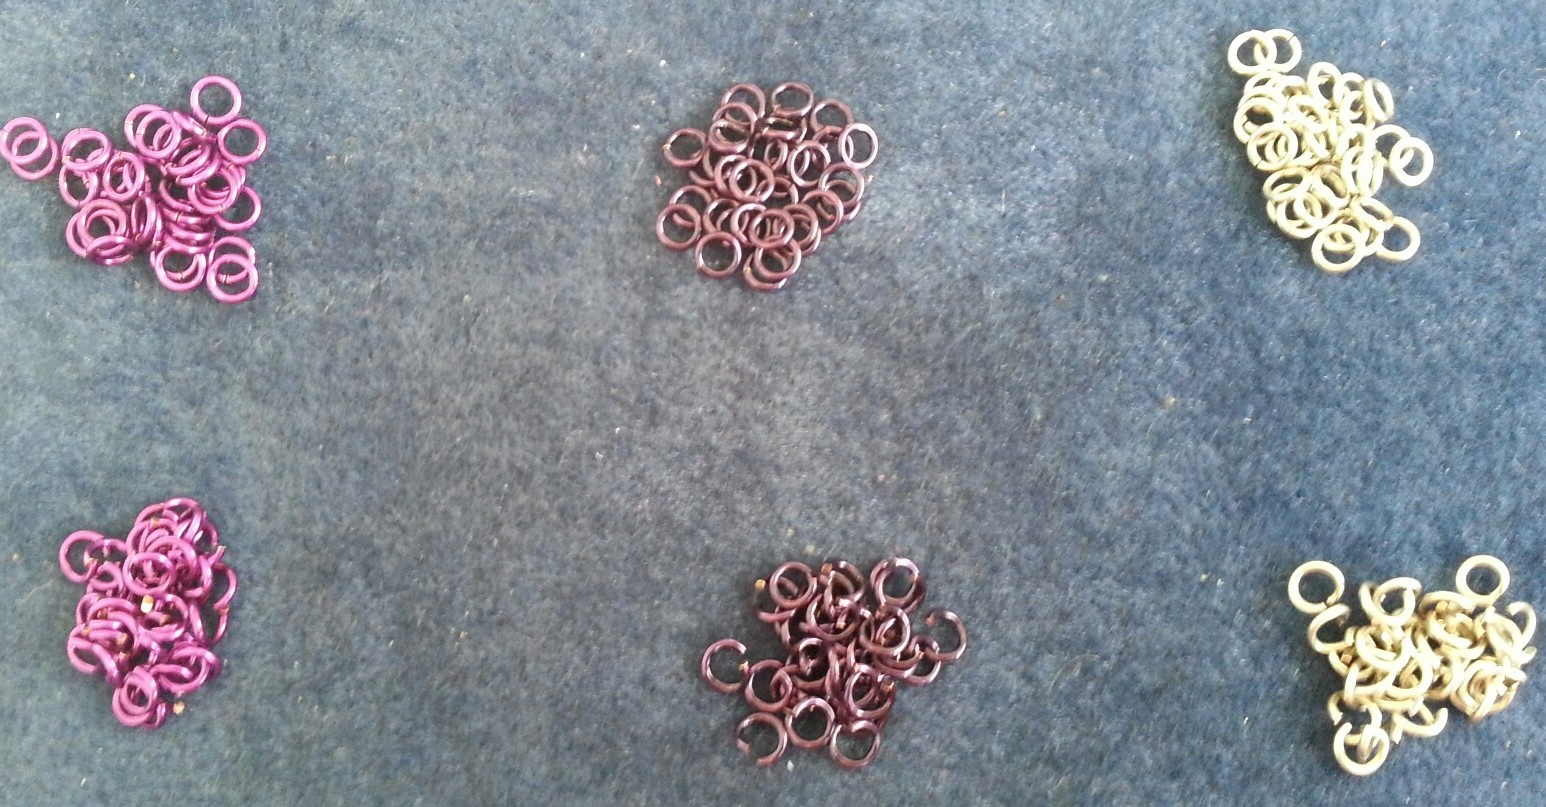
Jump rings from Weave Got Maille kit
Here are my thought and hints for weaving chain maille painlessly.
- Yes, you do need two pair of chain nose pliers. Do not try using a pair of flat nose or a pair of round nose as a substitute. They can both be regular, or bent, or a combination of styles, but you want smooth pliers, because serrated nose pliers will mar the finish on the rings. The smaller the rings that you are using, the more important it is to have pliers with a narrow tip, and ones that are comfortable to hold. My personal choice for comfort and pricing are the full size wubbers pliers. The longer cushioned handle helps prevent hand fatigue and the tips are reasonably narrow. For extremely narrow tips, lindstrom pliers can’t be beat, but they are a definite investment.
Wubbers Chain Nose Pliers
- To weave the maille quickly, you will need to pre-open some rings, and pre-close others. Only open the rings as wide as you need to slip them over the appropriate quantity of other rings. If you open the rings too wide, it is harder to close them neatly and tightly. For the pre-closed rings, make the closure as seamless as possible. It is much easier to close the rings neatly at this stage than it is when weaving. An illustration of the correct way to open and close rings is included in the instructions.
Opened and Closed rings from Weave Got Maille Kit
- Use a soft surface to work on. The bead mats are ideal, since they allow you to “scoop” up the closed rings without catching on the material, and the rings that you drop (and you will) don’t go very far.
- When weaving, rest your hands on the surface, or as close as you can comfortably be to the surface. The extra support will help prevent the project from slipping and rings from escaping.
One of the tools in the kit is a large paperclip. Attaching this to the beginning of the project accomplishes two things, it gives you a “handle” to work on the chain while it is short, and it reminds you which end you are working on.
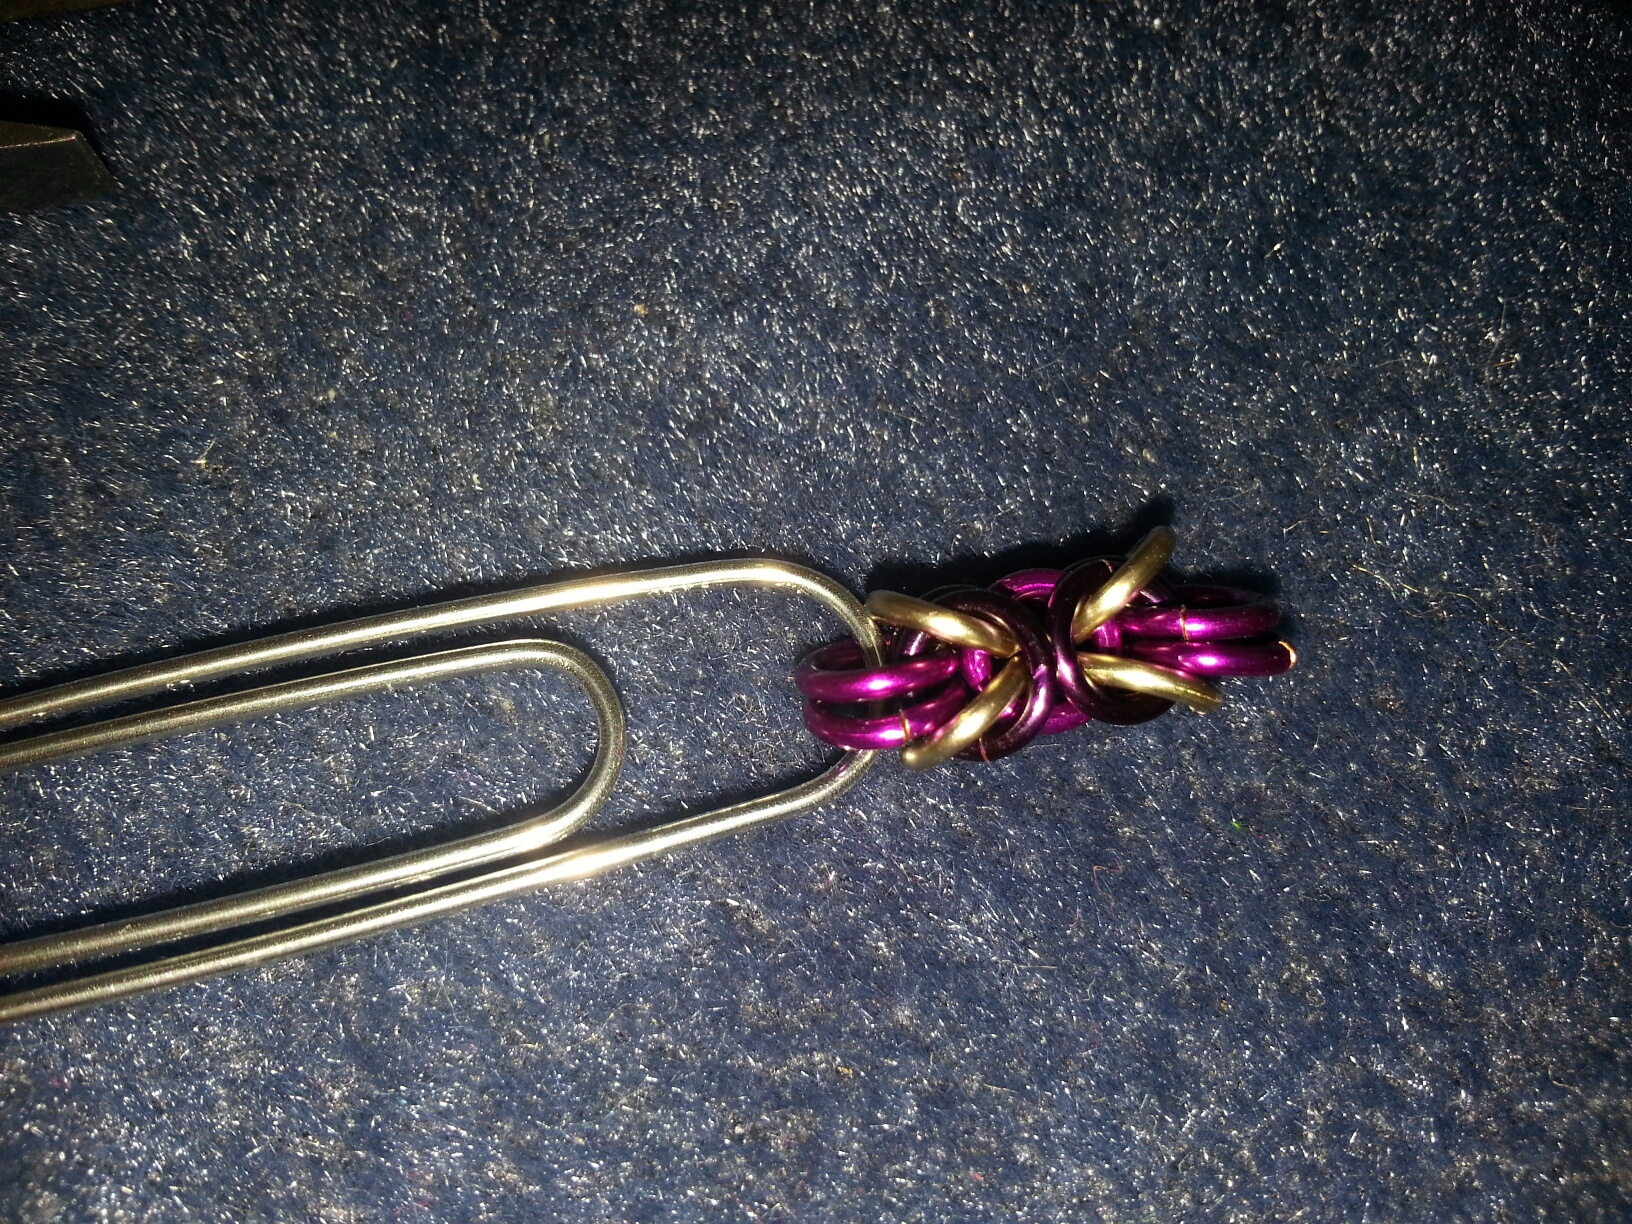
Byzantine Chain first unit
Here is my finished project. You may notice that the design doesn’t quite match the design on the box. This is because I made a mistake on the second unit of the chain, by reversing my “b” and “c” colors. Rather than take it apart and re-do the section, I chose to work with this as a new pattern, and alternated each correct unit with an incorrect one. I kind of like the variation in the design. Sometimes errors allow for new ideas.

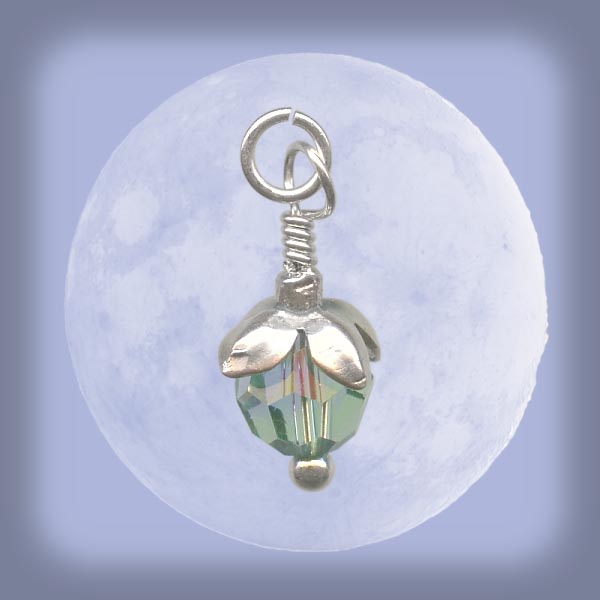
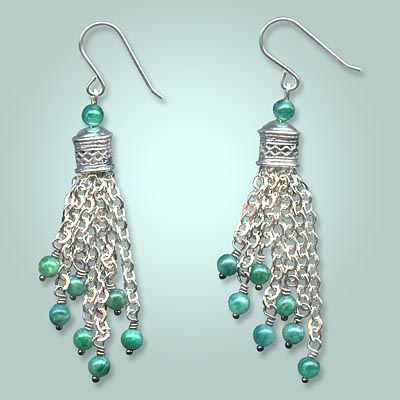
Melissa made a box chain bracelet, and then, having learned the pattern, designed this pair of Night in Emerald City box chain earrings.
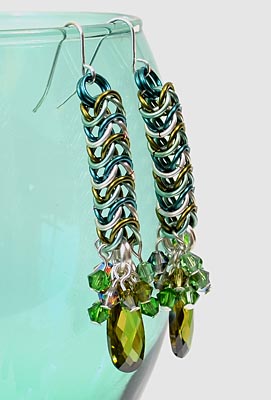
Night in Emerald City earrings
Are you a chain maille maker? Reply below if you have any great hints to share.
~ Rita ~


, and clear acrylic sheet. Turn the handle to feed the layers through the BIGkick tool.")


.")