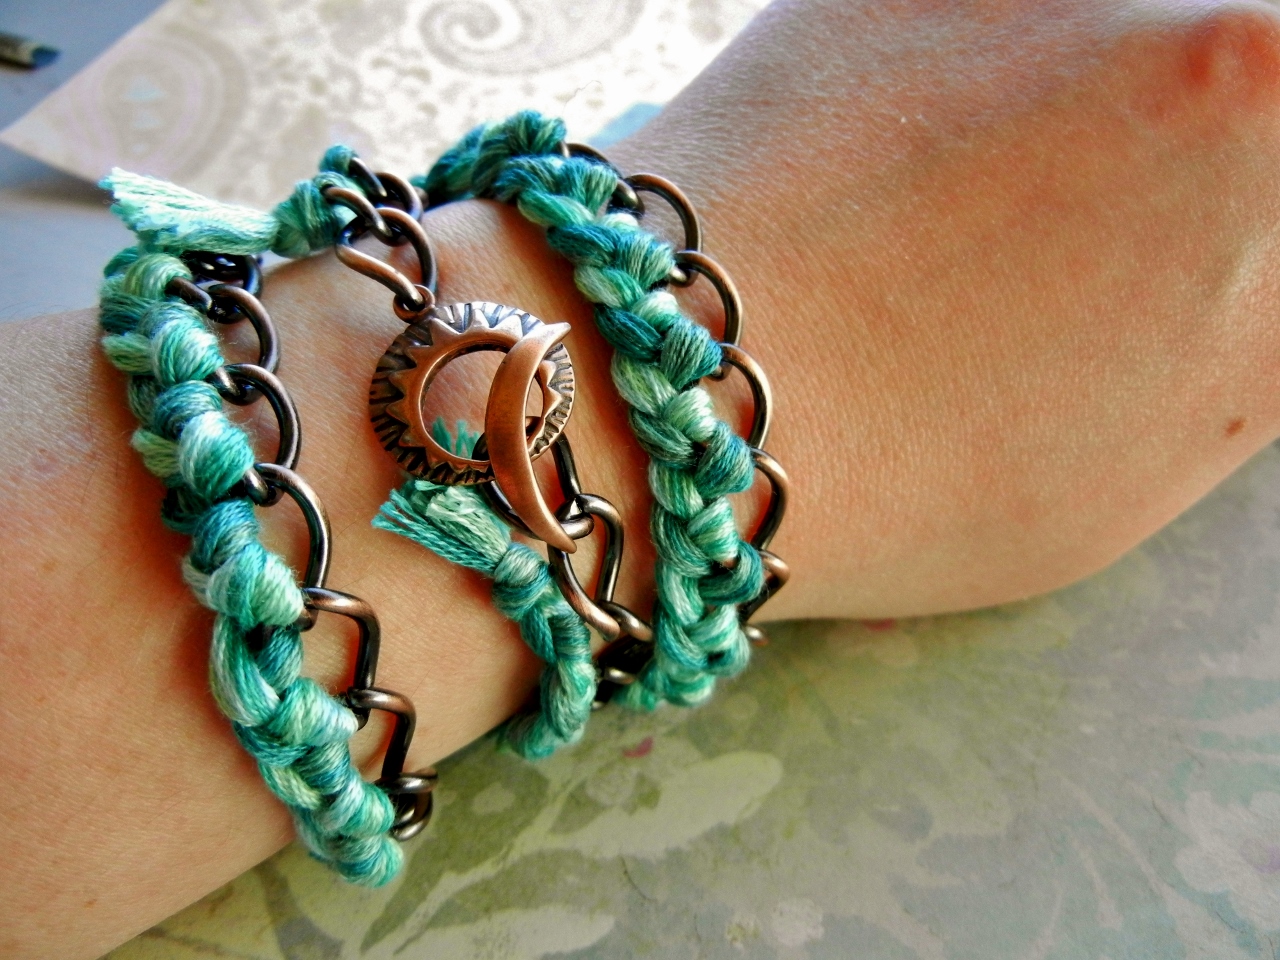
Braided Triple Wrapped Turquoise and Antique Copper Curb Chain Bracelet
I love wrapped bracelets! I like to wear multiple bracelets of all different colors and textures layered. After the popularity of the wrapped leather bracelet the last few years, I decided I wanted to make another colorful wrapped bracelet. Something I could layer with my other bracelets for a super bohemian look!

To make these bracelets you need large antique copper cable chain (I used #40-099-24-7), embroidery thread, scissors, an antique copper toggle clasp (I used #49-181-14-AC) and two bobby pins.

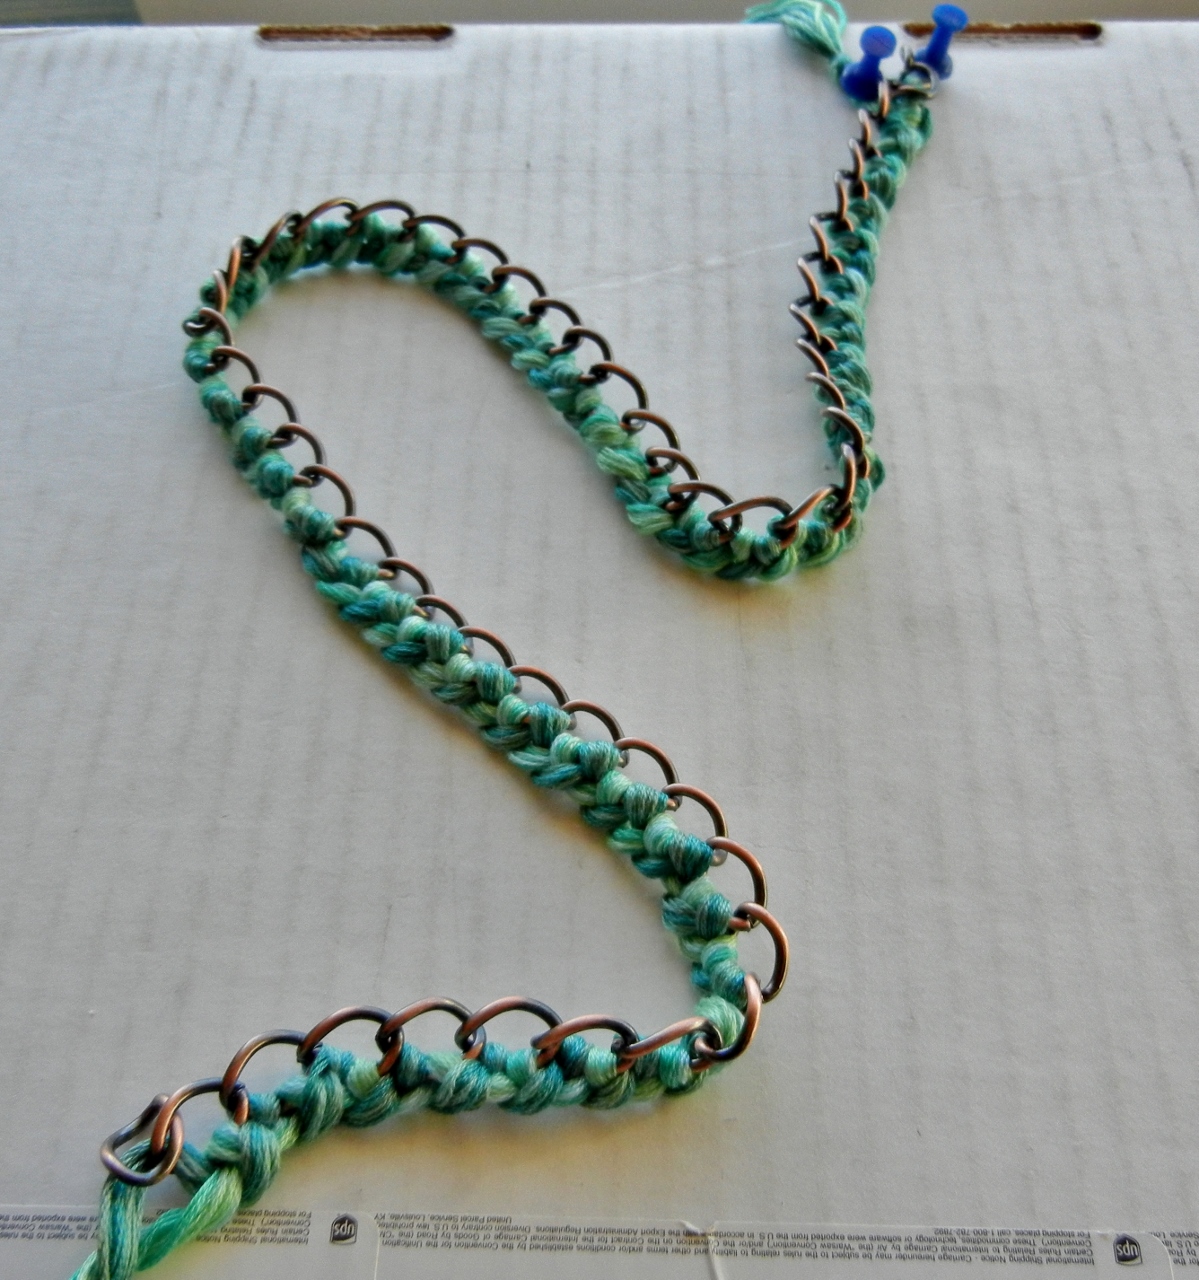
Measure your chain so that it will go around your wrist 3 times. In my case that was 23 inches. Measure your thread 3 times as long as that. For each part of the braid you want 7-10 pieces of thread. I did one in light turquoise colors, and one in darker turquoise colors. I used 7 strands for each portion of the braid, but I think I would have liked it a bit thicker, so next time I will use 9 or 10.
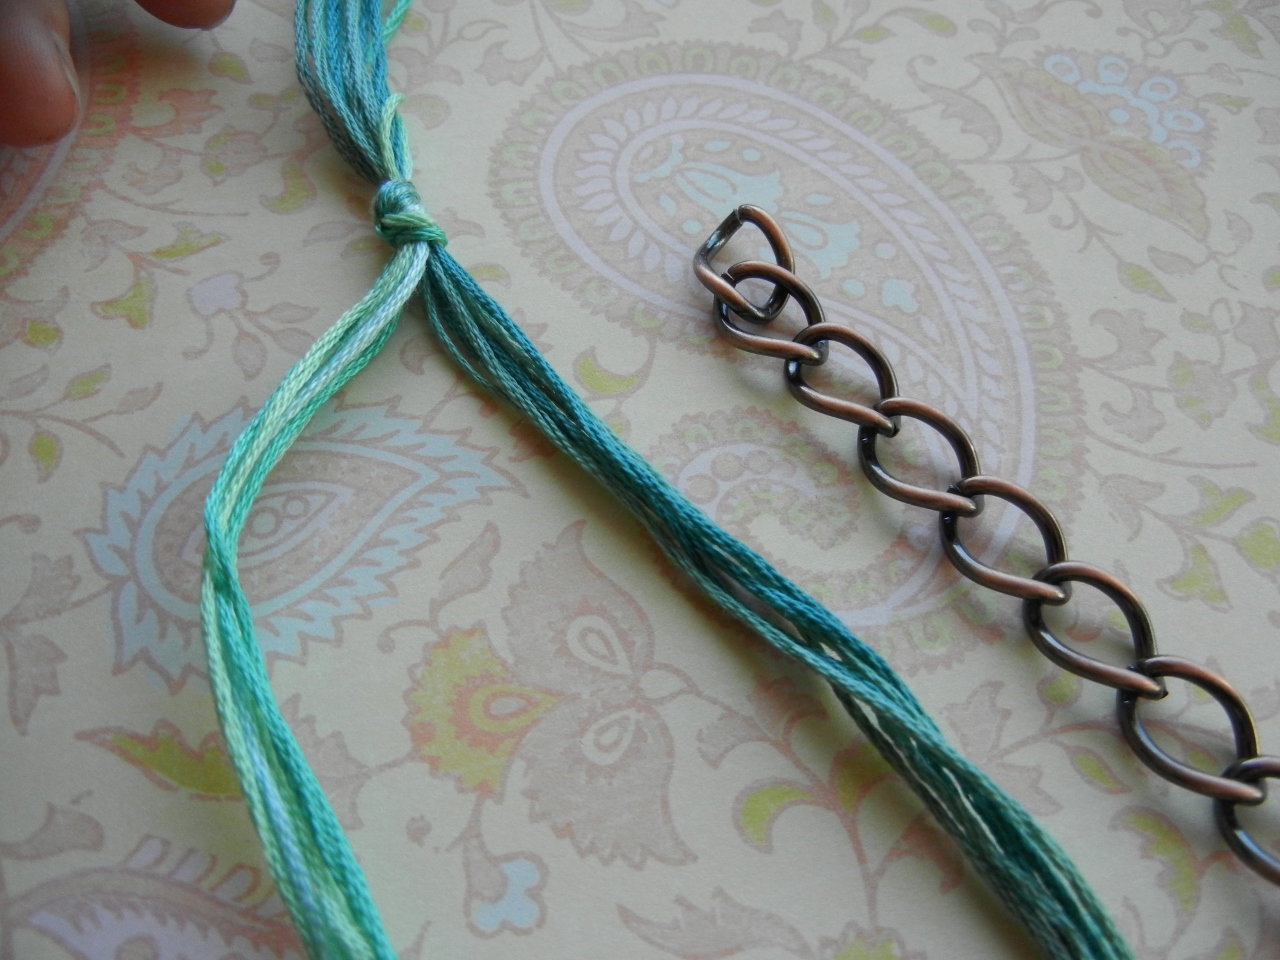
Tie the two segments into a knot.
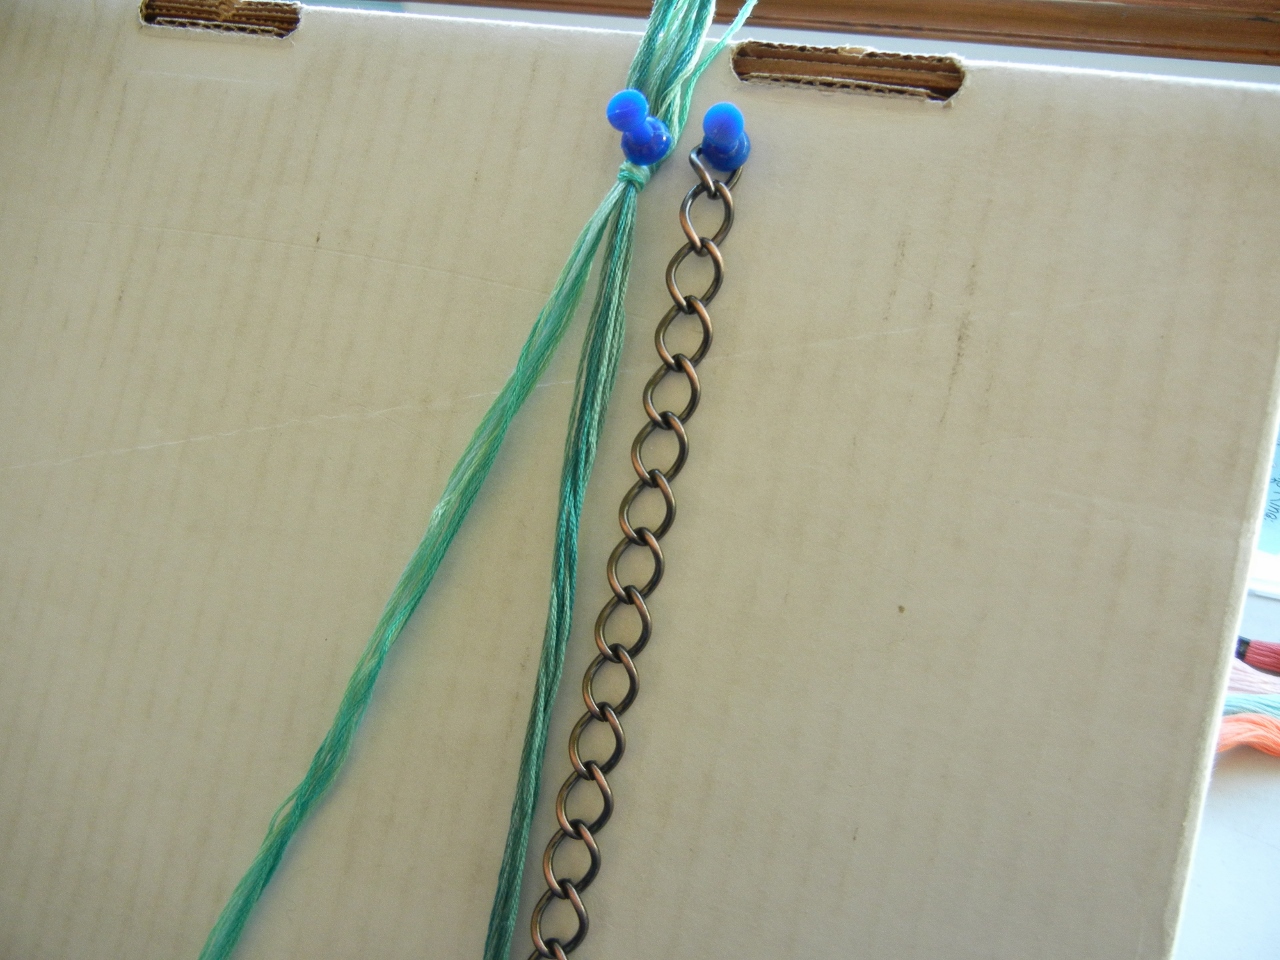
I found a cardboard box worked as a great work surface. Simply use a thumb tack to attach the chain and embroidery thread to the cardboard.
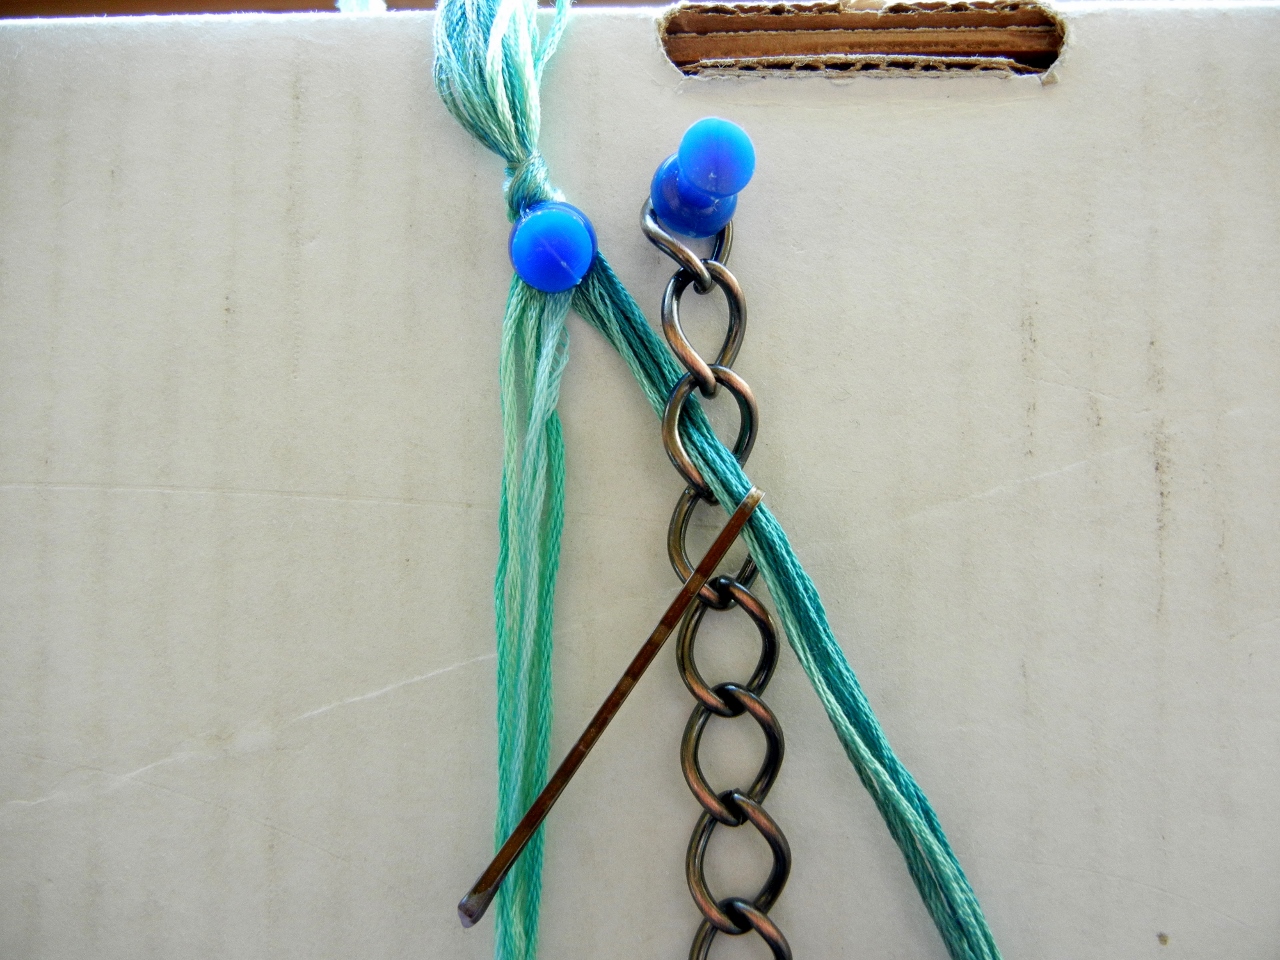
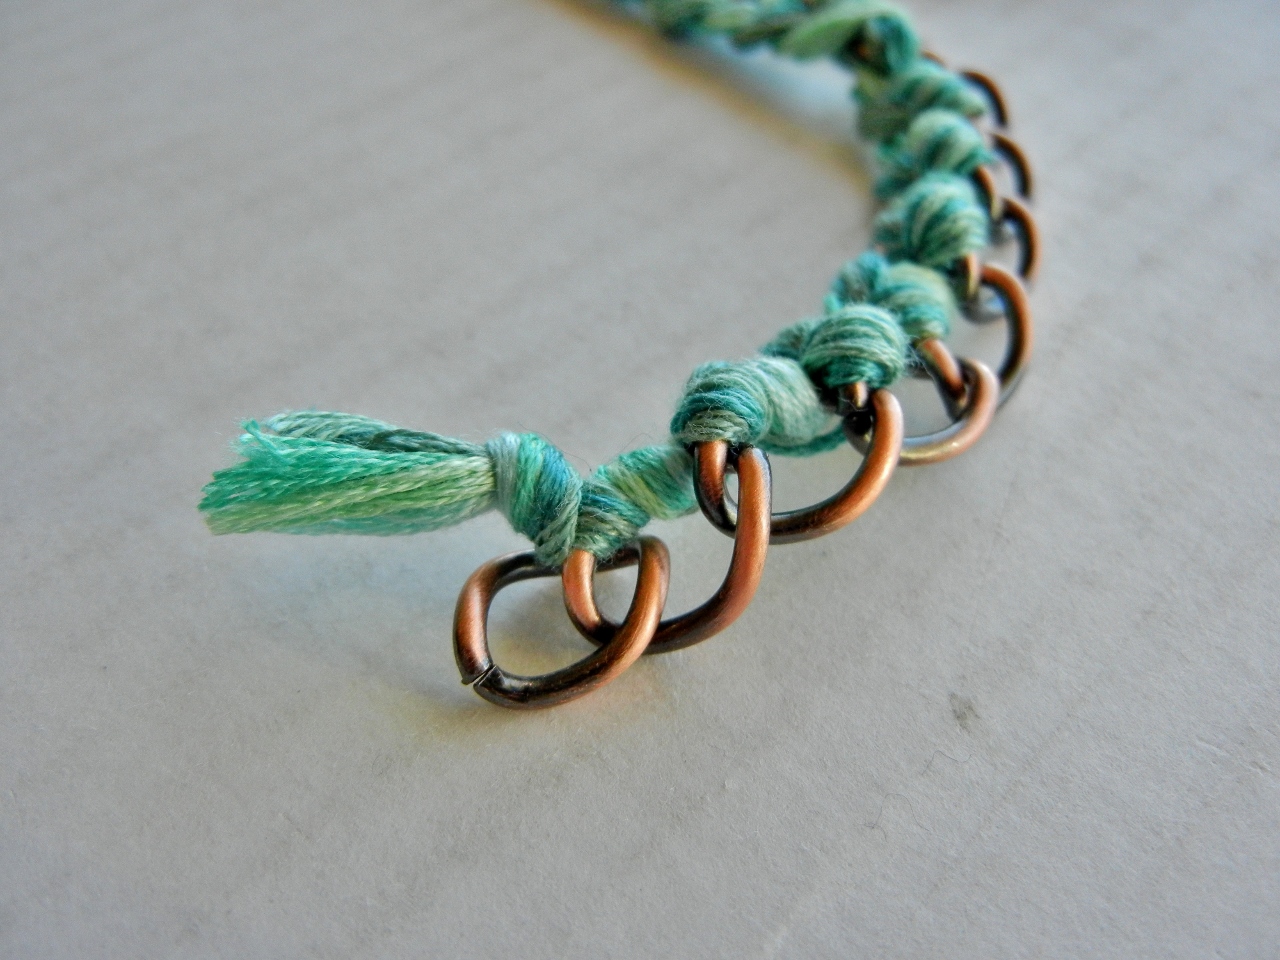
Use the bobby pins like larger needles to help you thread the embroidery thread through the chain. Start by threading one portion from underneath.
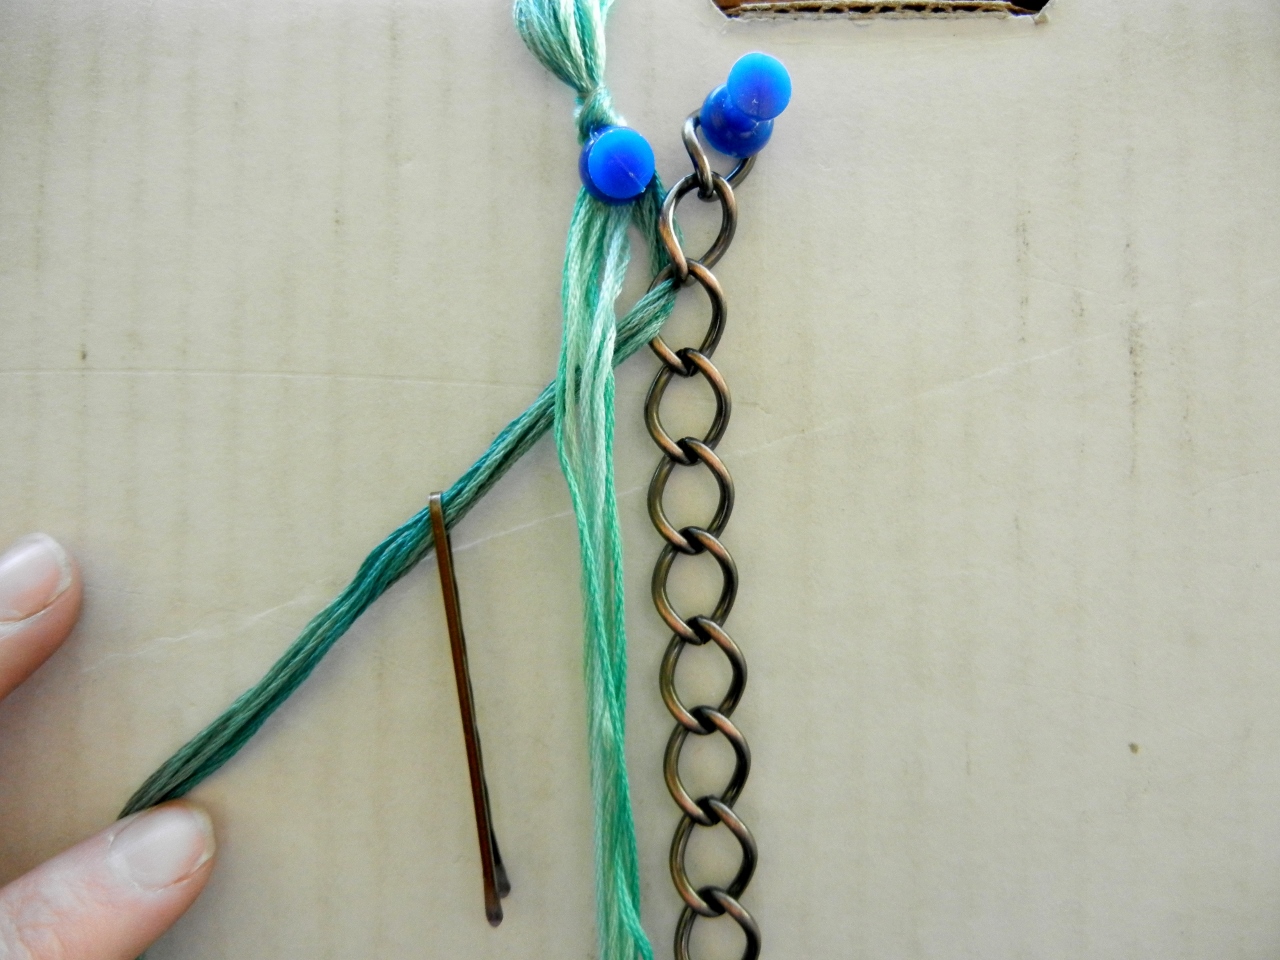
Bring the first segment of thread under the the other one.

Now bring the second segment through the same chain link, also from behind. Both segments of thread will go through every link.
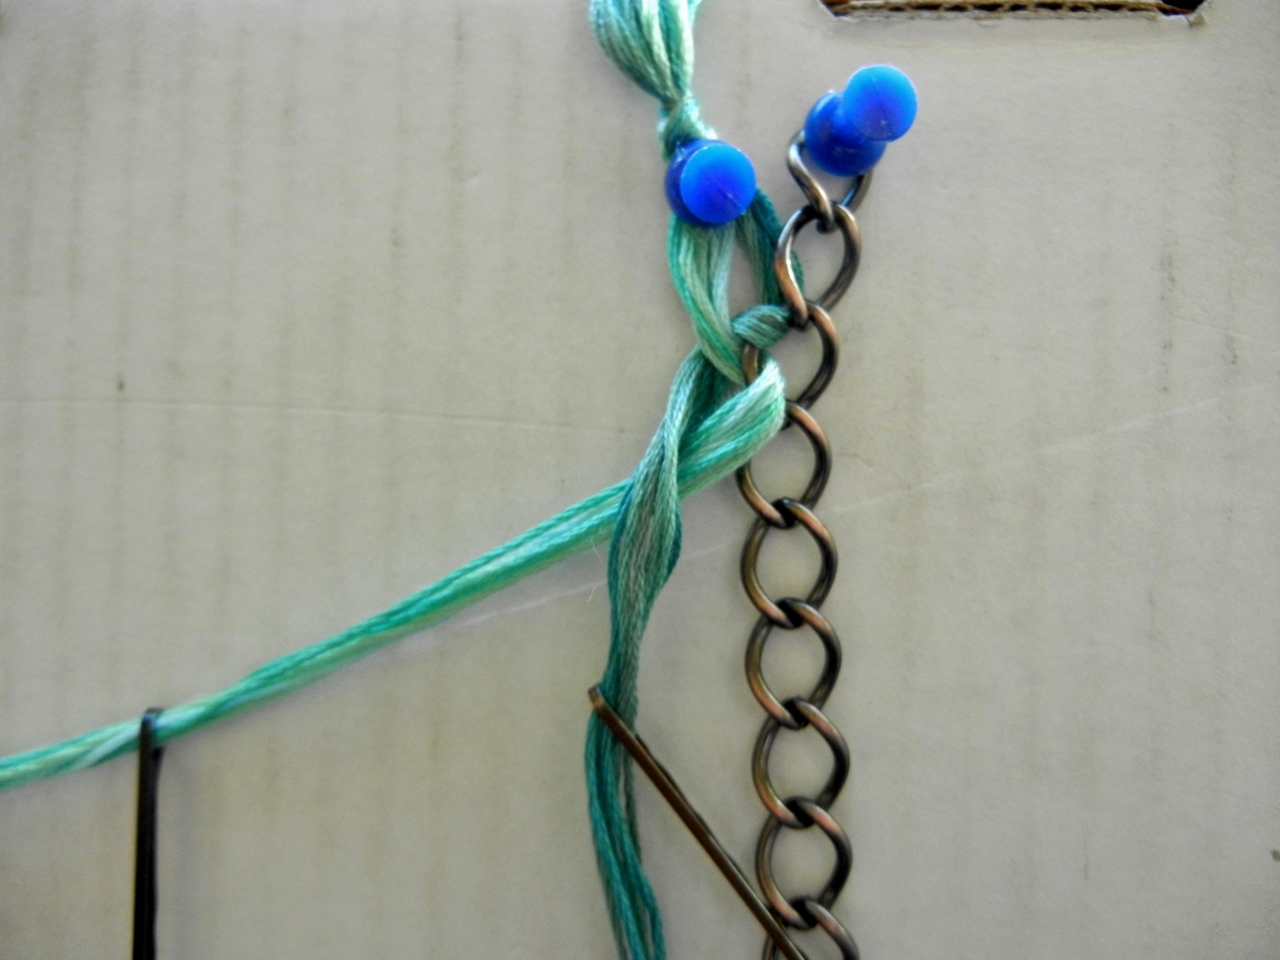
Bring the second segment under the first segment, and now repeat the process with the next link of chain. Always make sure that you thread the embroidery thread from behind.

After you get a few links done, you will see the braid pattern really developing.
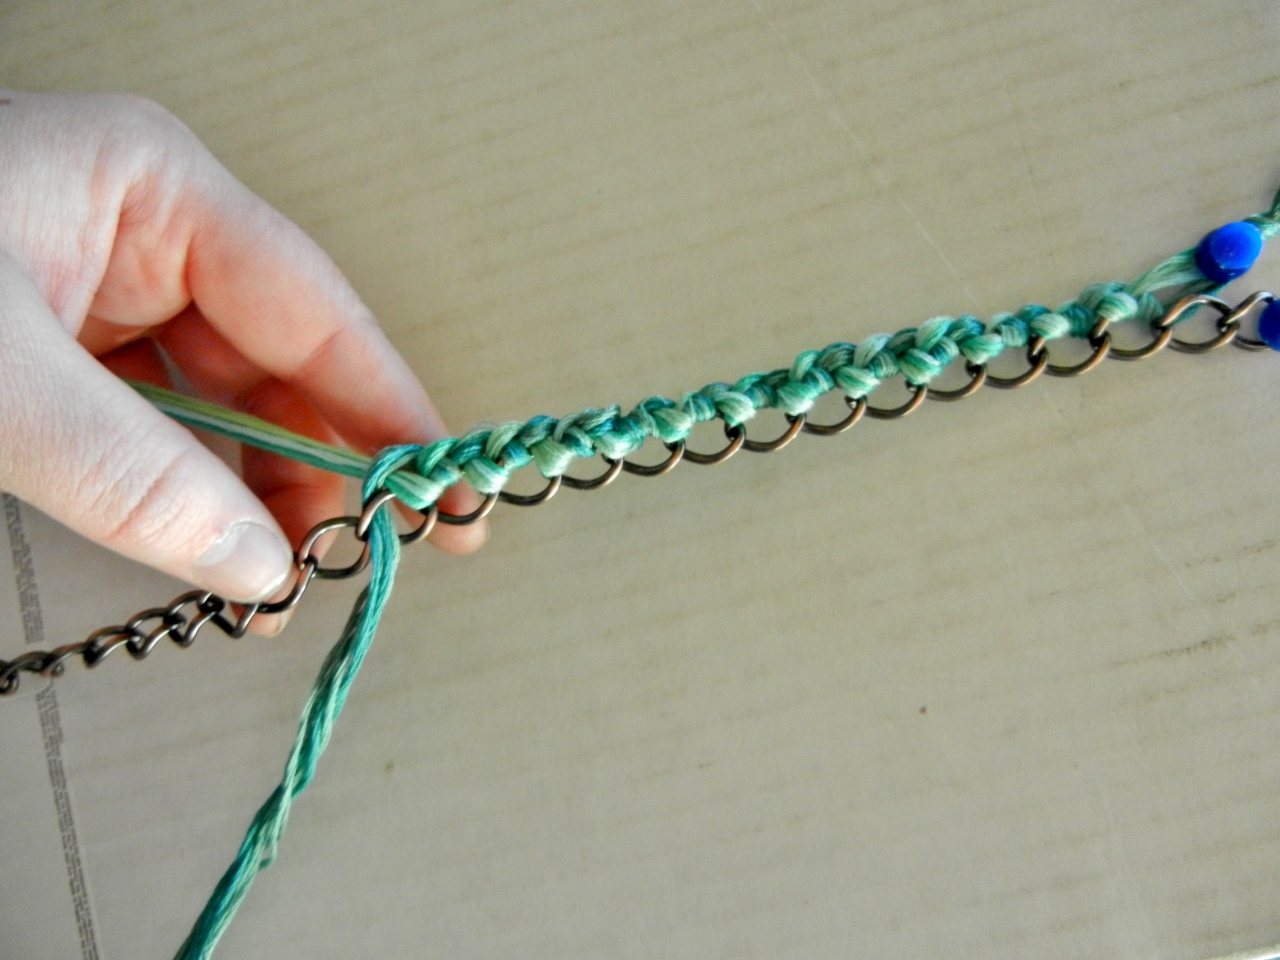
Keep the pattern going all the way down the chain. I had to focus while doing this. If someone started talking to me, I had to stop, or I would mess it up!
Continue the braid to until there is only one link of chain left.
All the way to the end almost!
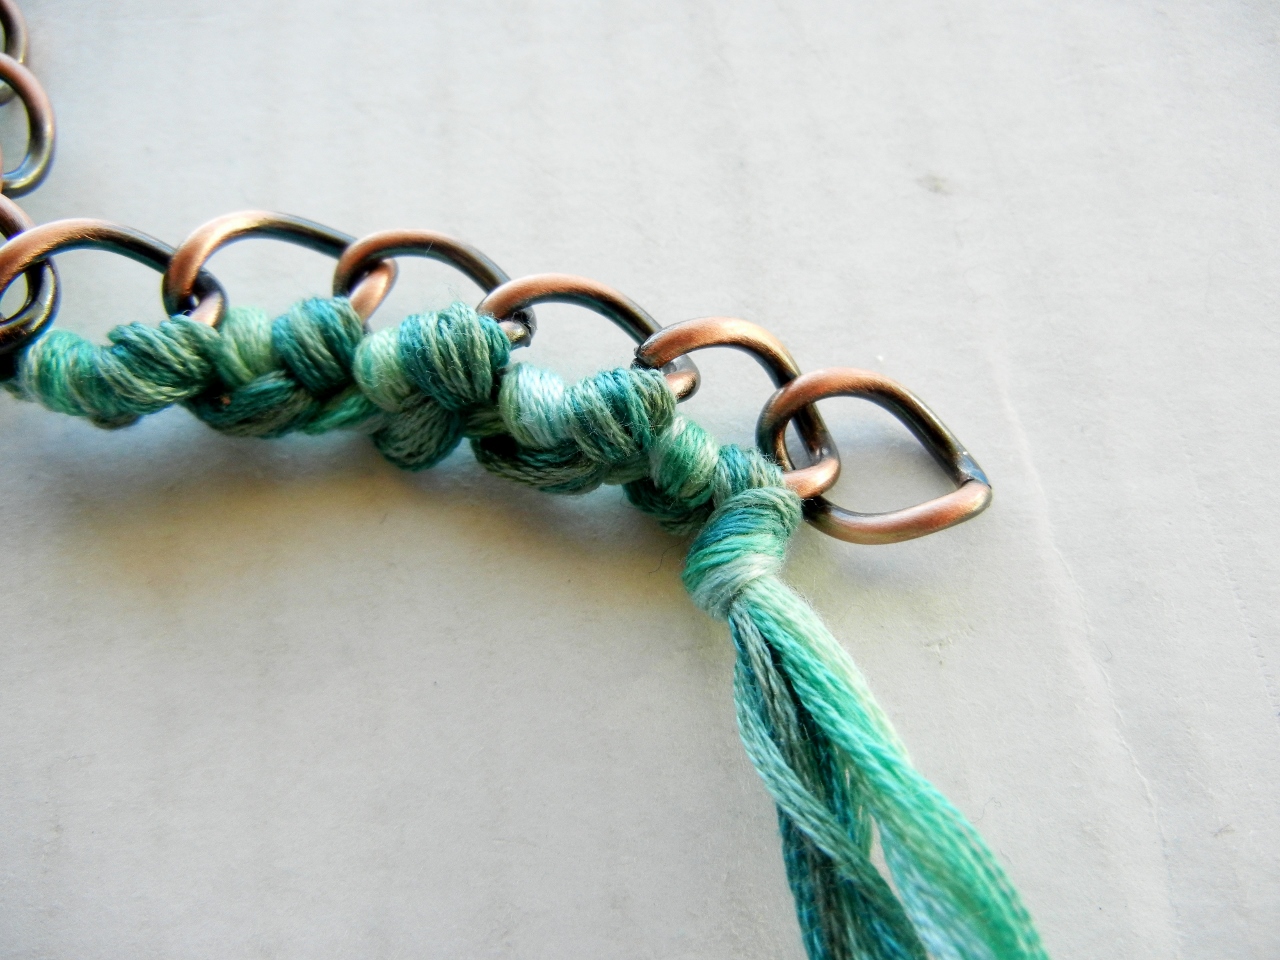
Make a knot as close to the chain as you can.
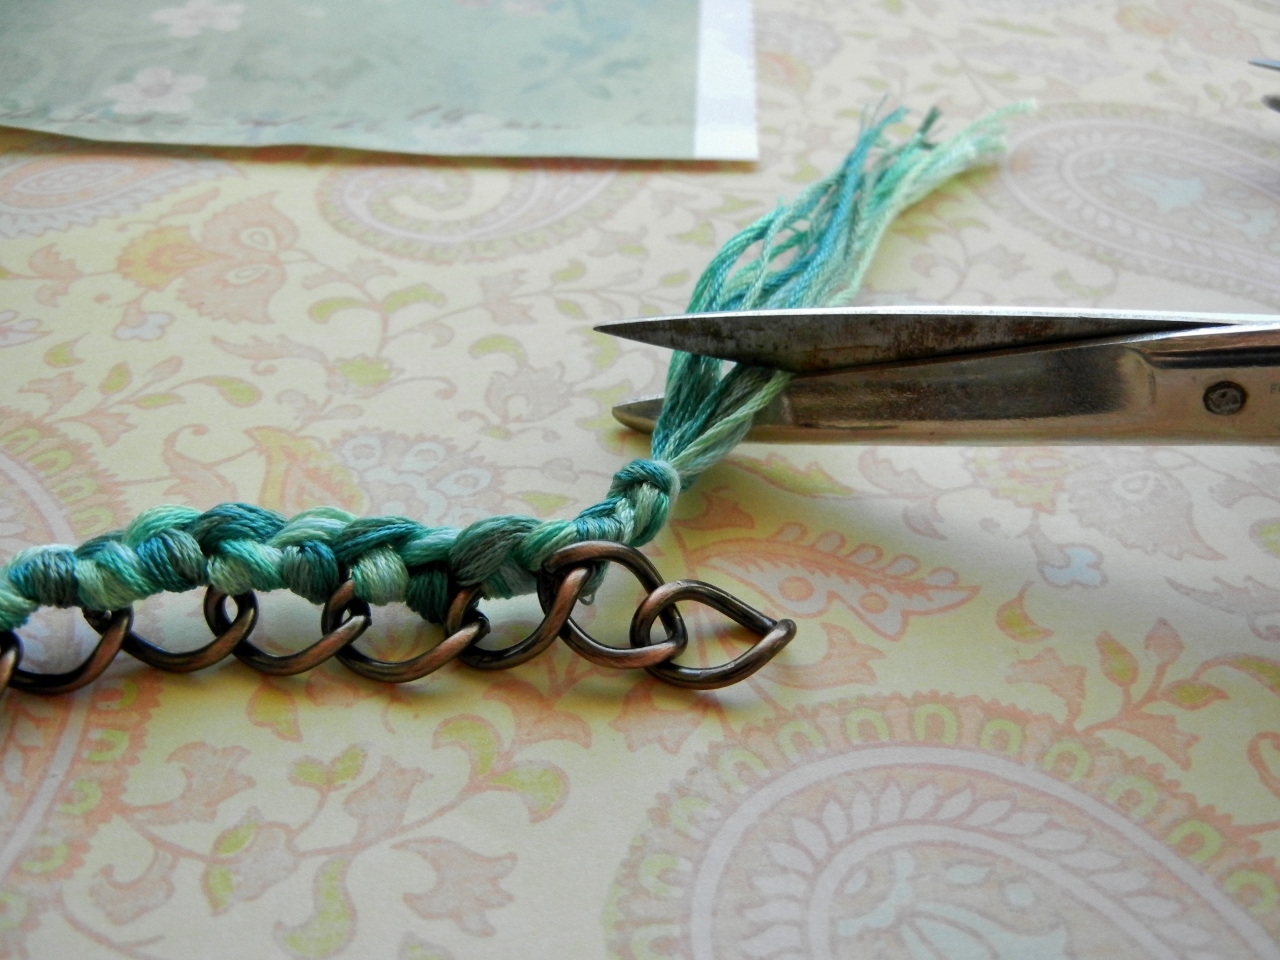
Using your scissors trim the excess thread. I left about a centimeter of fringe.
Both sides should be trimmed the same for a clean look on each side.
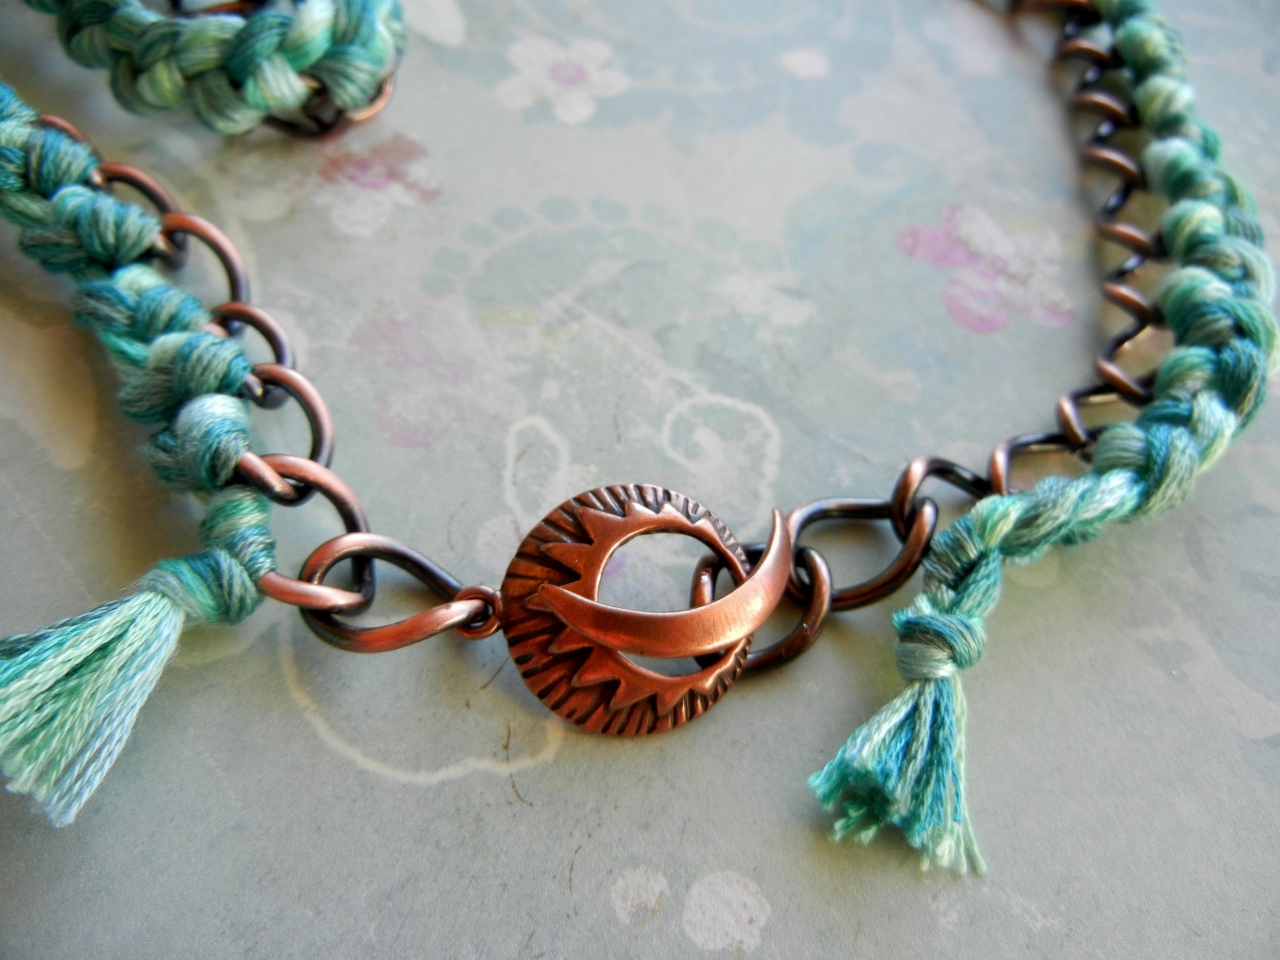
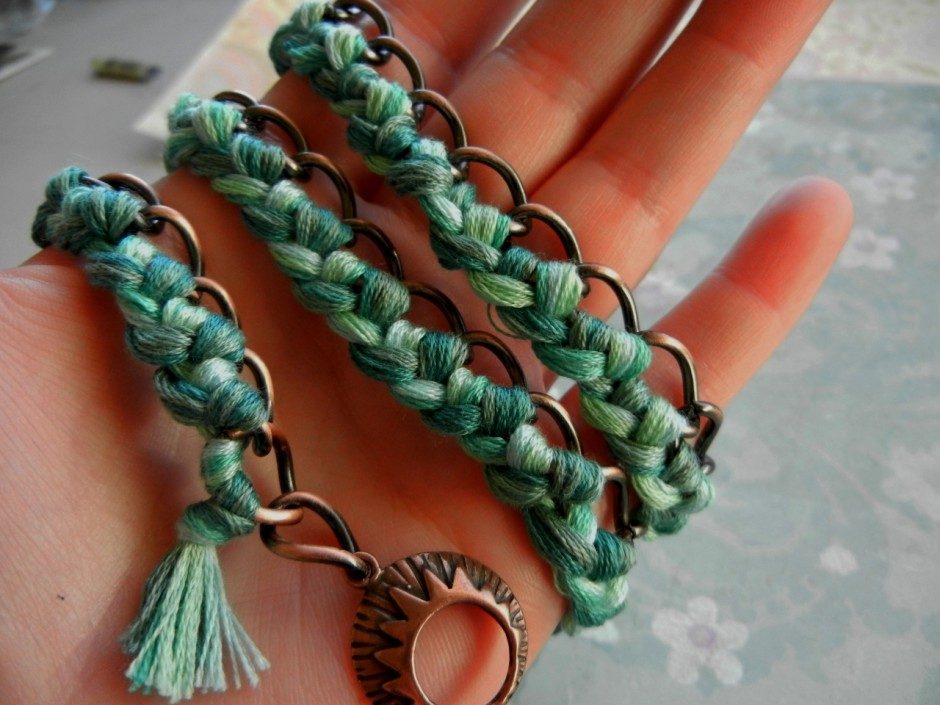
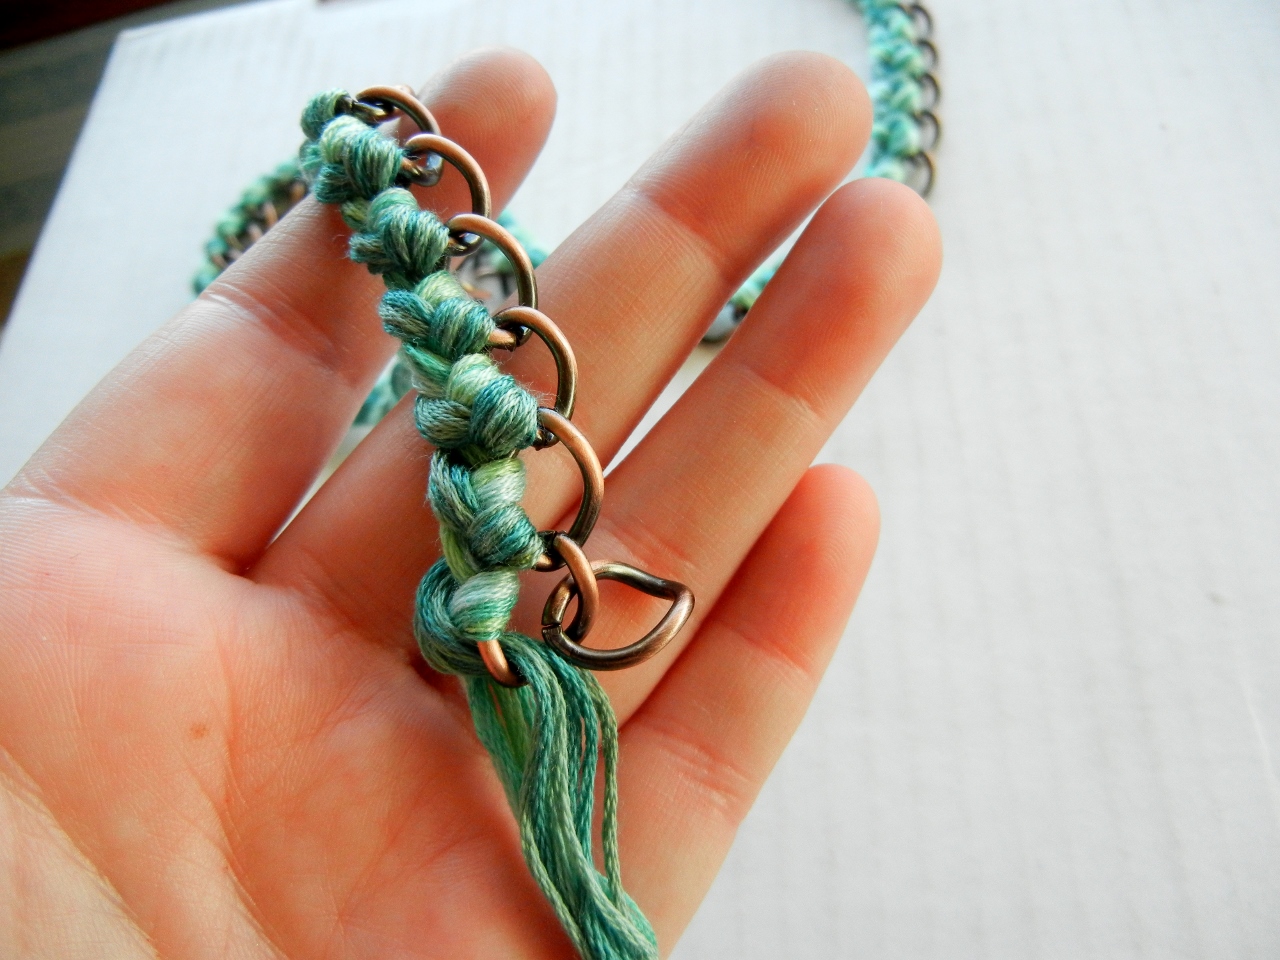
Attach a clasp of your choice. I used this cool star and moon antique copper one. Open the chain links carefully with chain nose pliers to attach the clasp.
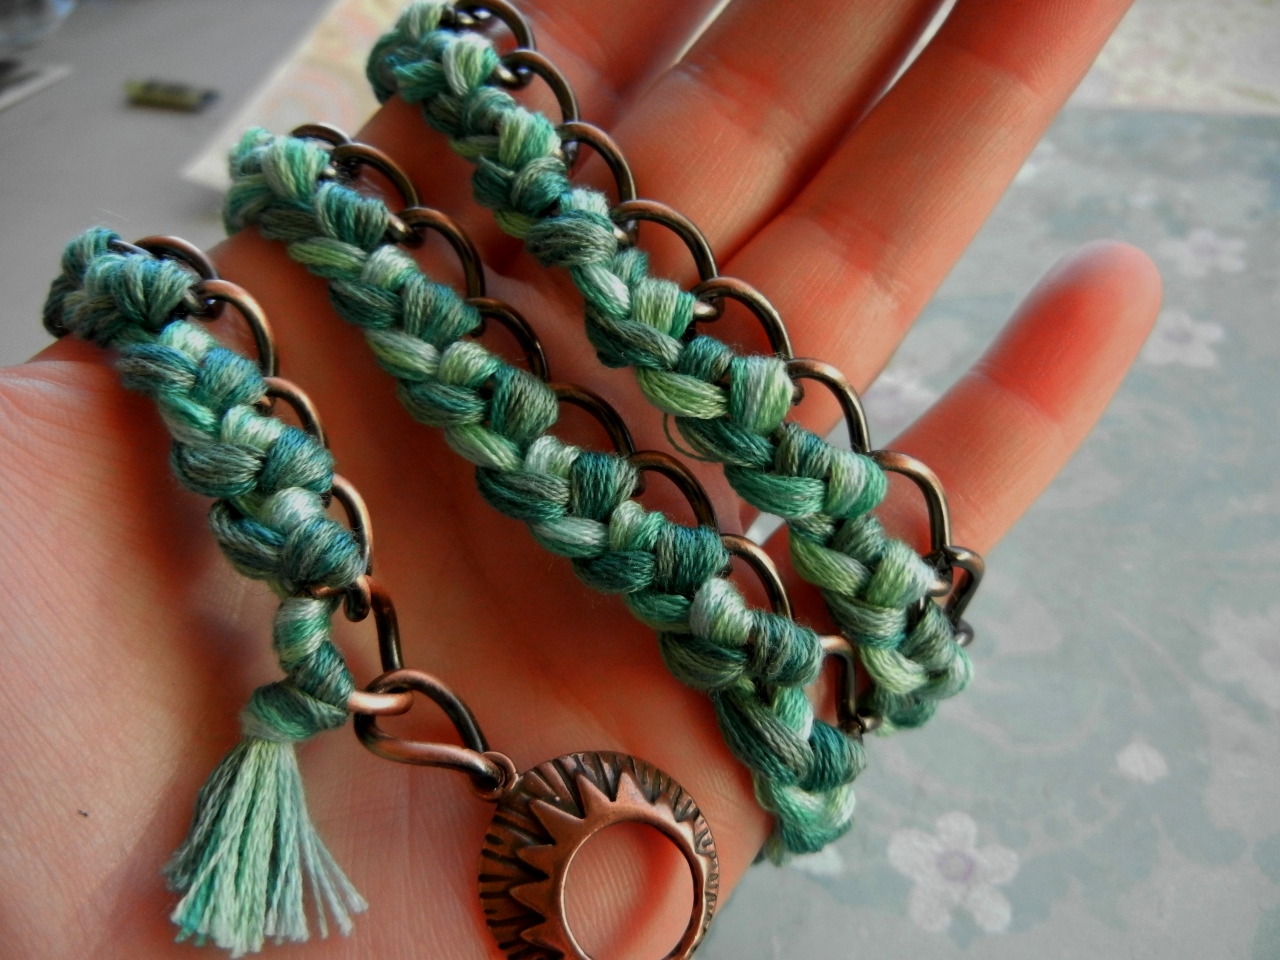
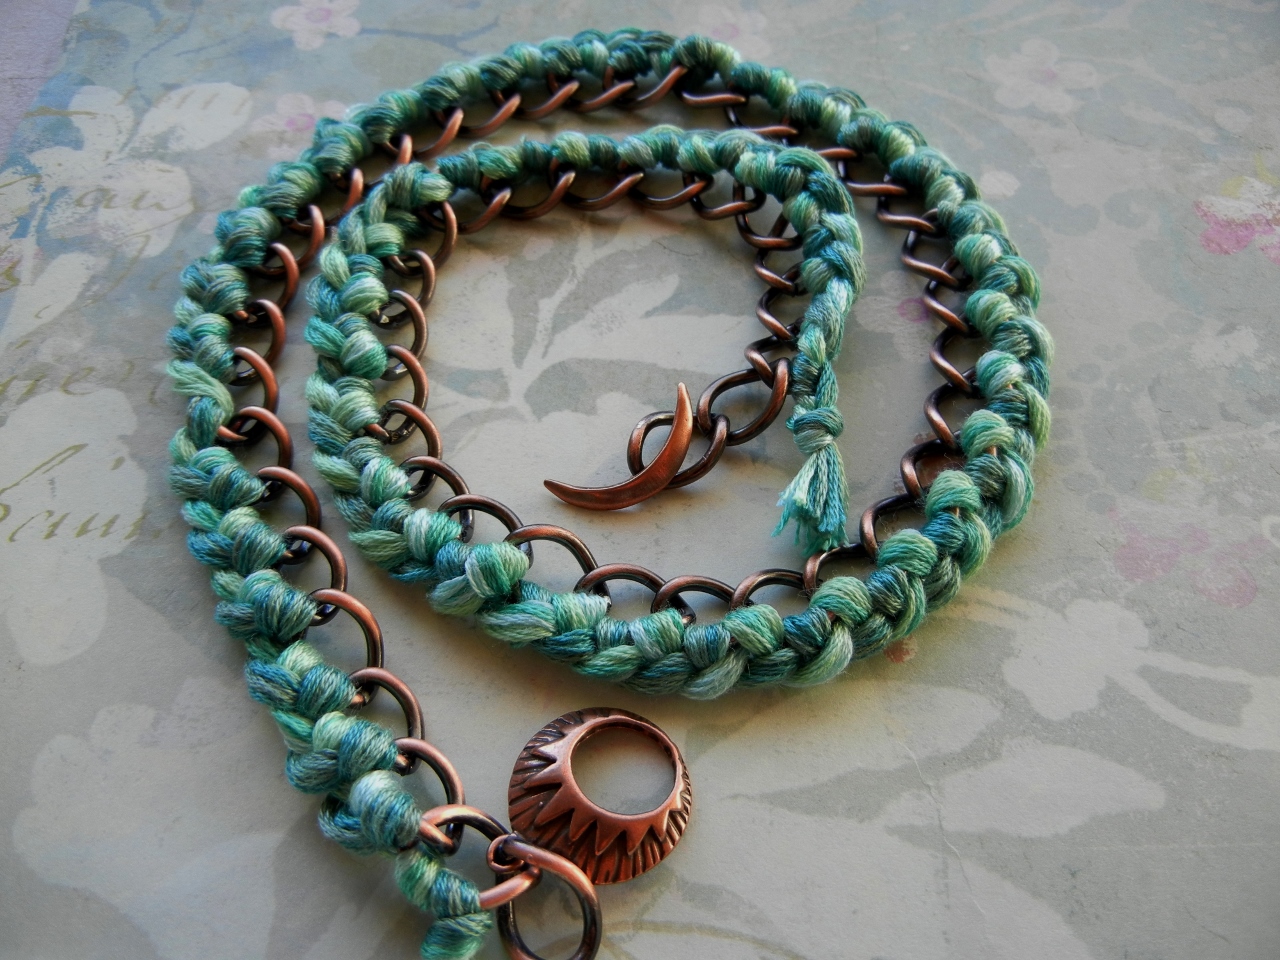
Completed bracelet!
Font of the bracelet. Or back…..whatever you decide!
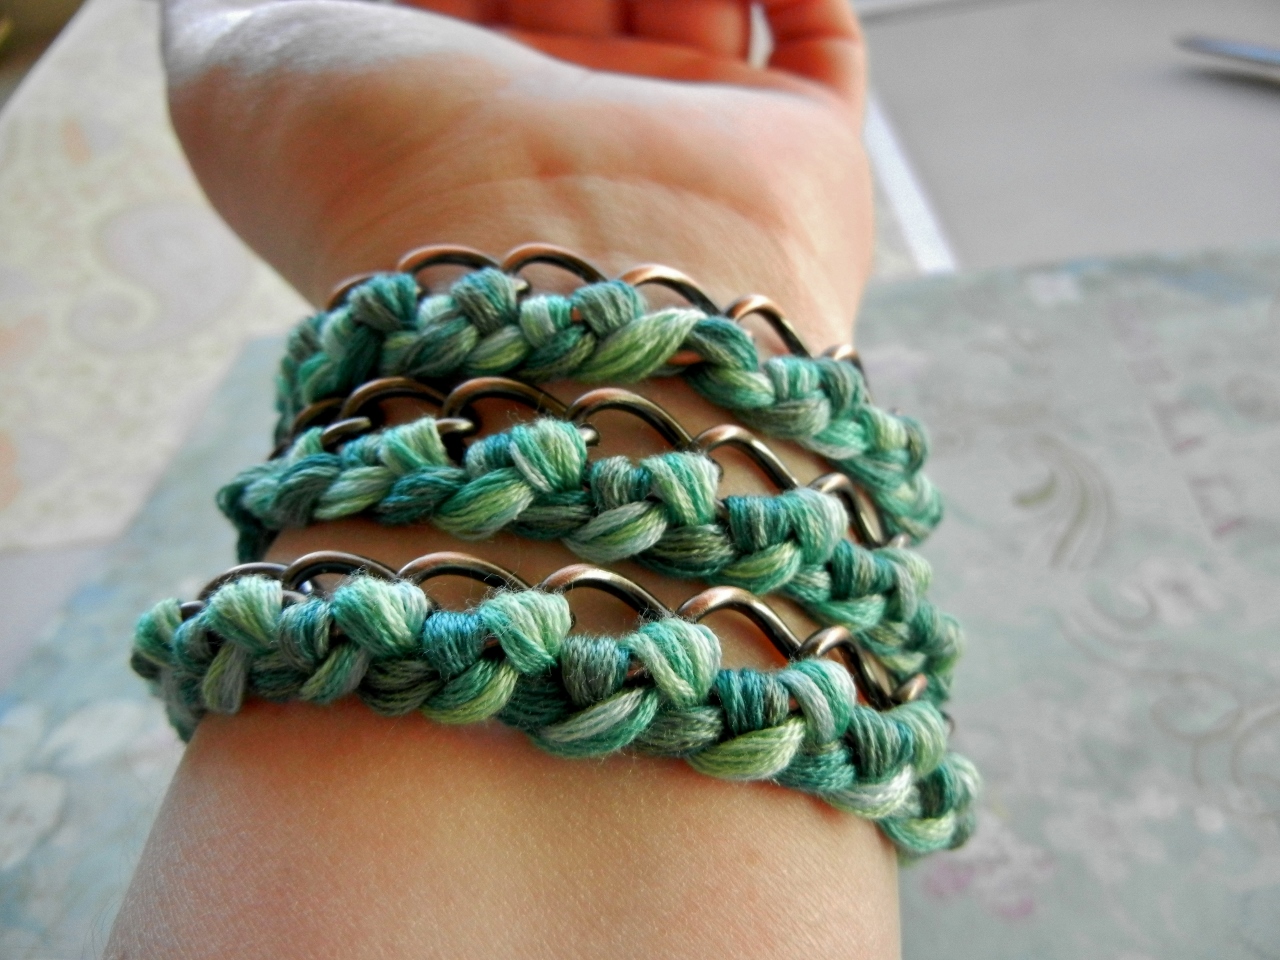
I love the color combination of greens and turquoise with warm antique copper!
Check out these other fun wrap bracelet projects!
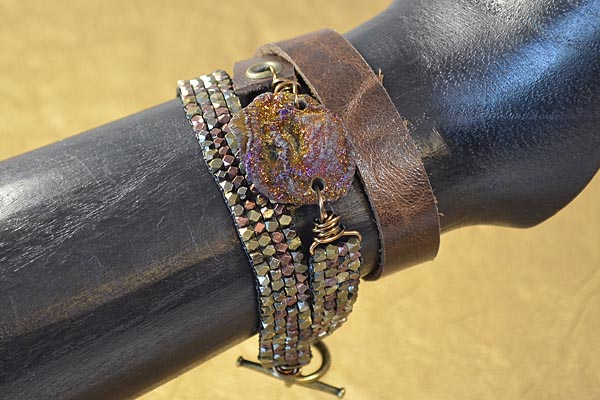
I love this wrap bracelet! Sunset Over the Kalahari Wrap Bracelet by Summer Melaas.
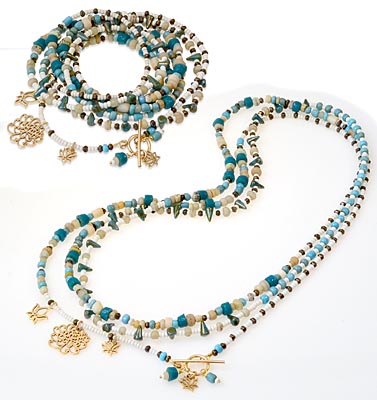
This Bohemian Wrap Bracelet by Summer Melaas is so beachy! I love it!
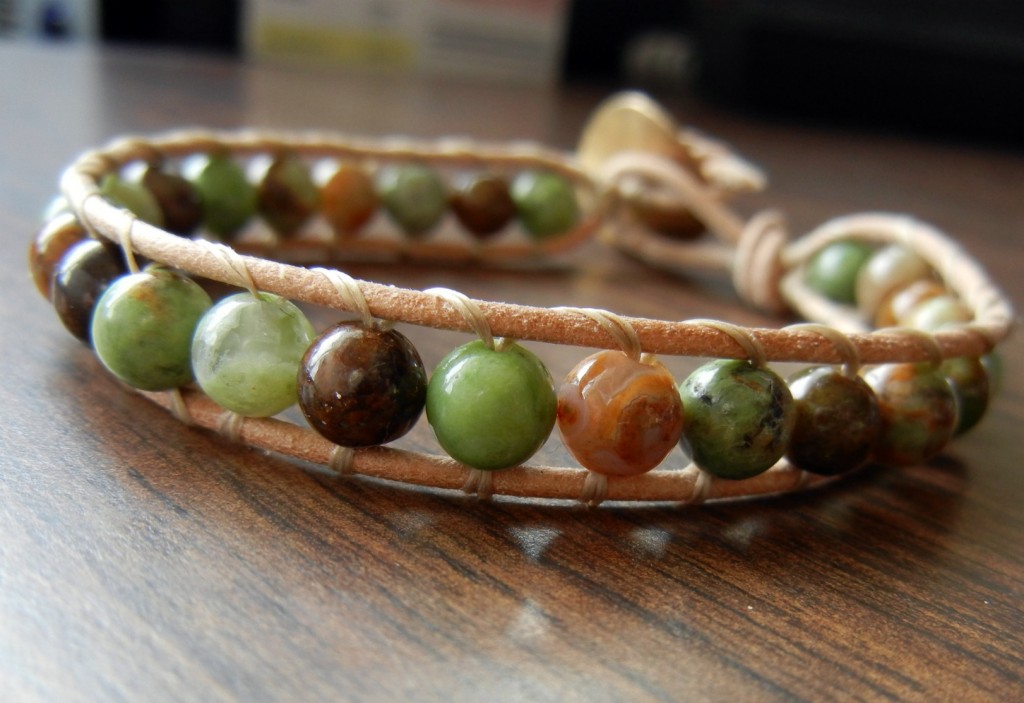
If you liked that bracelet tutorial, you might also like this wrapped leather bracelet blog! We also sell pre-made kits for this type of bracelet!

2 Comments
These are all beautiful . My wife and I both love your work!
This is lovely!