The Man Cuff. The perfect gift for that hard to shop for guy in your life!
As a jewelry maker, one of the most difficult things for me to do is make men’s jewelry. I think it is just my instinct to make things that are pretty and feminine. My husband has been begging me to make him a “cool” bracelet for years. I always kind of shrug off his request, but keep the idea simmering on the way back burner. Recently I began etching metal, and this seemed like the perfect opportunity to finally make something masculine. Etching metal gives you the freedom to incorporate any design into your work, even manly ones.
For this bracelet, I am going to briefly show how to etch metal using ferric chloride acid. If you plan on etching metal, I highly recommend that you read through our metal etching blog and all the safety guidelines associated with etching metal.
You can also do this project by using metal stamps to create phrases or designs, if you are not ready to dive head first into etching.
Items needed to make this bracelet:
- copper or brass sheet metal
- leather bracelet blanks, I like the 1 1/2 inch for men
- metal shears
- metal files
- steel wool or sanding sponges
- permanent black Sharpie marker
- permanent ink pad, like StazOn
- rubber stamps with manly designs
- packing tape
- ferric chloride
- baking soda
- rubber gloves and safety glasses
- two plastic containers, one for etching the metal, one for cleaning the etched metal
- patina solution, like Novacan Black
- metal hole punch
- thread and needle
- bracelet bending pliers (optional)
To start this project, first etch the metal piece that will be the center of the bracelet. The way that the etching process works, acid eats away at the metal where there is no ink. Therefore, you can stamp any image onto your brass or copper sheet metal, and any exposed metal will be etched. I have done a wood grain pattern for this bracelet, but any masculine image would work. It seems like images of fish, guns, tools, bicycles, or anything sports-related would work well, depending on the hobbies of the recipient.

Use permanent ink to put your desired image on the metal. Make sure your metal is clean and free of any oils or dirt before stamping. I like to use a kitchen scrubbie to make sure it’s really clean first.
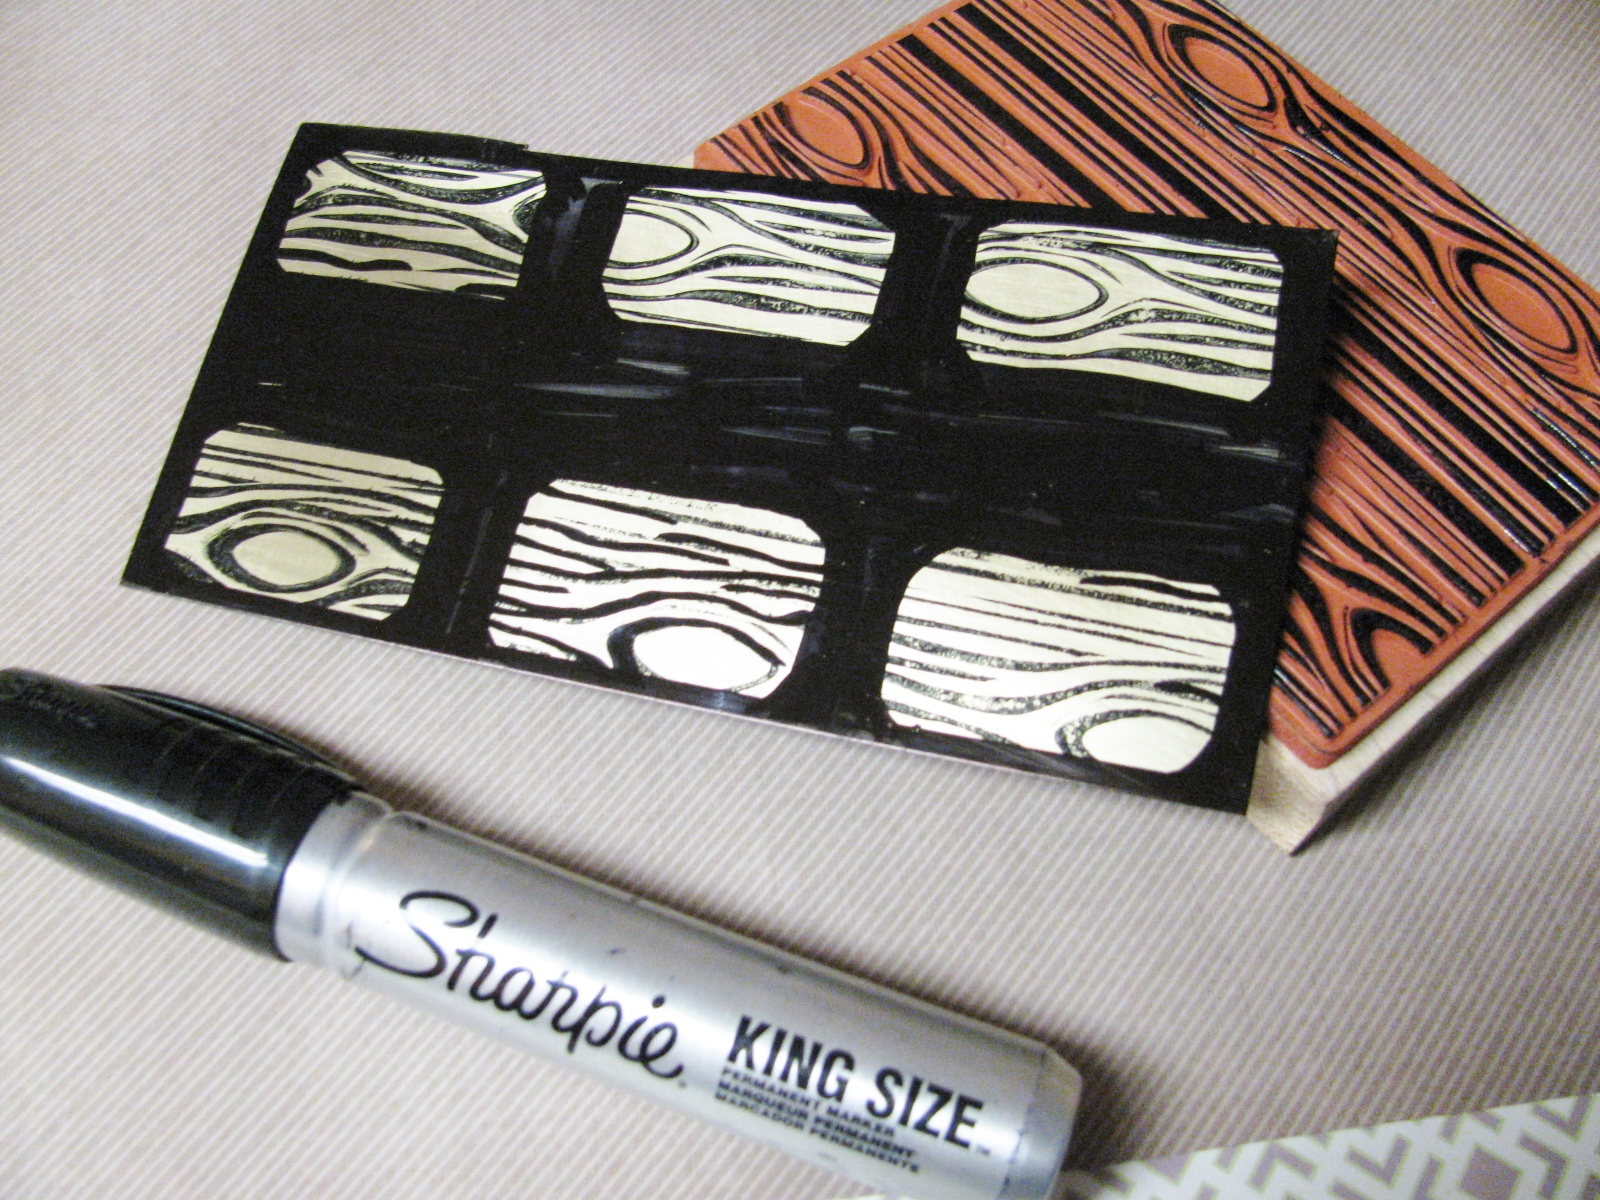
I made six pieces at once, by stamping first with the rubber stamp, then outlining the areas with a permanent black marker. If you want to make just one piece I would aim for dimensions around 1 by 2 inches. Also, make sure to cover the back of the metal with permanent ink.

Place the metal on packing tape and float it in a bath of ferric chloride, just enough so all the metal is touching the liquid. Remember to use gloves, safety glasses and read through the safety guidelines first! For a detailed explanation of how to use this product please read our blog on etching and on safety considerations when etching.
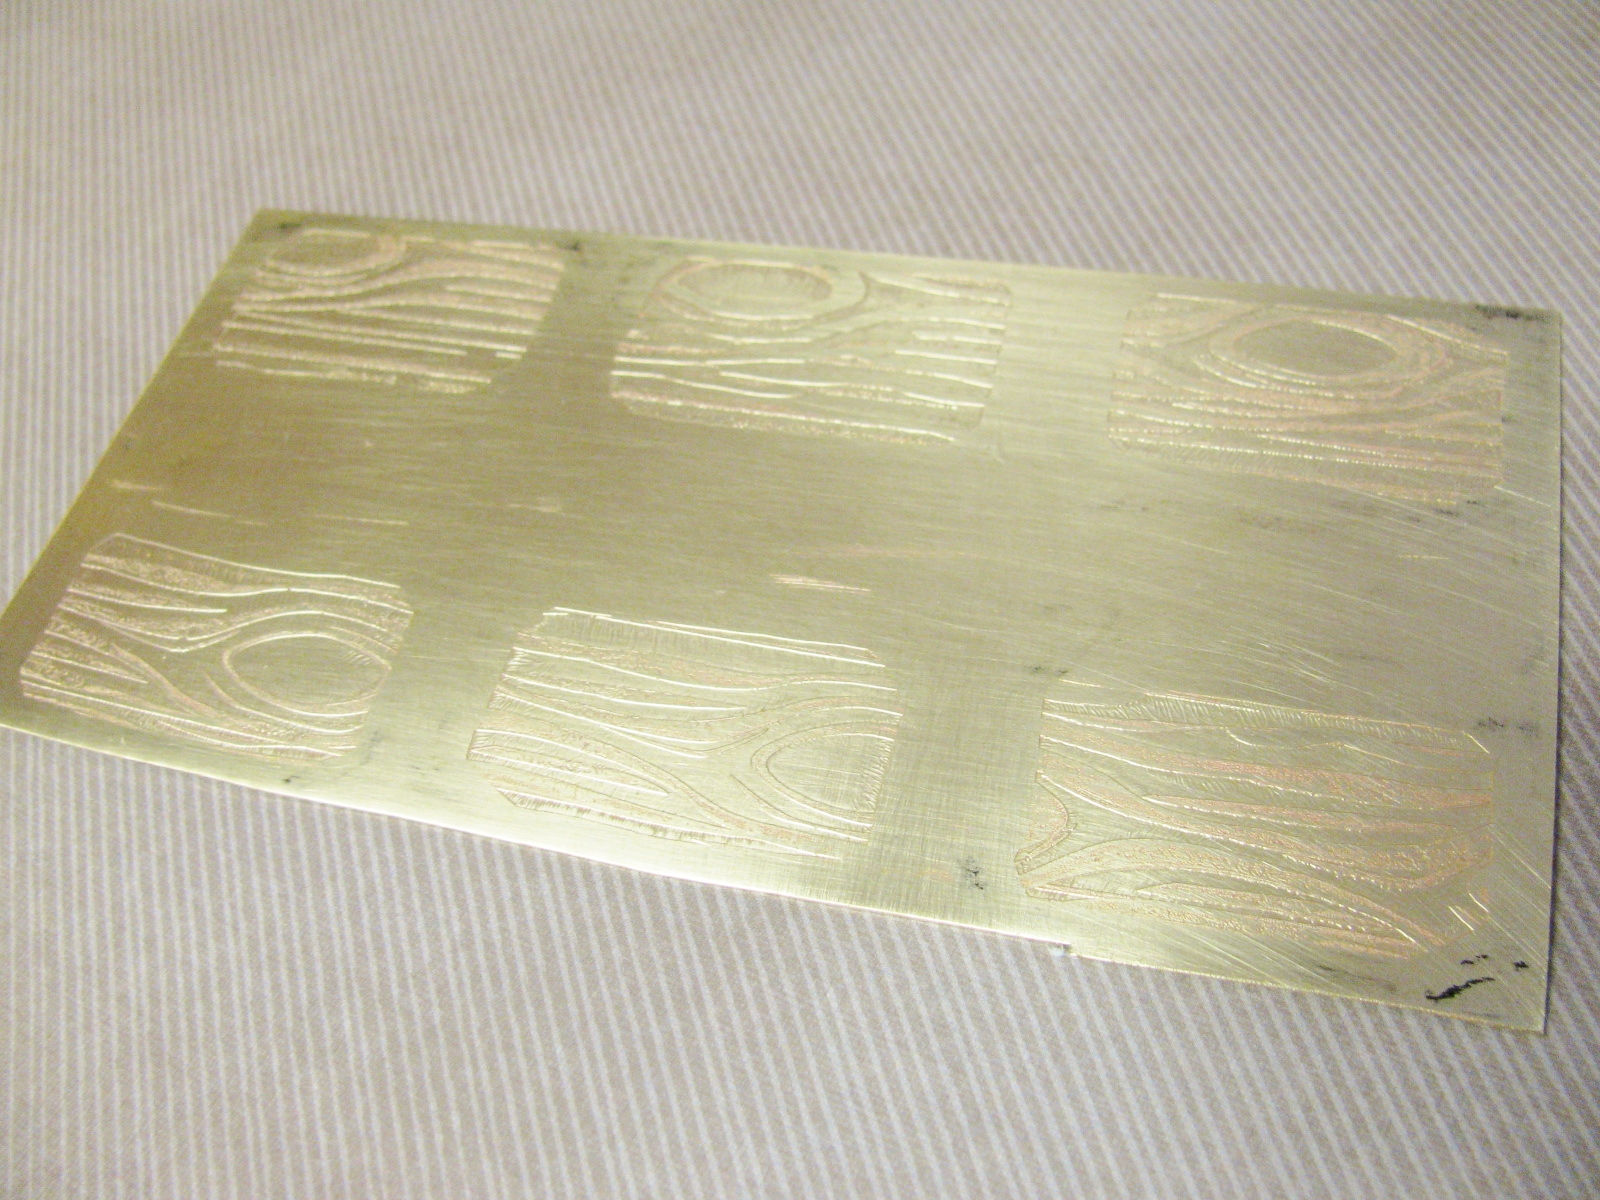
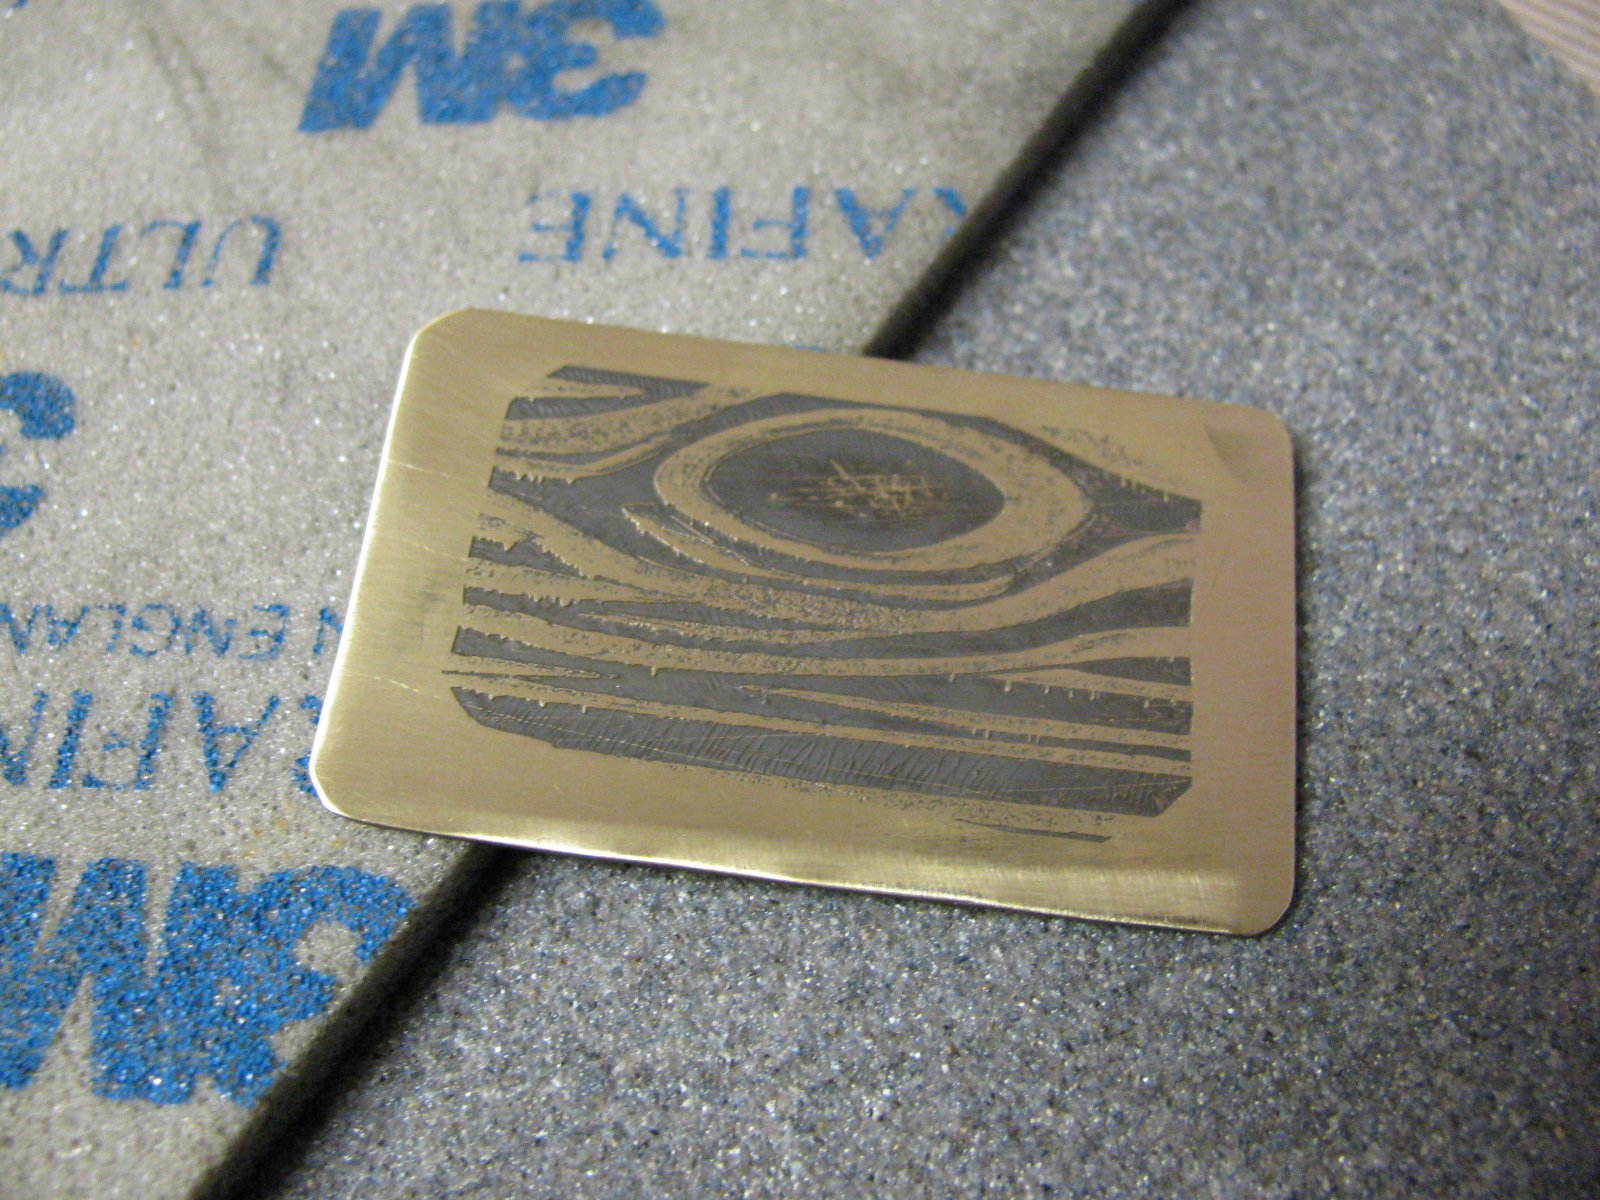
After about 30 minutes in the solution, your design will be etched nicely into the metal. Use baking soda, a scrubbie and warm water to clean your metal in a plastic container. Make sure to wear gloves. You can keep the remaining acid to etch more metal later; the acid will etch 3 or 4 times (or even more! but it takes a bit longer each time you use it). When it has lost all etching power, it must be brought to a waste disposal facility. Do not throw it away with the garbage or down the drain! Do you really want to find out what happens to your house when you etch the pipes?

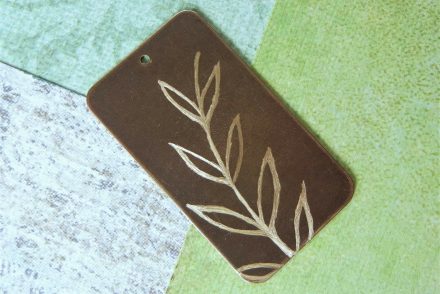
Cut your piece using metal shears (if you only made one piece, you could have done this step before etching) and file the edges smooth. The image won’t show up very well yet, but after it is darkened with patina it will be easy to see.
Blacken the metal by dabbing on a little Novacan Black patina solution. I usually just use a cotton ball or paper towel to apply it. Rinse the piece in water, and then use a fine sanding sponge or steel wool to remove the patina on the raised parts of the metal.
Use a metal hole punch to make four holes on the corners of the etched piece of metal.
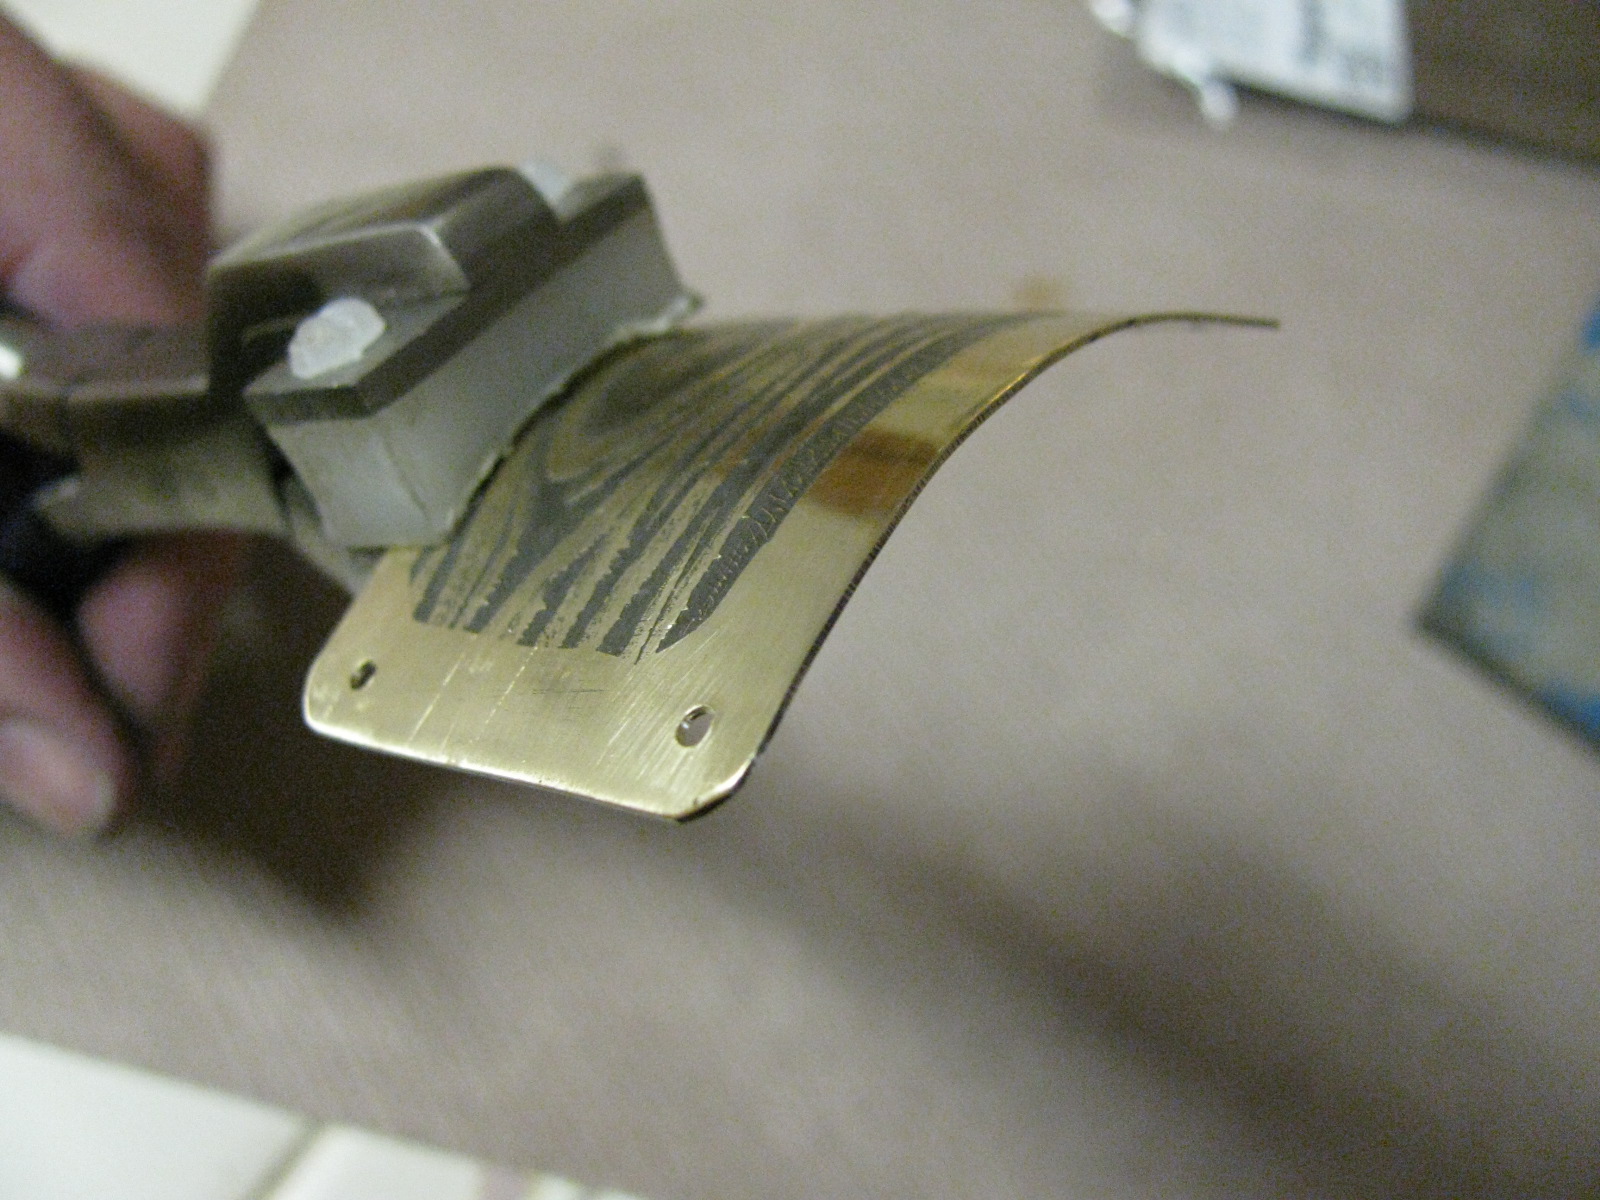
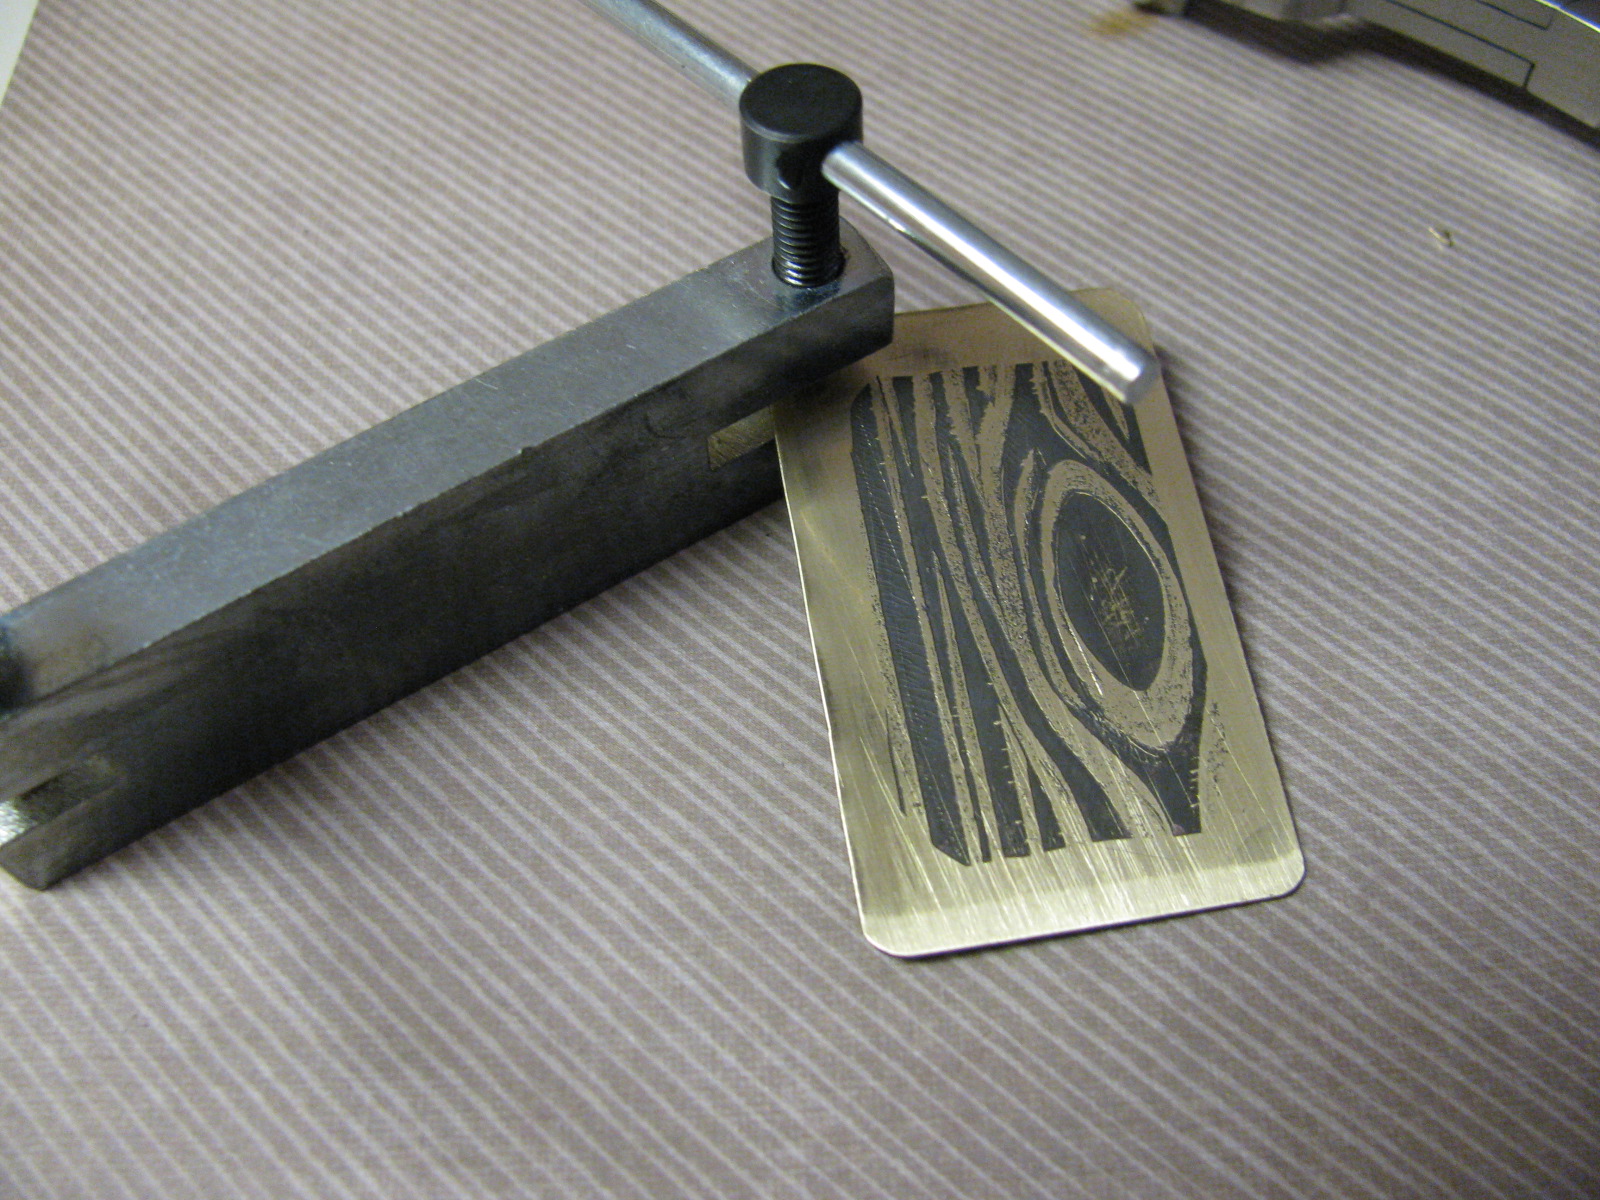
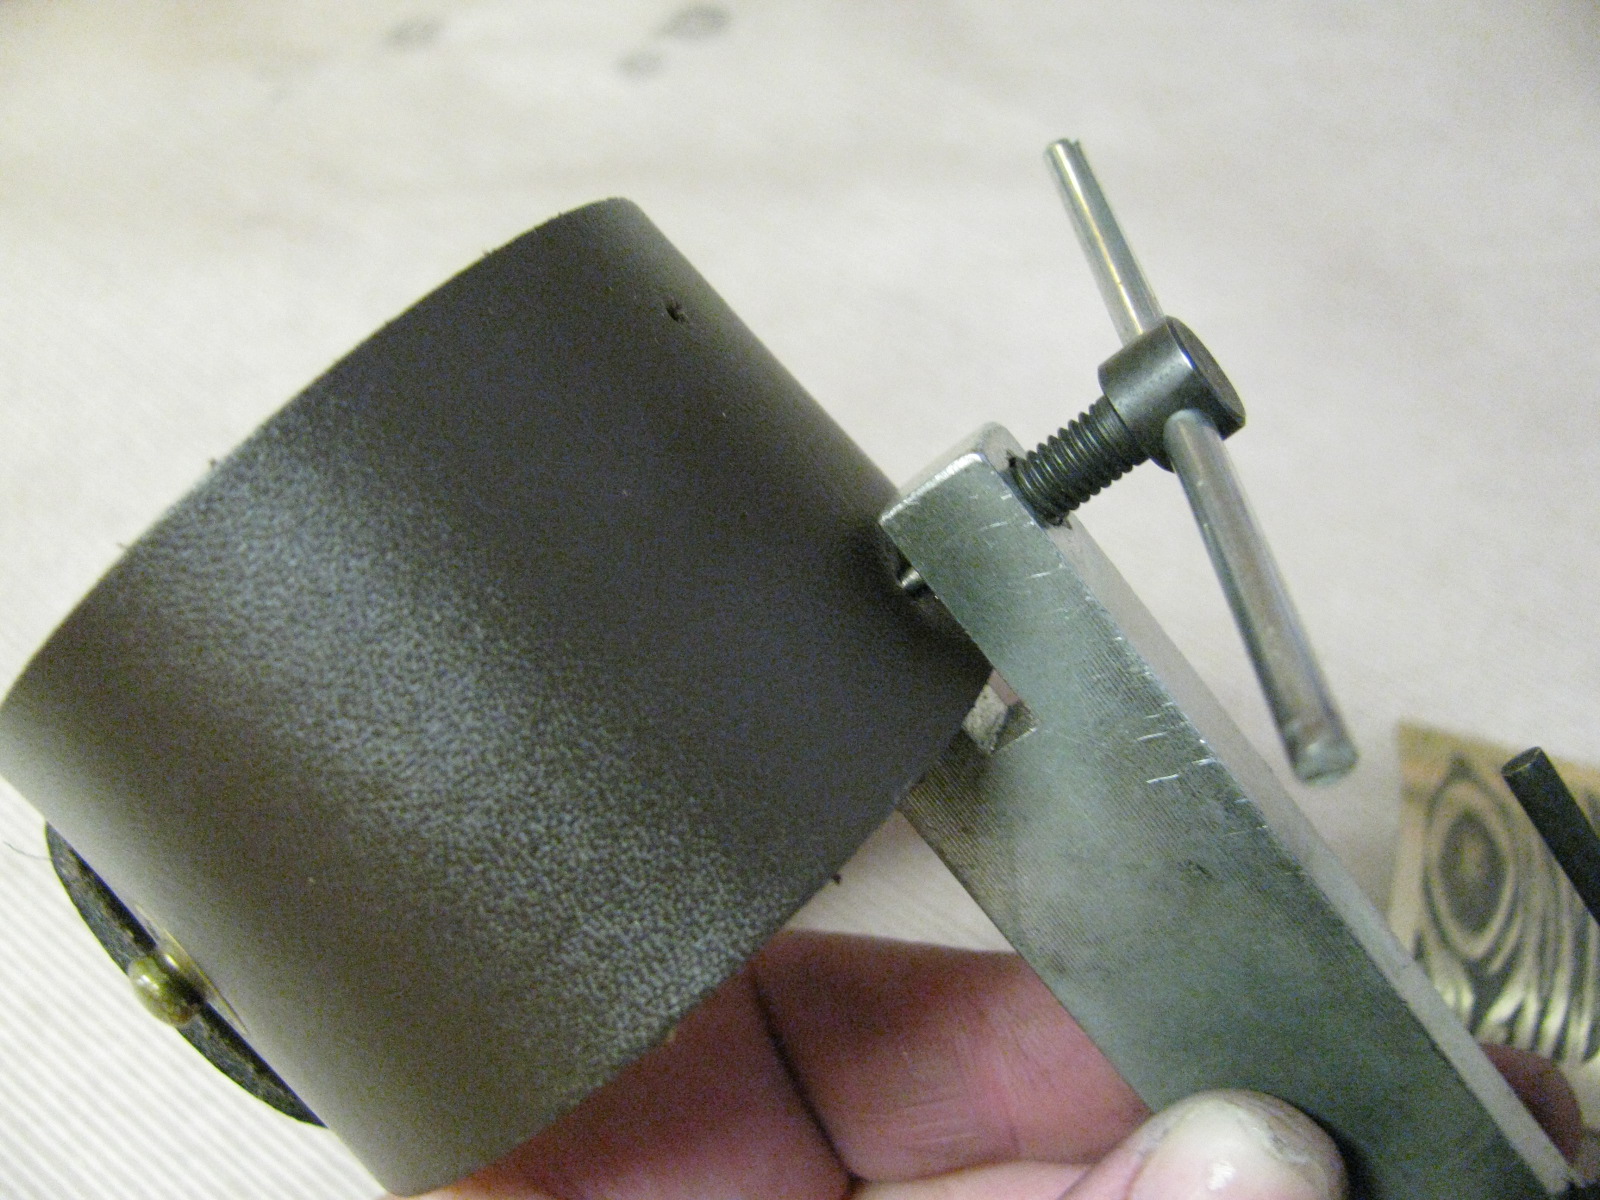
Bend the metal using H. If you don’t have these pliers, you can get a curve by bending the metal over a can of soup. It doesn’t work quite as well, but it will get the job done.

Place your piece of metal over the leather bracelet cuff. Use a small pen or marker to mark where the holes are onto the leather.
Using the metal hole punch, punch holes into the leather where you marked it.
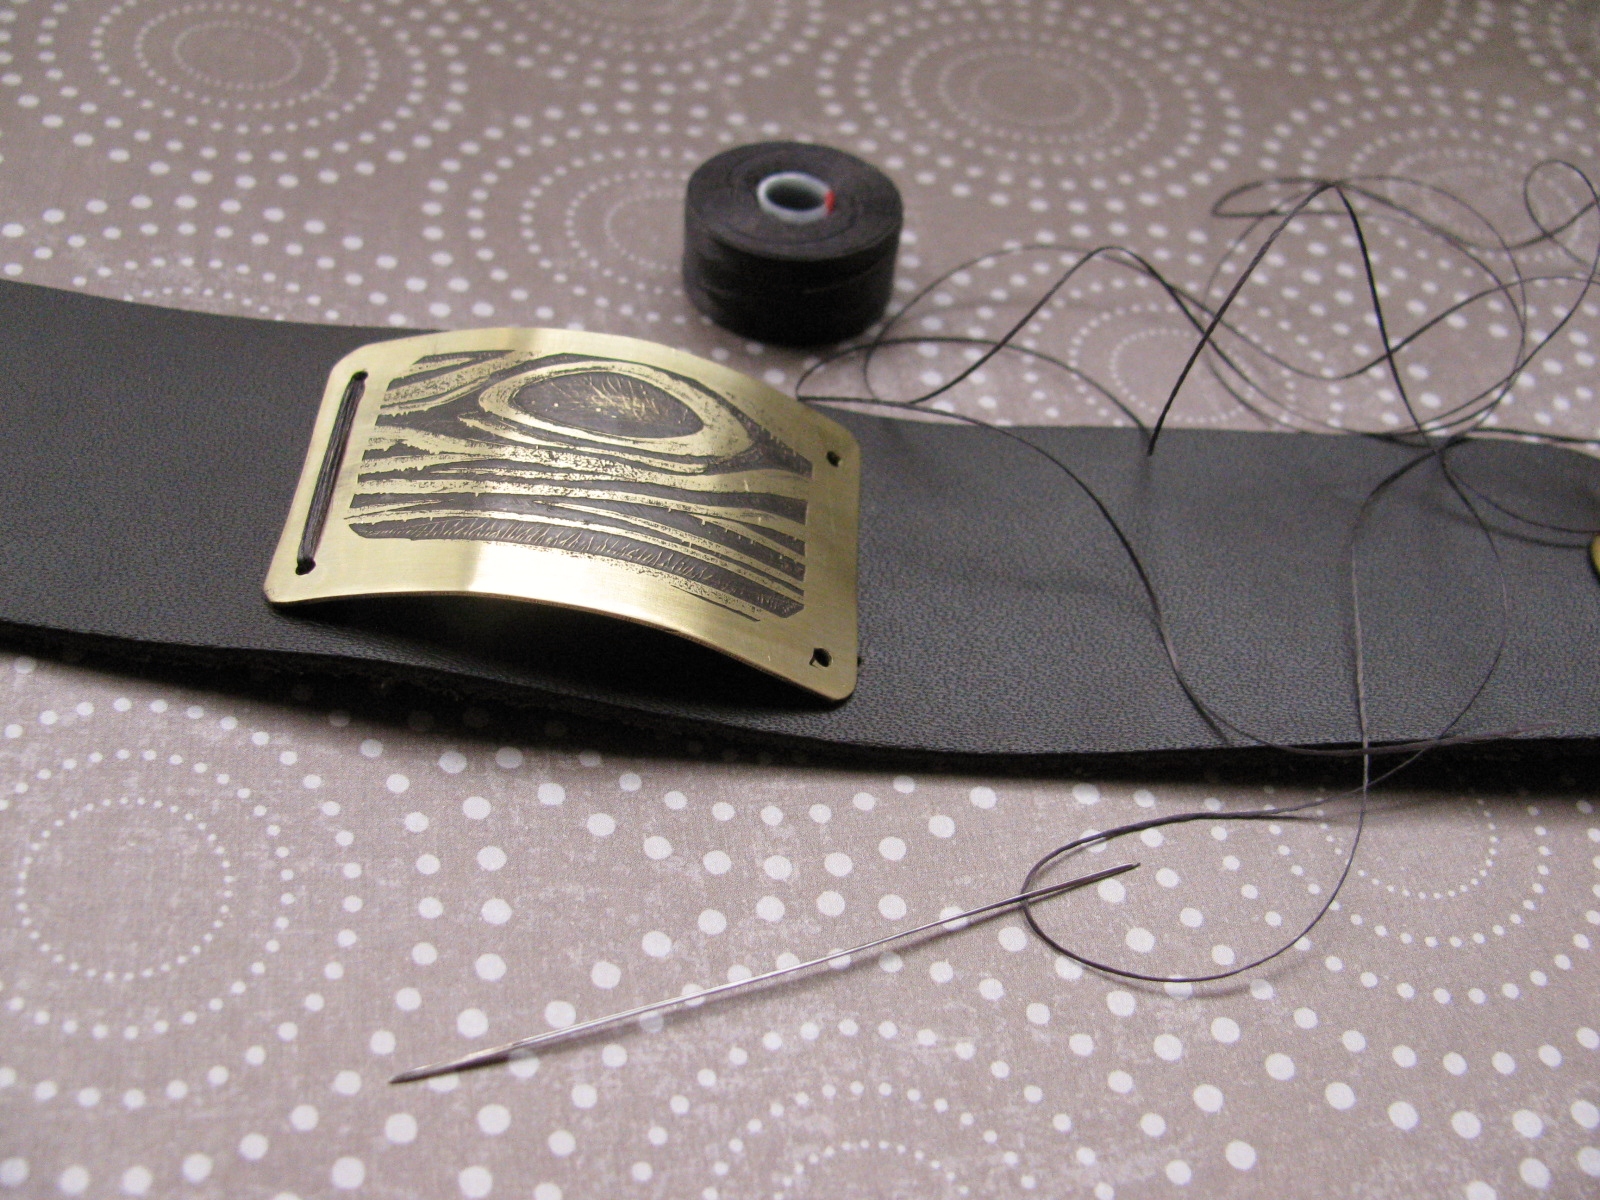
Use a
needle and thread to secure the metal to the leather. I like to use
Superlon thread and a Big Eye needle, since I can never thread a beading needle.

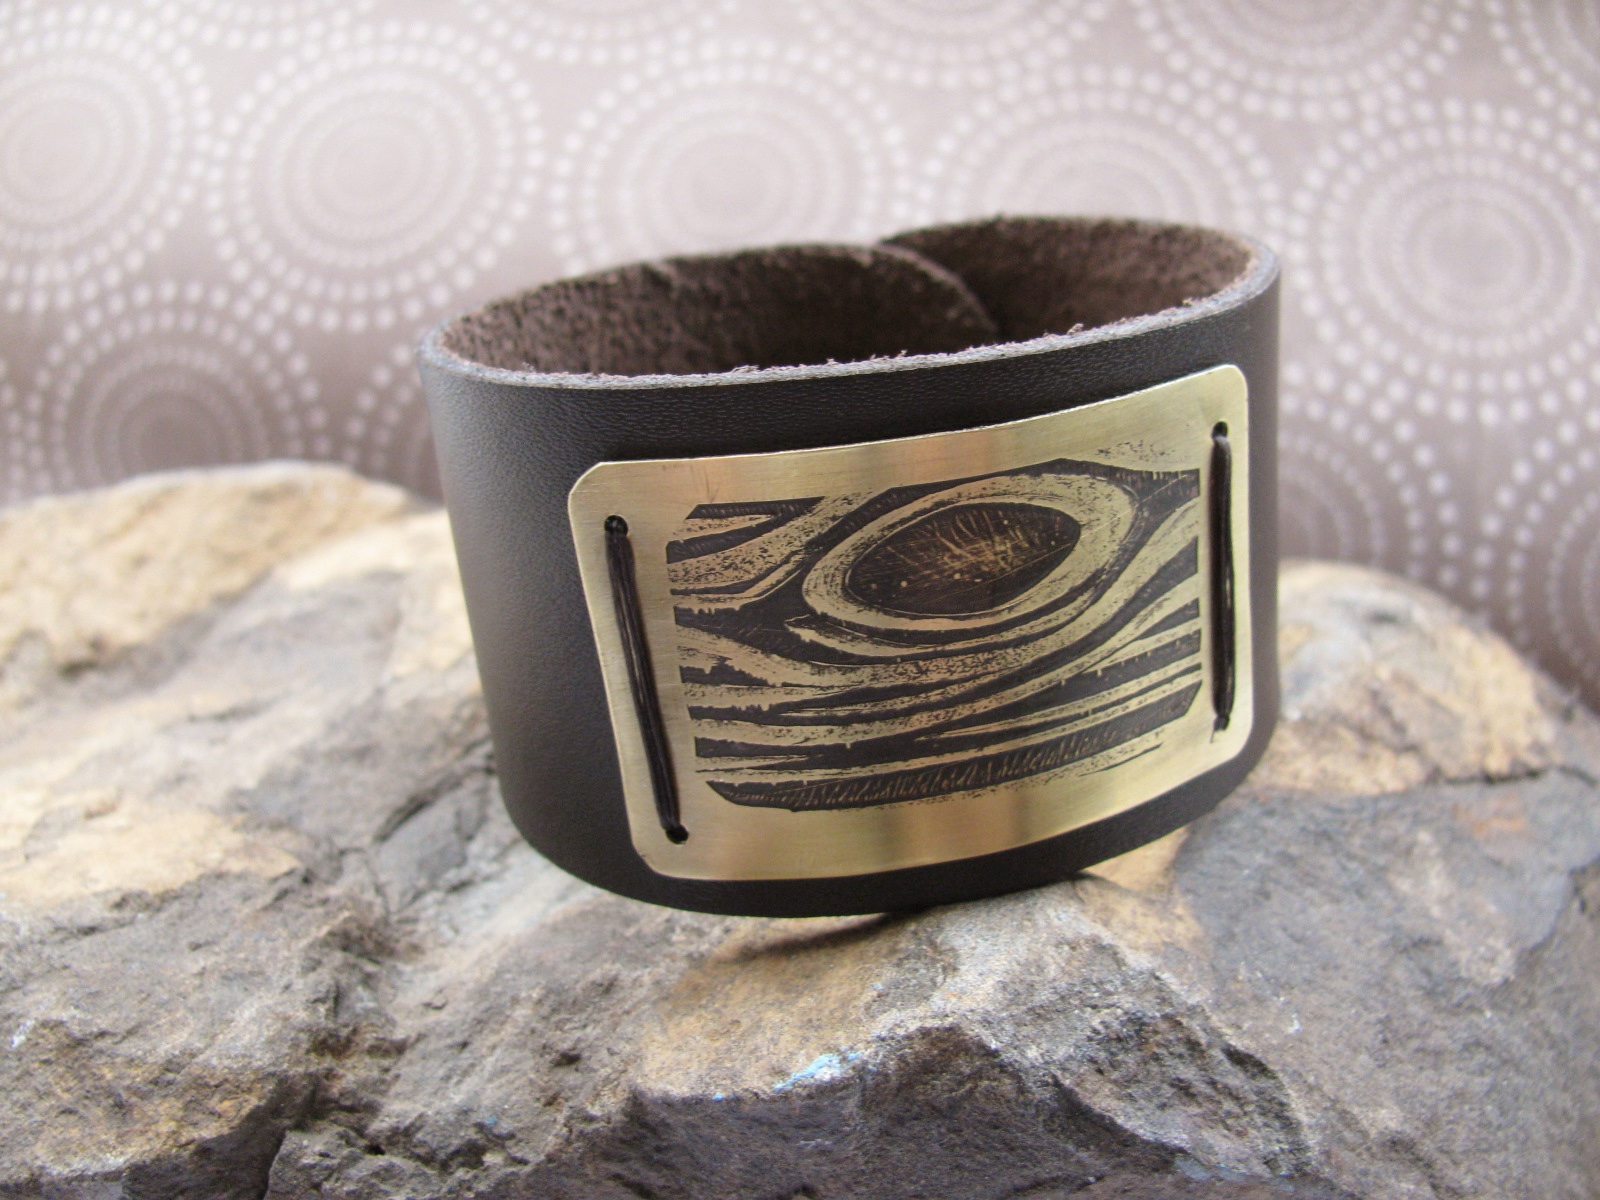
I secured the metal by going around 7 times and then tying the two threads together tight on the back of the bracelet. Cut the thread short and for extra security add a dab of glue onto the knot.
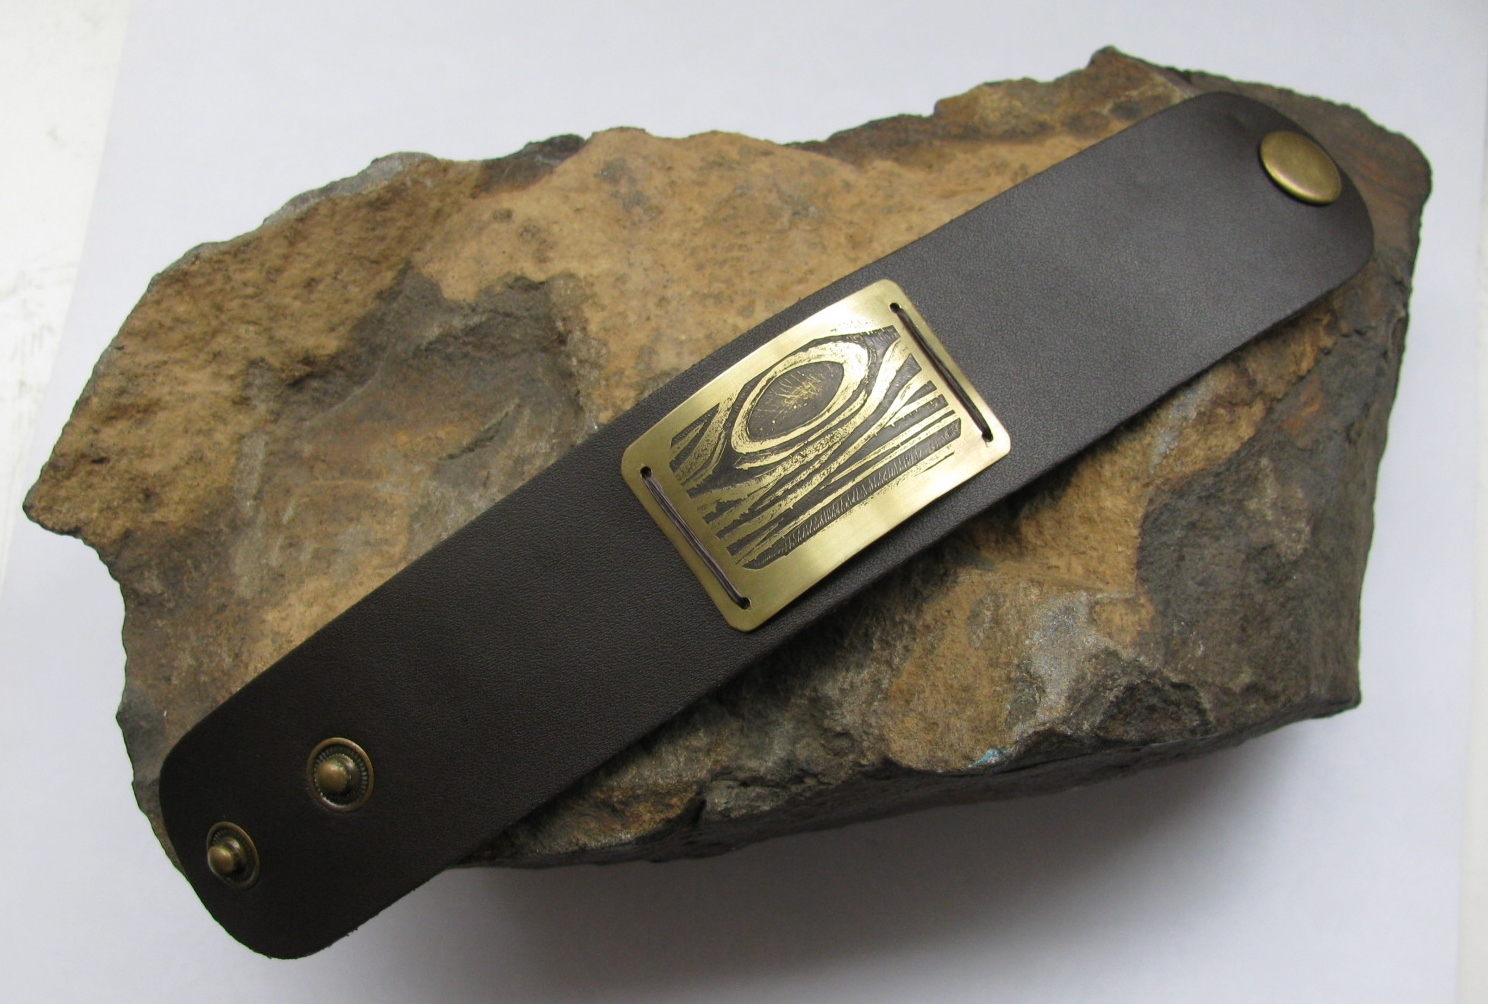
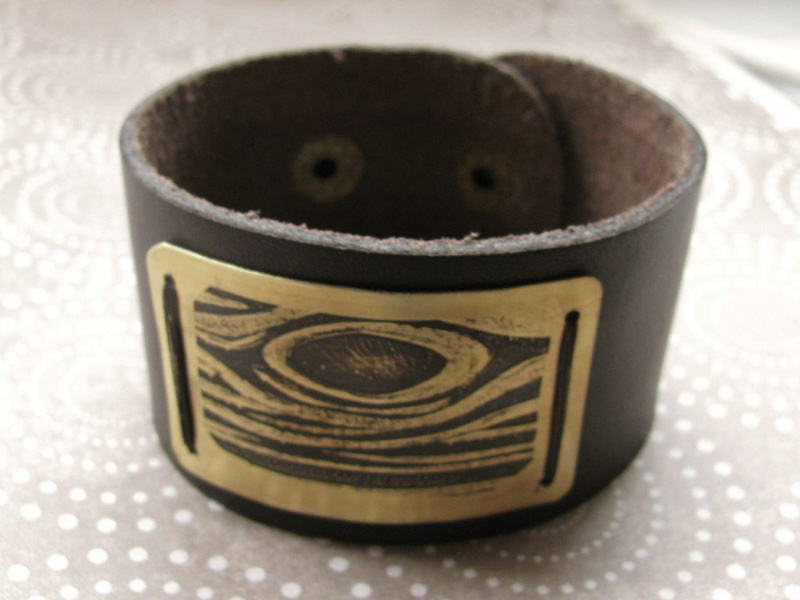
Completed Bracelet! These leather blanks are great because they have two size adjustments and come in a variety of colors.
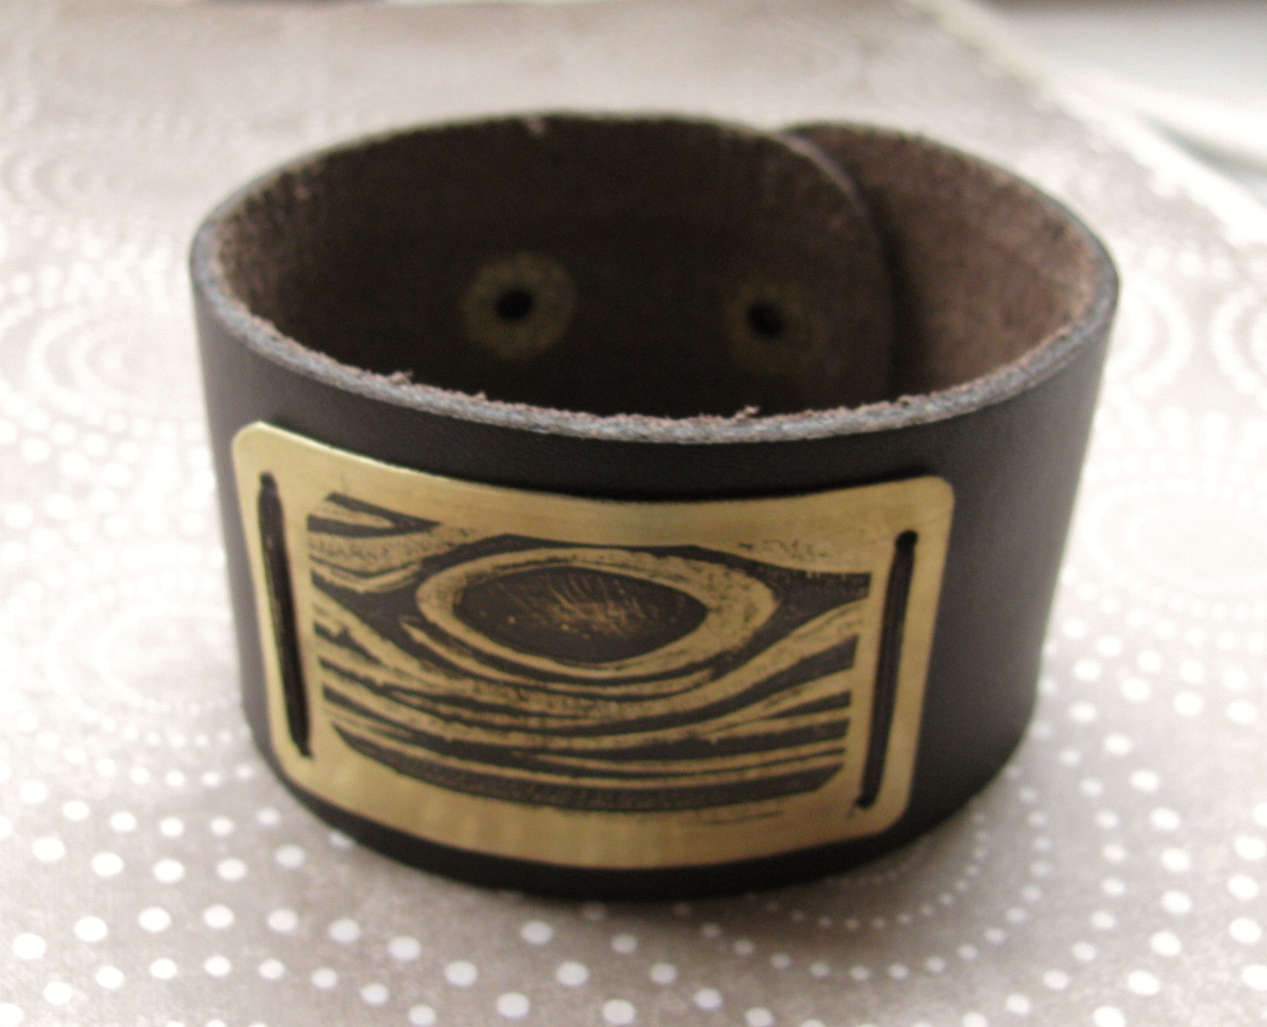
The Man Cuff
Well I hope I have inspired you to make something masculine! But of course you can still make these girly if you want with flowers and unicorns. That is the beauty of etching! Feel free to ask me any questions you might have about what I have done here.
~~Tiffany
If you are loving this leather cuff, here are a few more free jewelry-making designs from the Rings & Things Design Gallery:
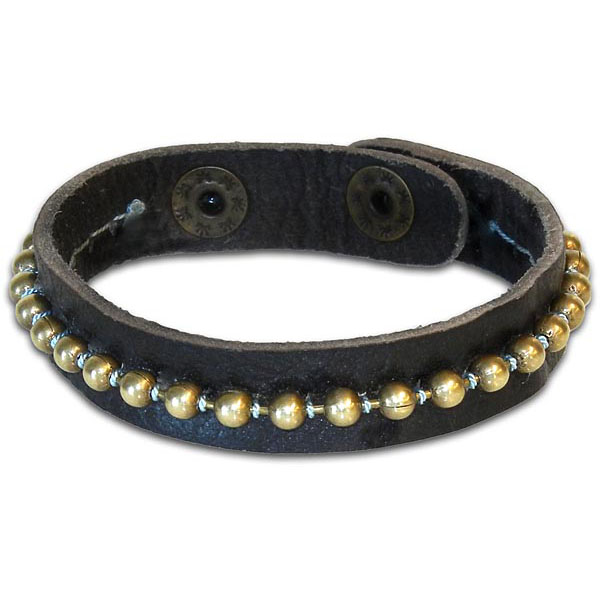
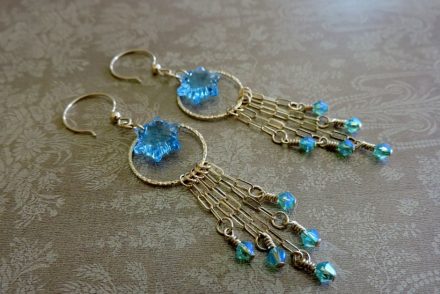
“Having a Ball Bracelet” created by Rings & Things designer Valorie Nygaard-Pouzar.
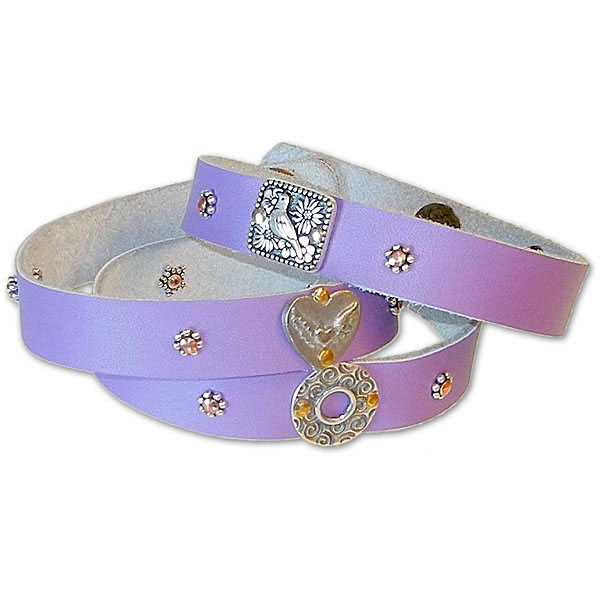
“Palomita Wrapped Leather Bracelet” created by Rings & Things designer Polly Nobbs-LaRue.

“Tough Girl Rhinestone Chain and Leather Bracelet” created by Rings & Things designer Rita Hutchinson.

6 Comments
Why do you have to put ink or marker on the back side of the metal?
Hi Kolleen,
Personally, I cover the back of my metal with duct tape instead of marker — but if I don’t apply it carefully, a little ferric chloride can sneak in the edge and do a bit of etching on the back. This isn’t a disaster, but it does leave your piece less than perfect.
I *do* always carefully cover the EDGES of my piece with marker, or the edges get rough from the etchant. ~Polly
I know this is old, but it was so funny I had to tell you that I appreciated it (and learned something, too.)
Haha, thanks! I periodically proof our older blogs for broken links, missing pictures, things like that, but I don’t usually actually re-READ them, so I thought “what? Funny? did she actually mean to say that?” so I re-read this one. I had totally forgotten things like “Do you really want to know what happens when you etch your home’s pipes?” and of course, flowers & unicorns. Thank you for my morning chuckle! ~Polly
Hello! I am a lampwork artist and I want to learn to make domed bead caps in various sizes that can be stacked in the end of beads. Brass, copper, silver. What is the silver by the way? I want to make patterns in my metal and then dome them. Can I buy the precut copper rounds and put a design on those? If so, what do I use for the designs? Do I lay the rounds on something that has a design and hammer it on? I will probably also want to try etching. Do you use the same etching stuff as I do for glass? And how does etching differ from stamping? I think I would like to use a combination of design and single shapes making my own design. Where do I get the stamps/presses or whatever they’re called? Bless your heart if you take the time to answer these questions for me.
Hi Marcia,
We have an article on that too – here is how to dome (dap): http://blog.rings-things.com/2011/04/08/how-to-dap-and-dome-metal-jewelry-2/
I’m not sure what you mean by “What is the silver?” … There is sterling silver, but there are also a lot of silver colored metals. Try this, it talks about lots of metals and might have your answer: http://blog.rings-things.com/2013/06/03/surgical-steel-and-hypoallergenic-metals/
Yes, you can buy pre-cut rounds. Try the Metal Stamping Supplies category of our website: http://www.rings-things.com/Products/Metal-Stamping-Tools-and-Metal-Stamping-Supplies/ , or search for “blank round disks” (this seemed to narrow it down the best: http://www.rings-things.com/Products/?search=blank%20round%20disks
For designs, you can use metal stamps or texture hammers (both are in the above Metal Stamping Supplies link).
You can also transfer patterns from something else, using a rolling mill, or a technique like this: http://blog.rings-things.com/2011/08/19/how-to-transfer-texture-to-metal-with-a-hammer/
Different etchants (mordants?) etch different materials. Stuff that etches glass is unlikely to etch metals (but it might etch some!). Ferric Chloride etches copper, and metals such as brass and nickel silver that contain a lot of copper – here’s a tutorial: http://blog.rings-things.com/2011/12/28/diy-copper-etching-tutorial/
and a variation using disks: http://blog.rings-things.com/2015/12/29/etched-brass-earrings-featuring-swarovski-crystals/
Pshew, I think I got all your questions =)
–Polly