
Swirly Curly Jewelry!
For as long as I can remember I have loved making swirly curly-Q designs. In middle school, my favorite pee-chee folders were covered in them. Well I’ve grown out of my doodling habits, mostly, but I still love those swirls! Unwilling to give up on swirls altogether I have found three great ways to incorporate them into your jewelry with the help of a little wire. Adding a simple curly-Q can take any design idea from ordinary to whimsical! You can make your swirls free form using pliers or try this great Spiral Maker to eliminate marks from pliers! (Editor’s note: We now have THREE spiral makers plus a variety of coiling Gizmos!)

All of these projects can be made using your basic tools and 18, 20 or 22 gauge wire. The tools here are a from a fabulous mini tool set that I keep at my desk. The set is only $12 and includes these three tools plus tweezers and a mini bead board!
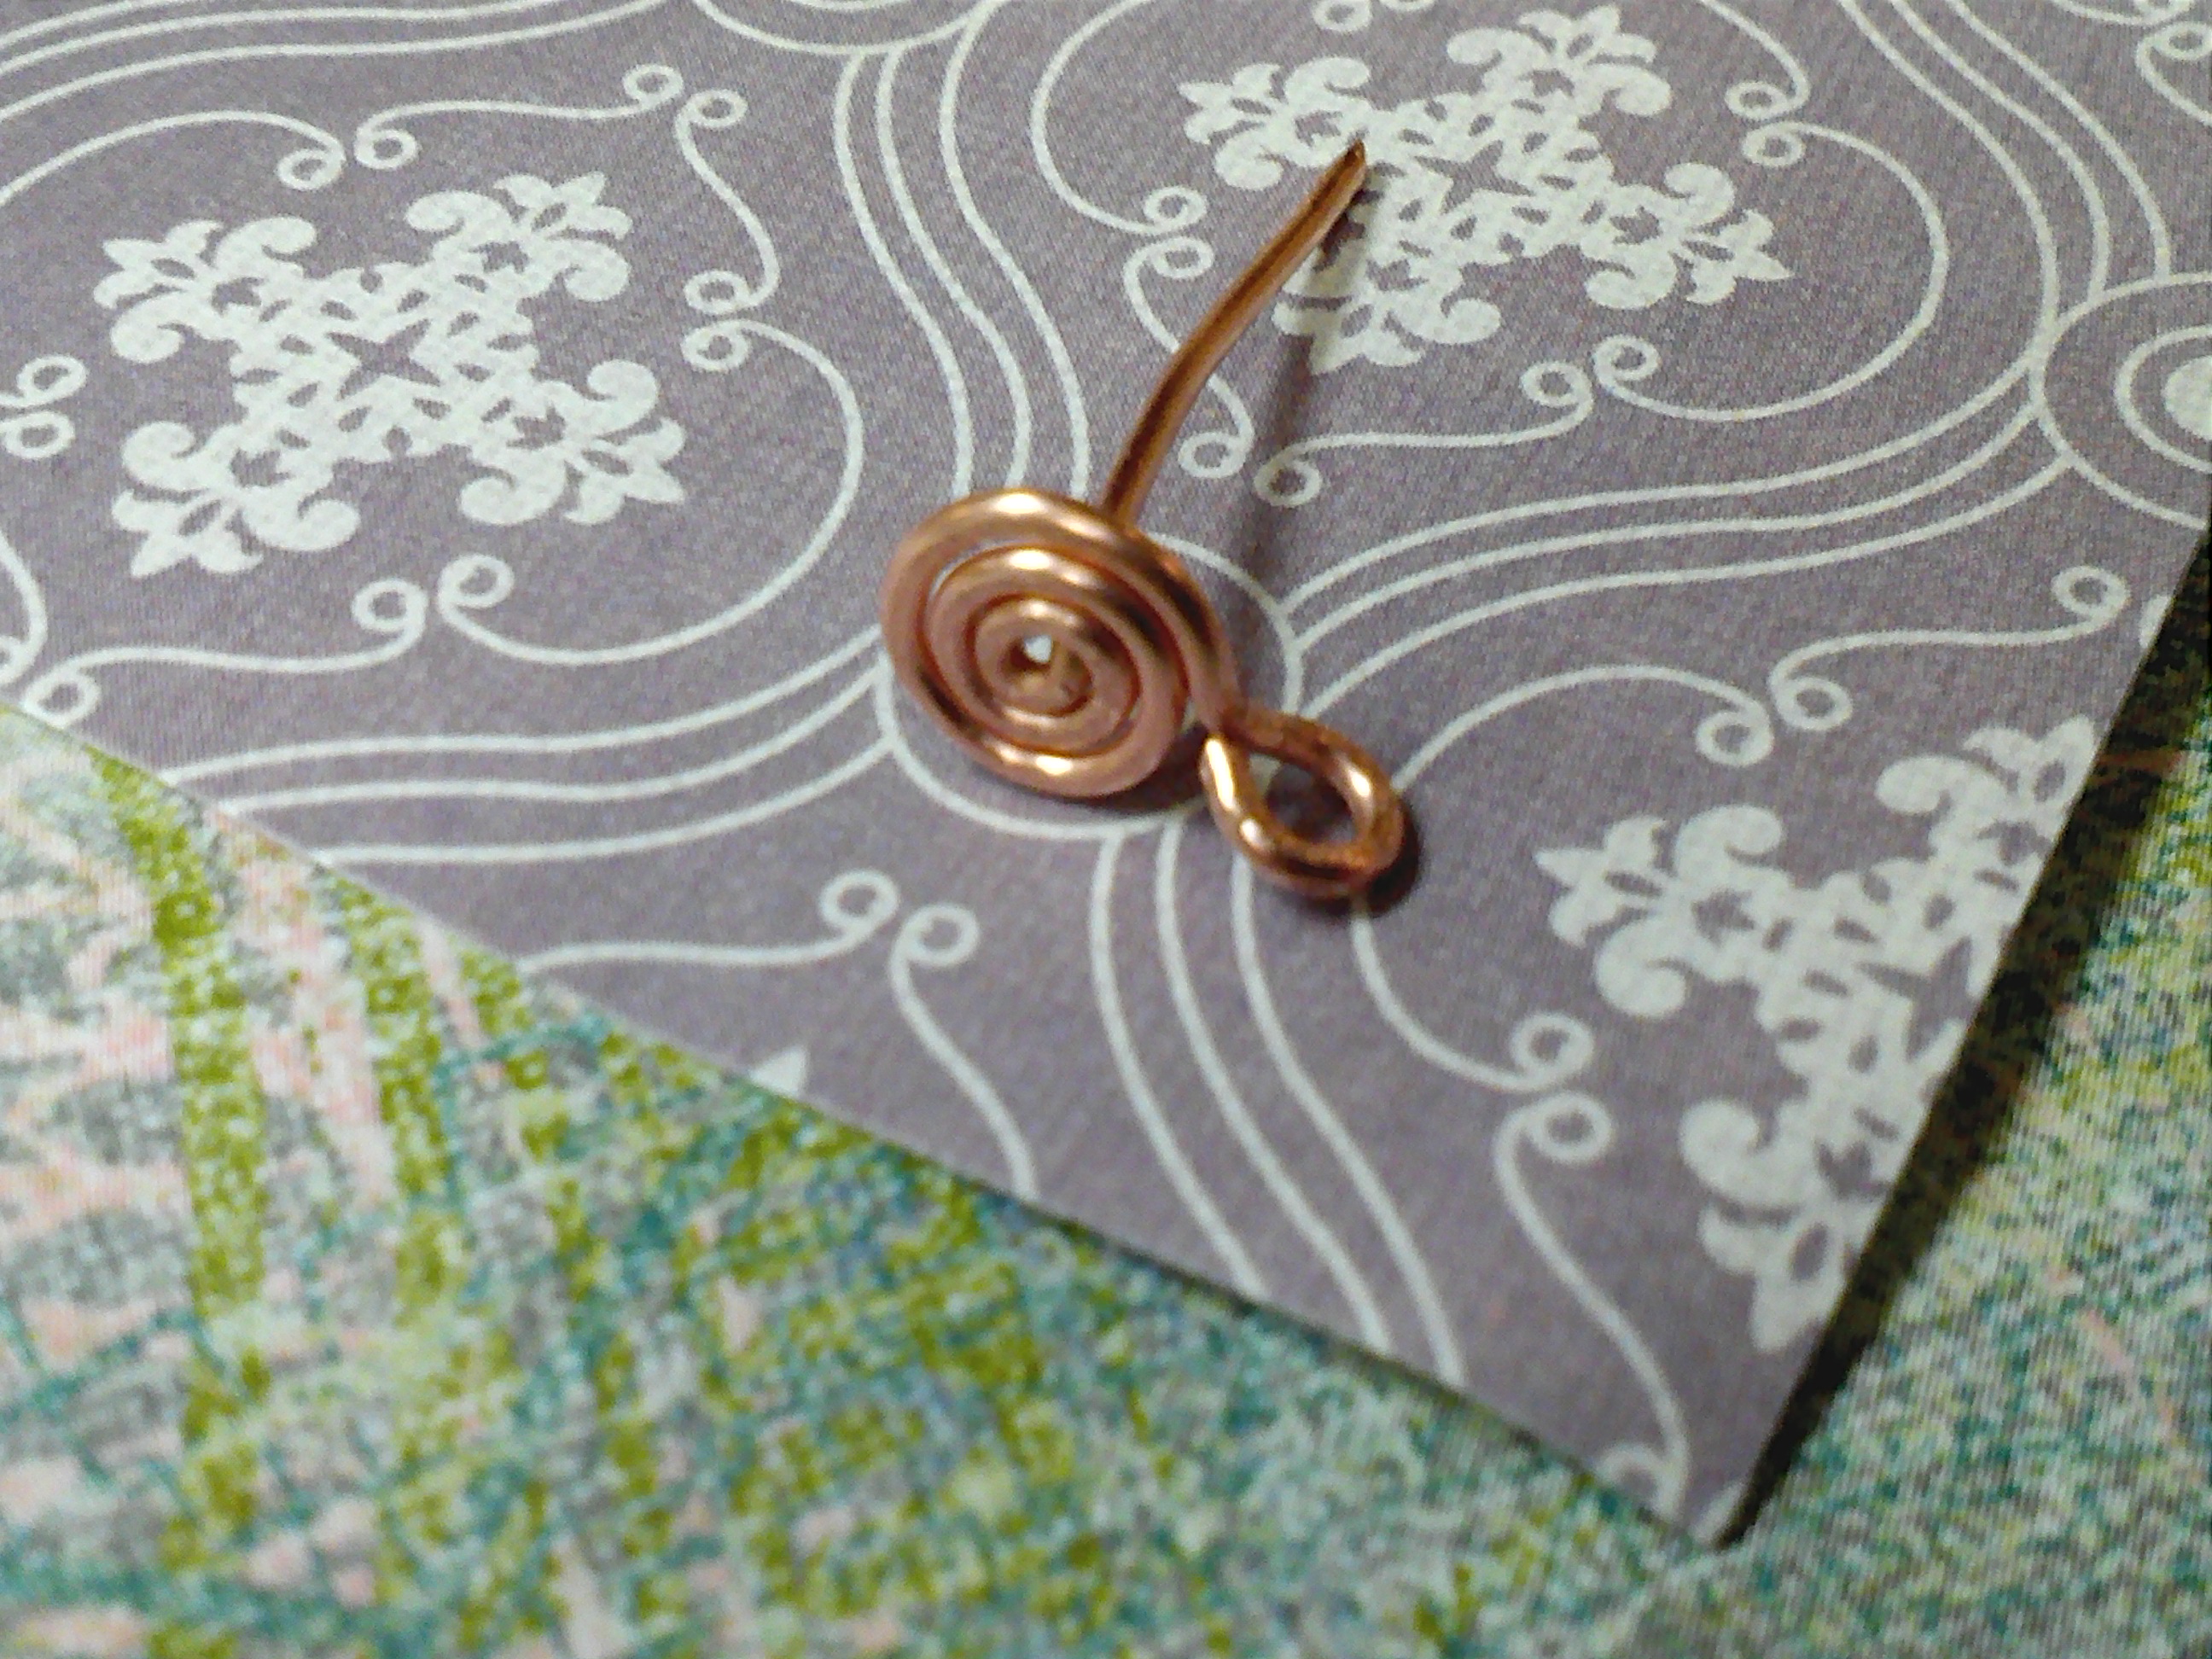
1. Swirly Head Pins
The first and easiest way to add some swirl power to your jewelry is to make curly-ended headpins. Making your own headpins out of wire is easy and gives your jewelry an even more hand-crafted look. I recommend using either 18, 20 or 22 gauge wire. (18 being the thickest, 22 being the thinnest) Keep in mind the size of beads you plan to use. If your beads have smaller holes, you will need thinner wire.

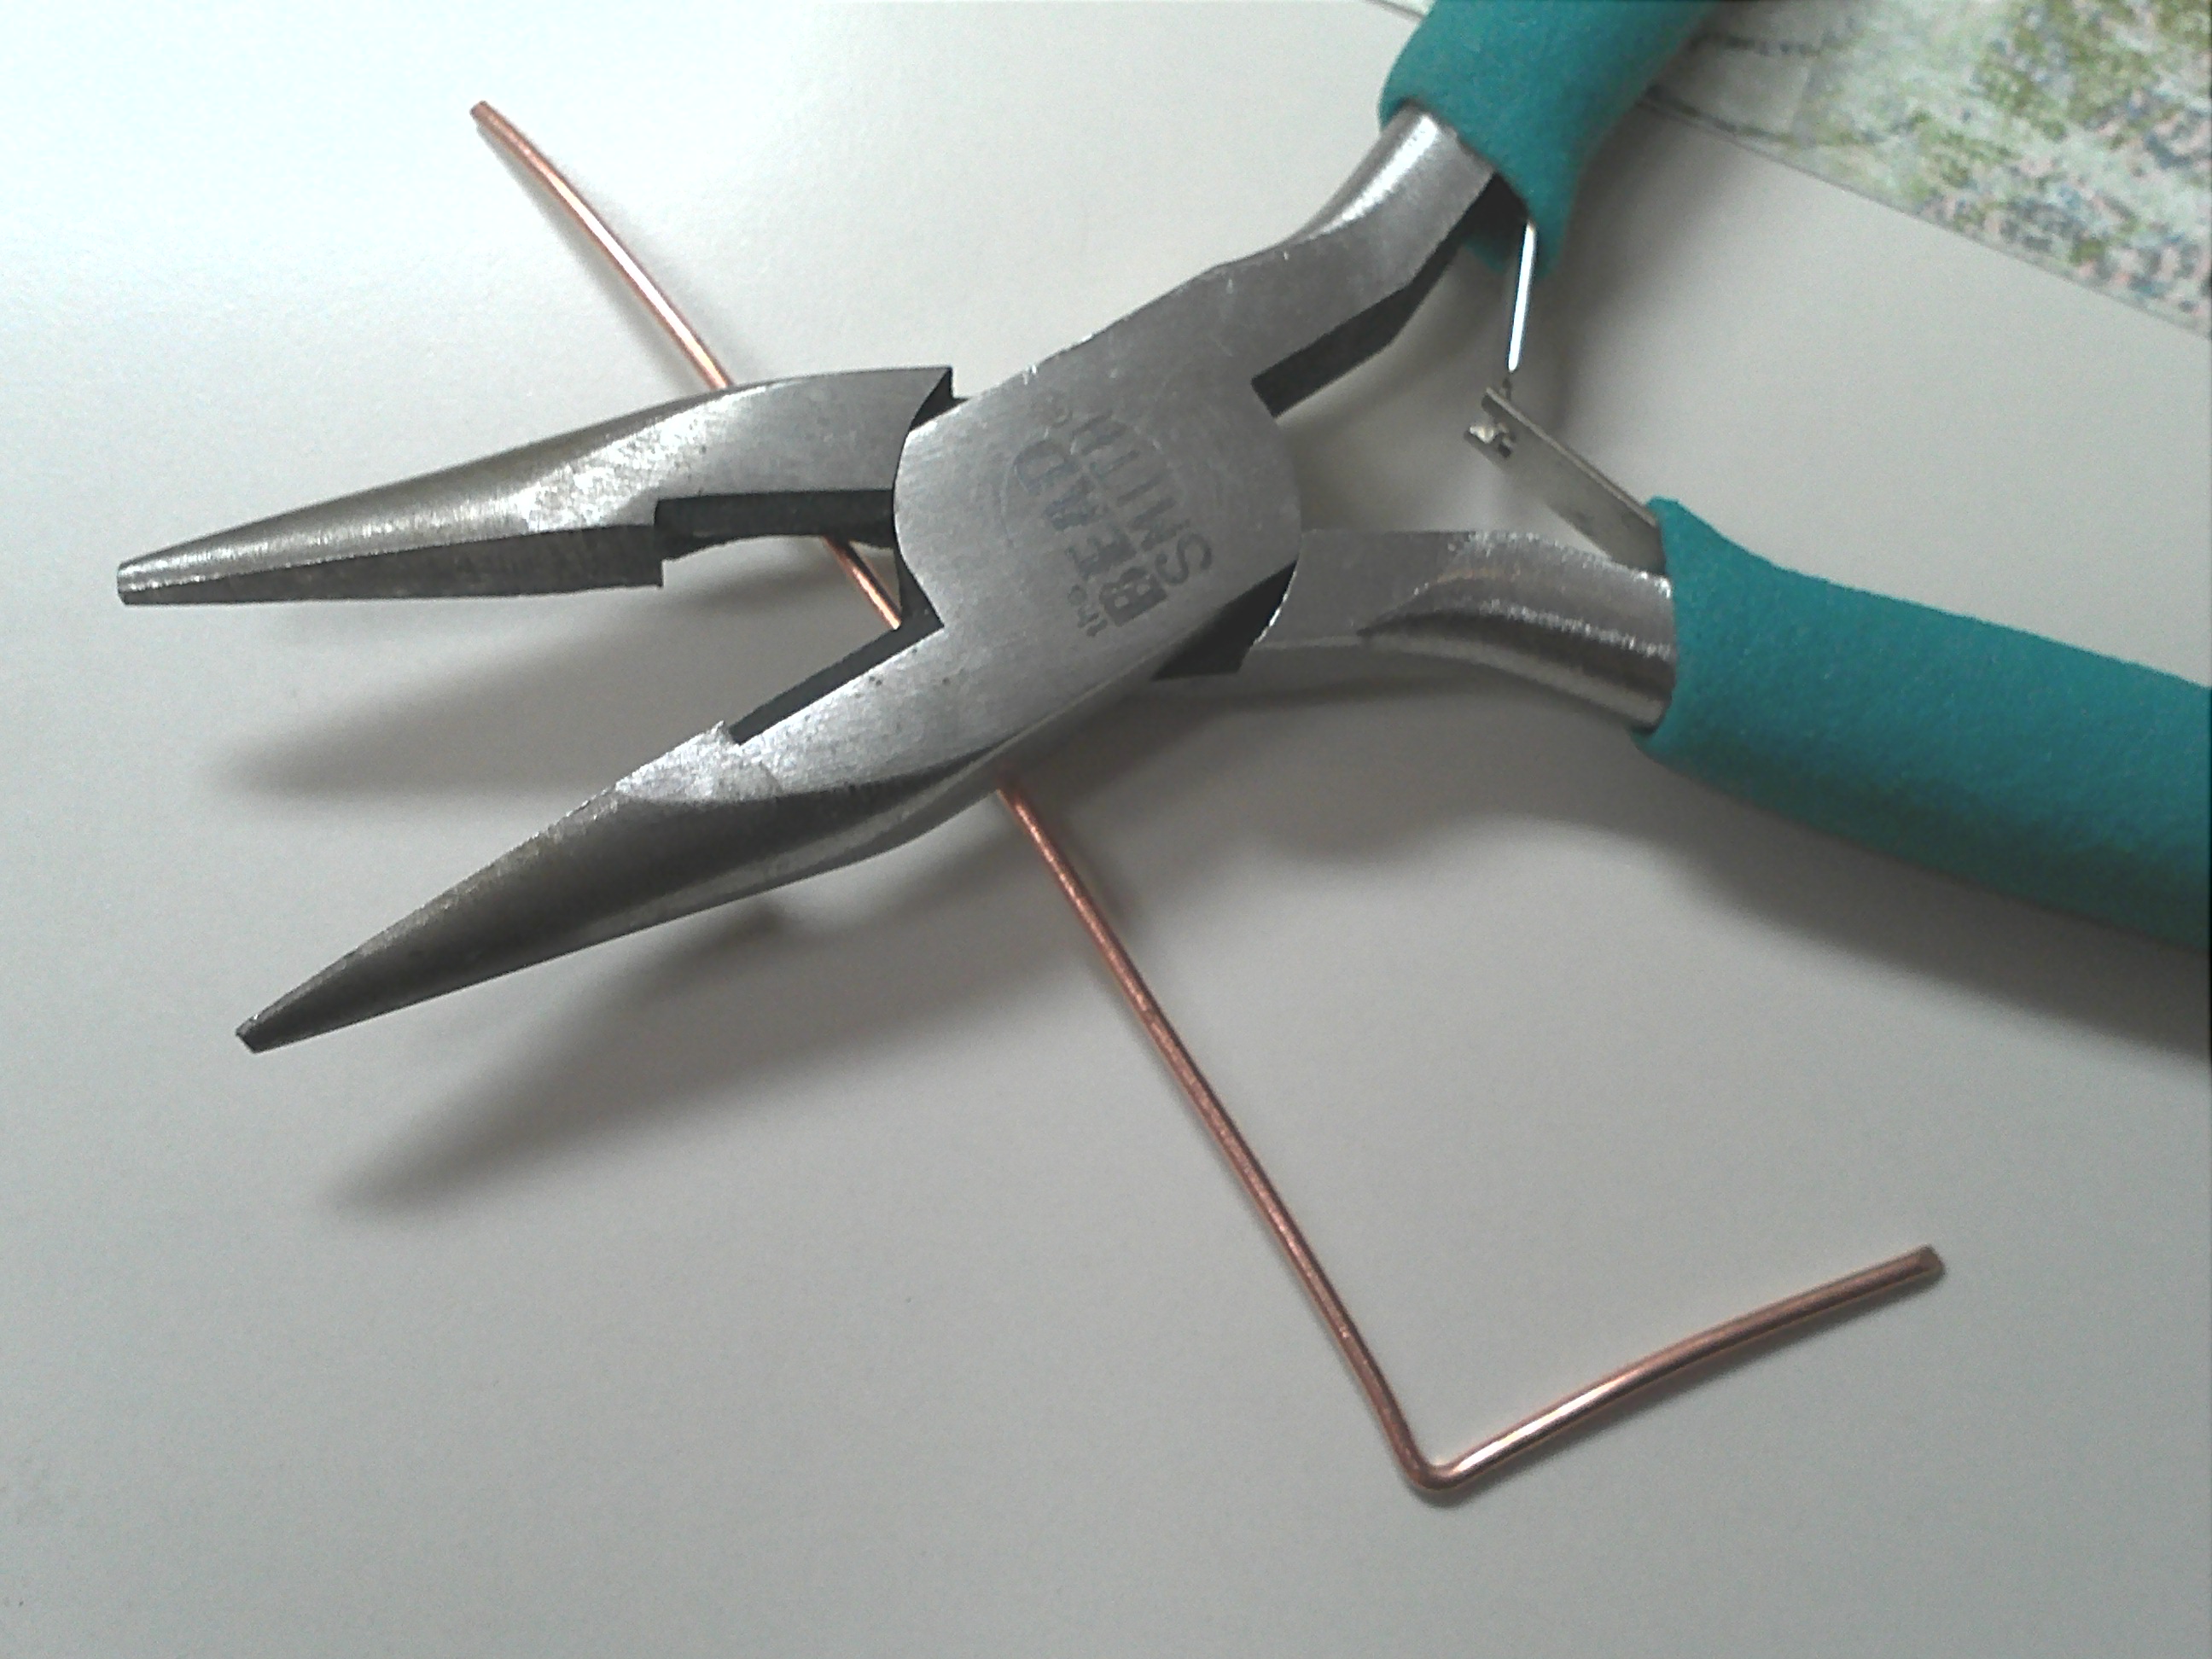
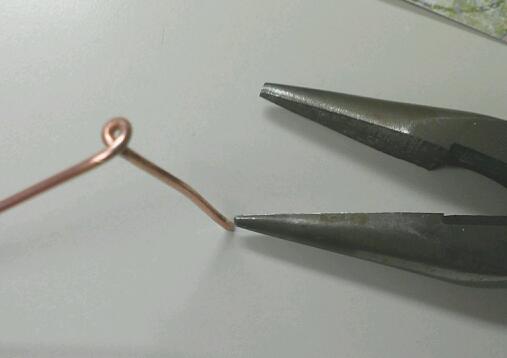
Use your Round Nose Pliers to Start the Loop
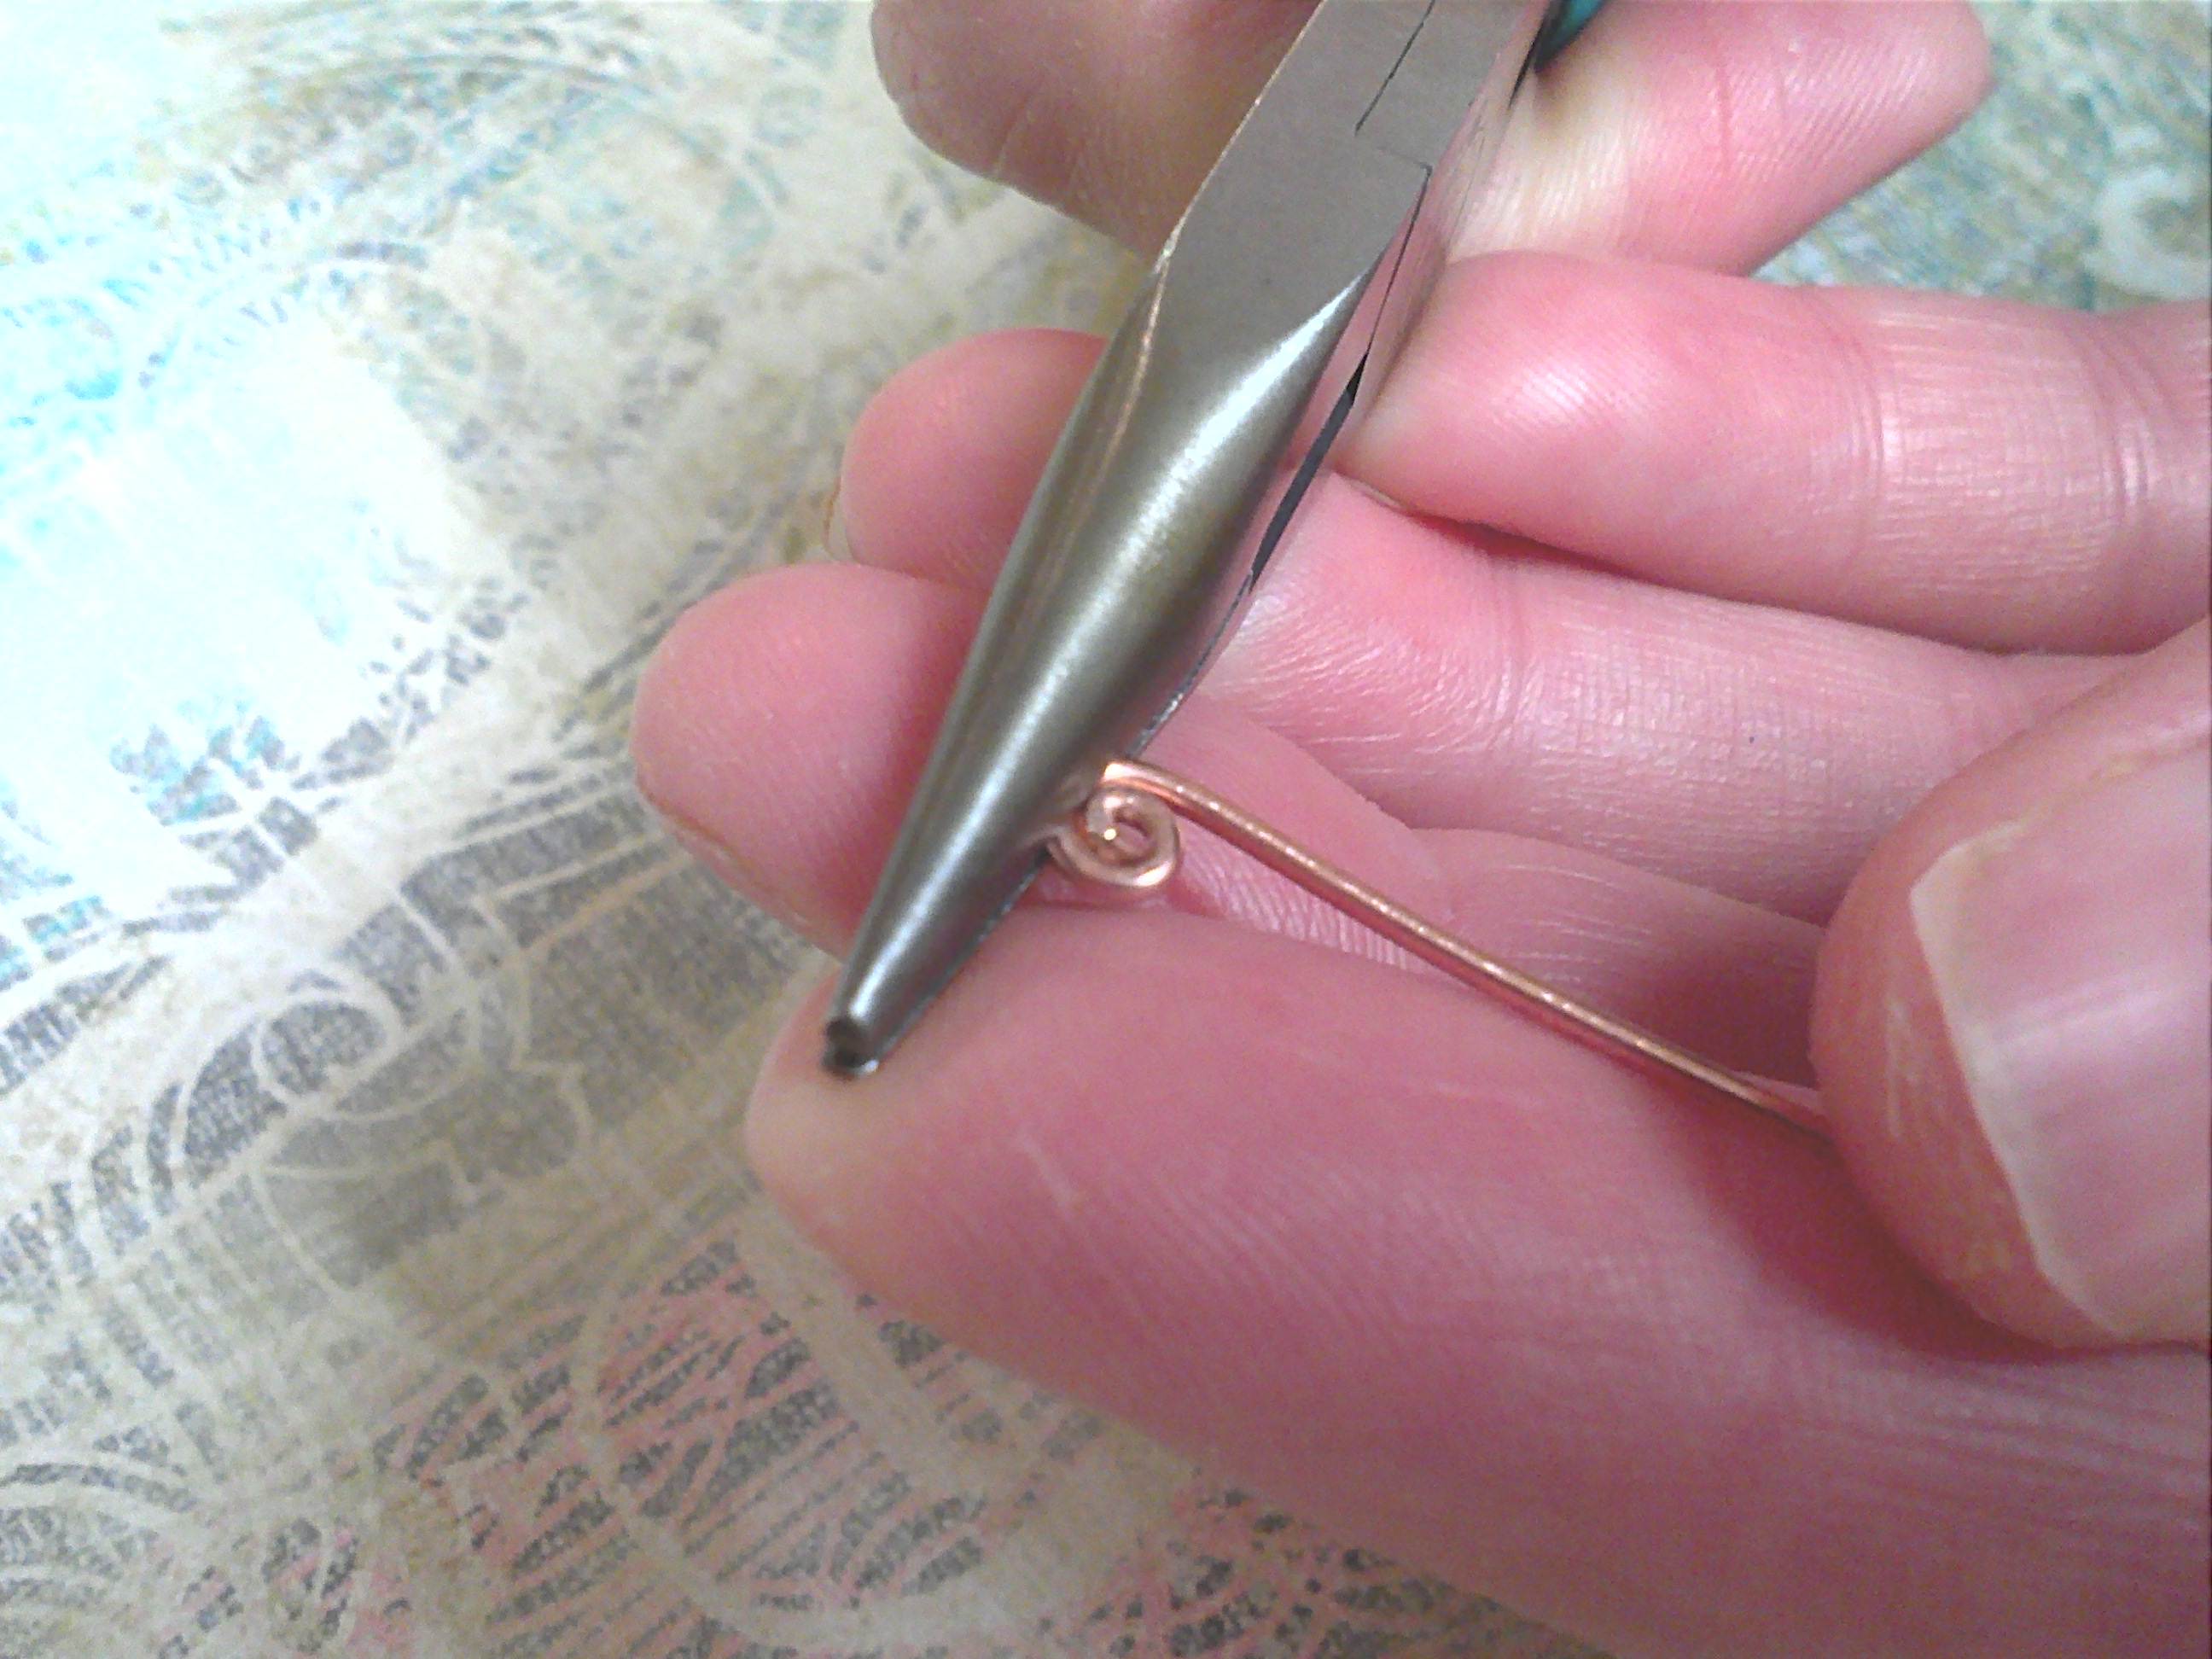
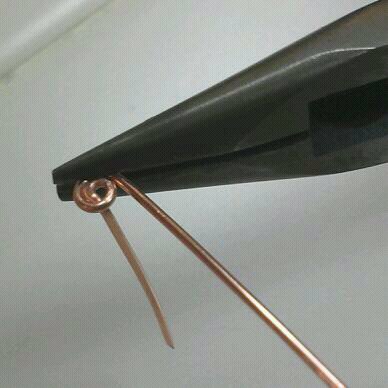
Use your chain nose pliers to create the swirl
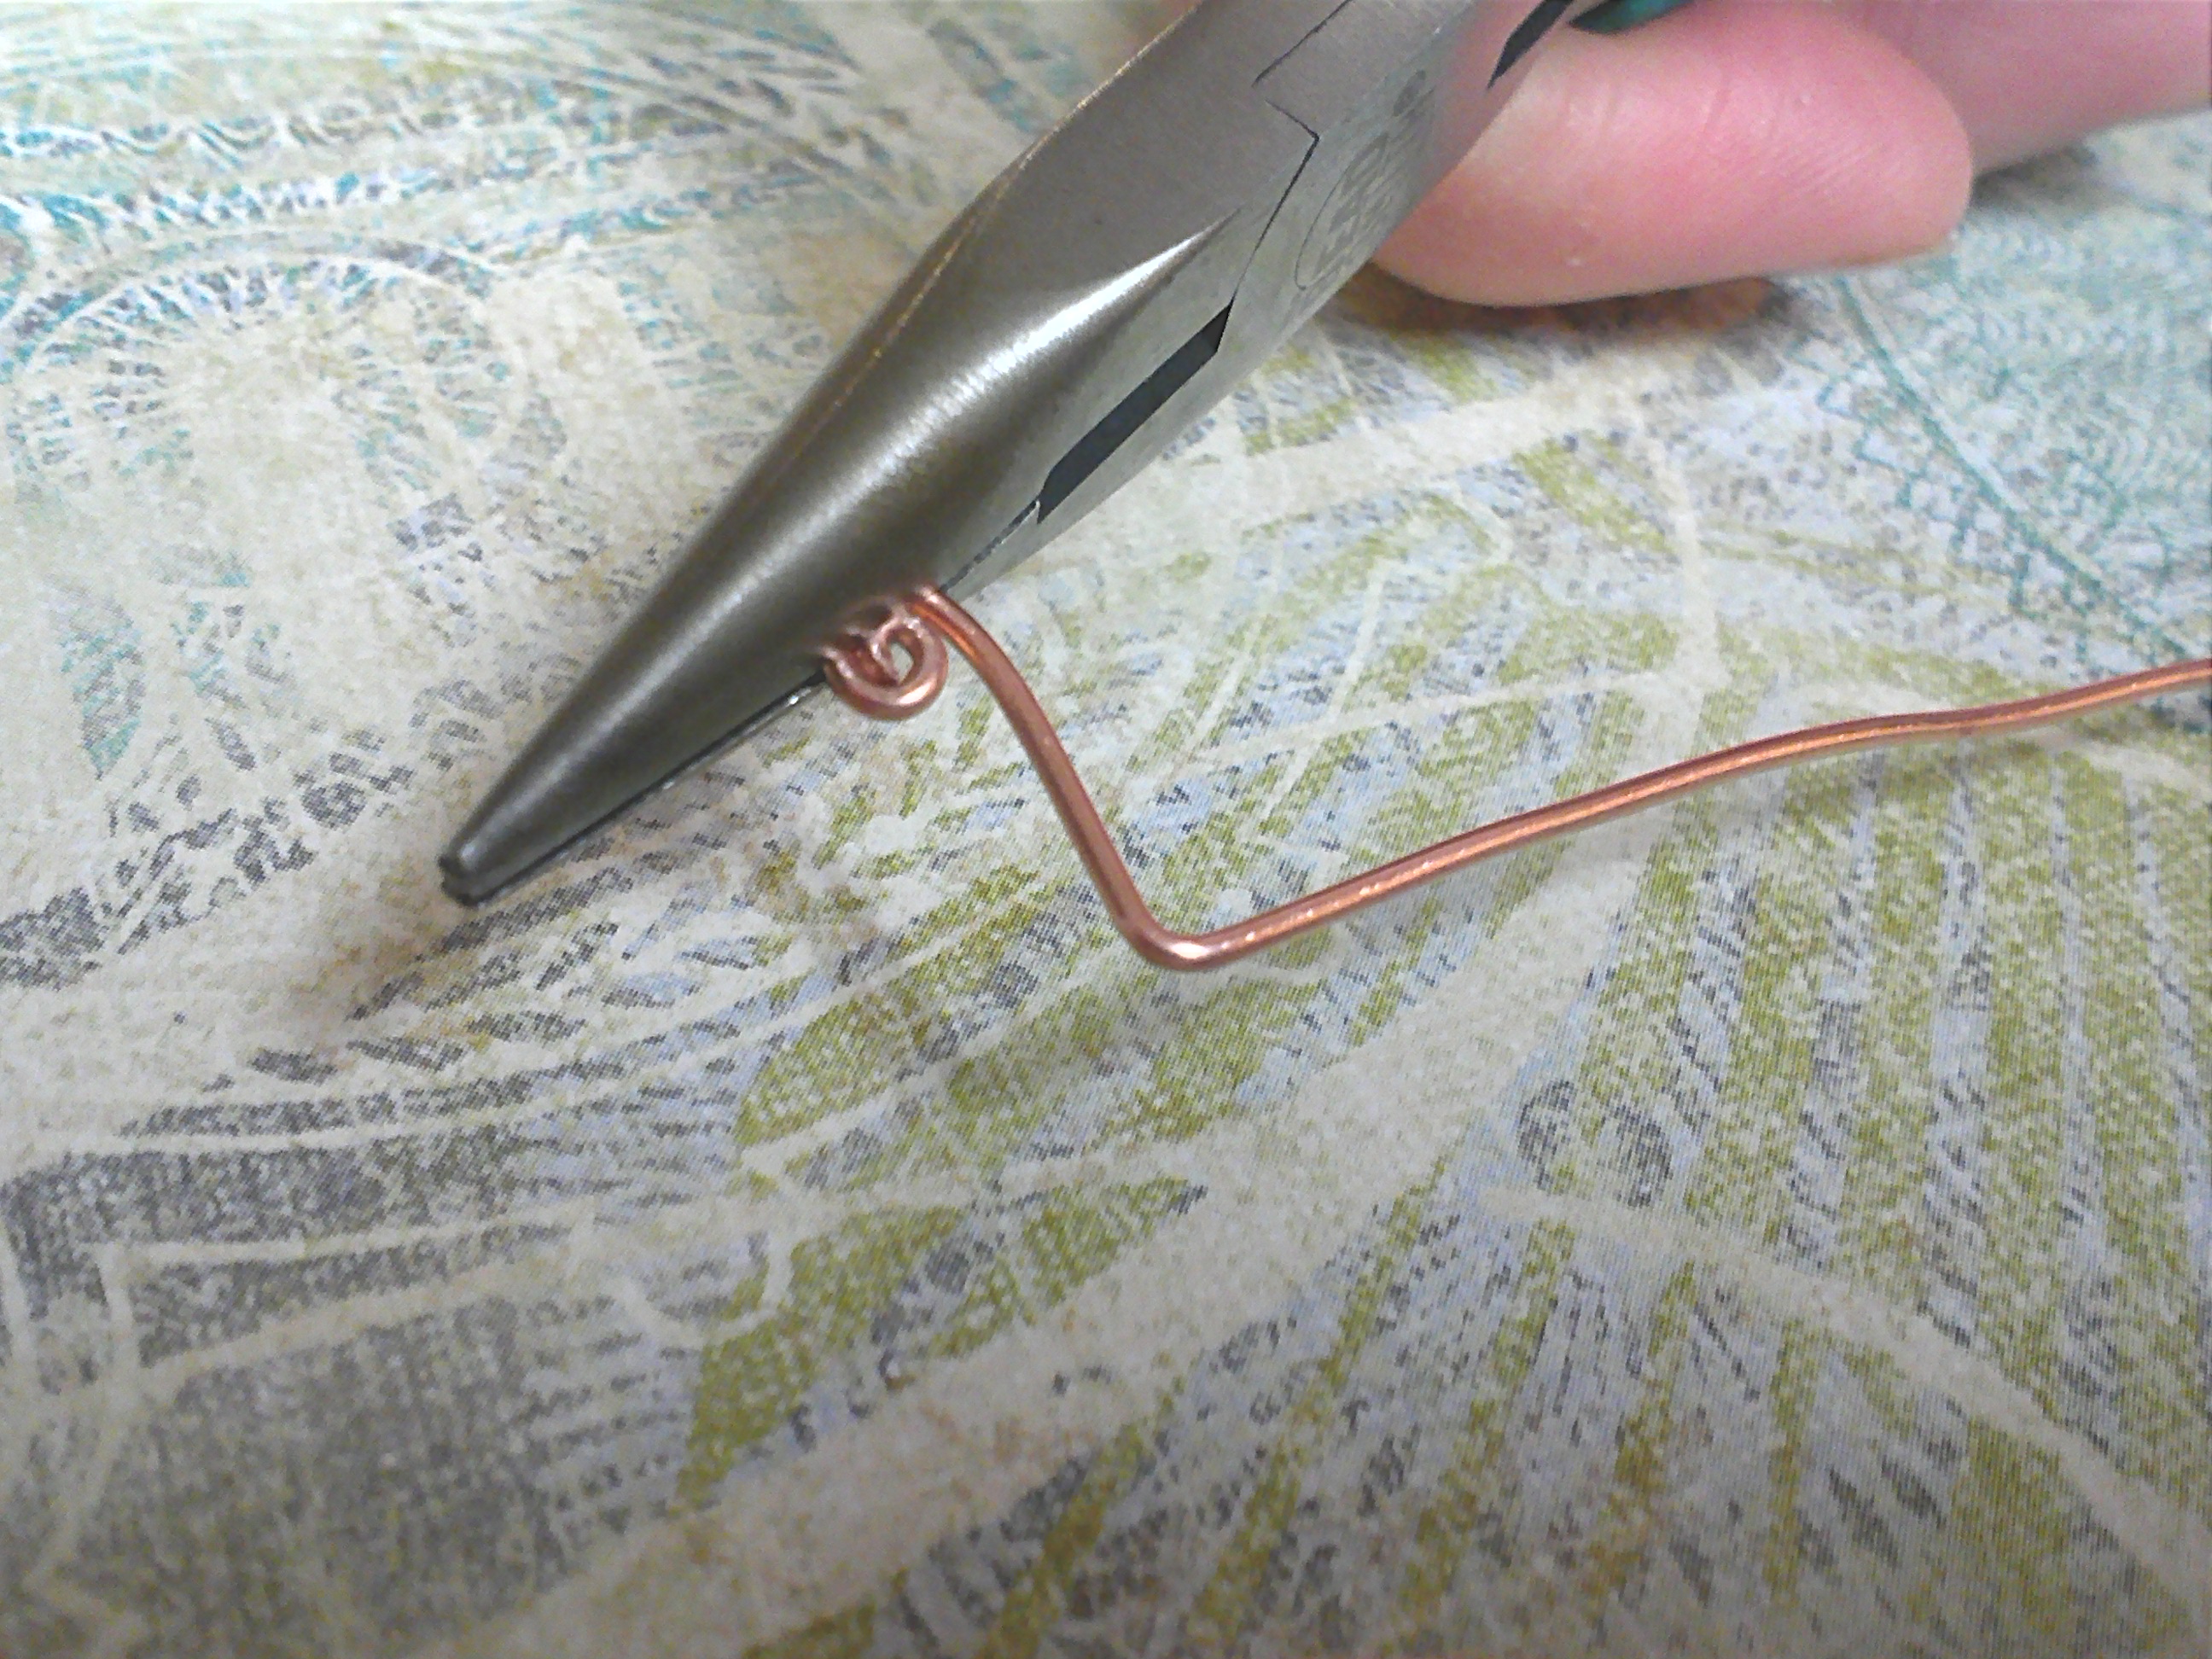
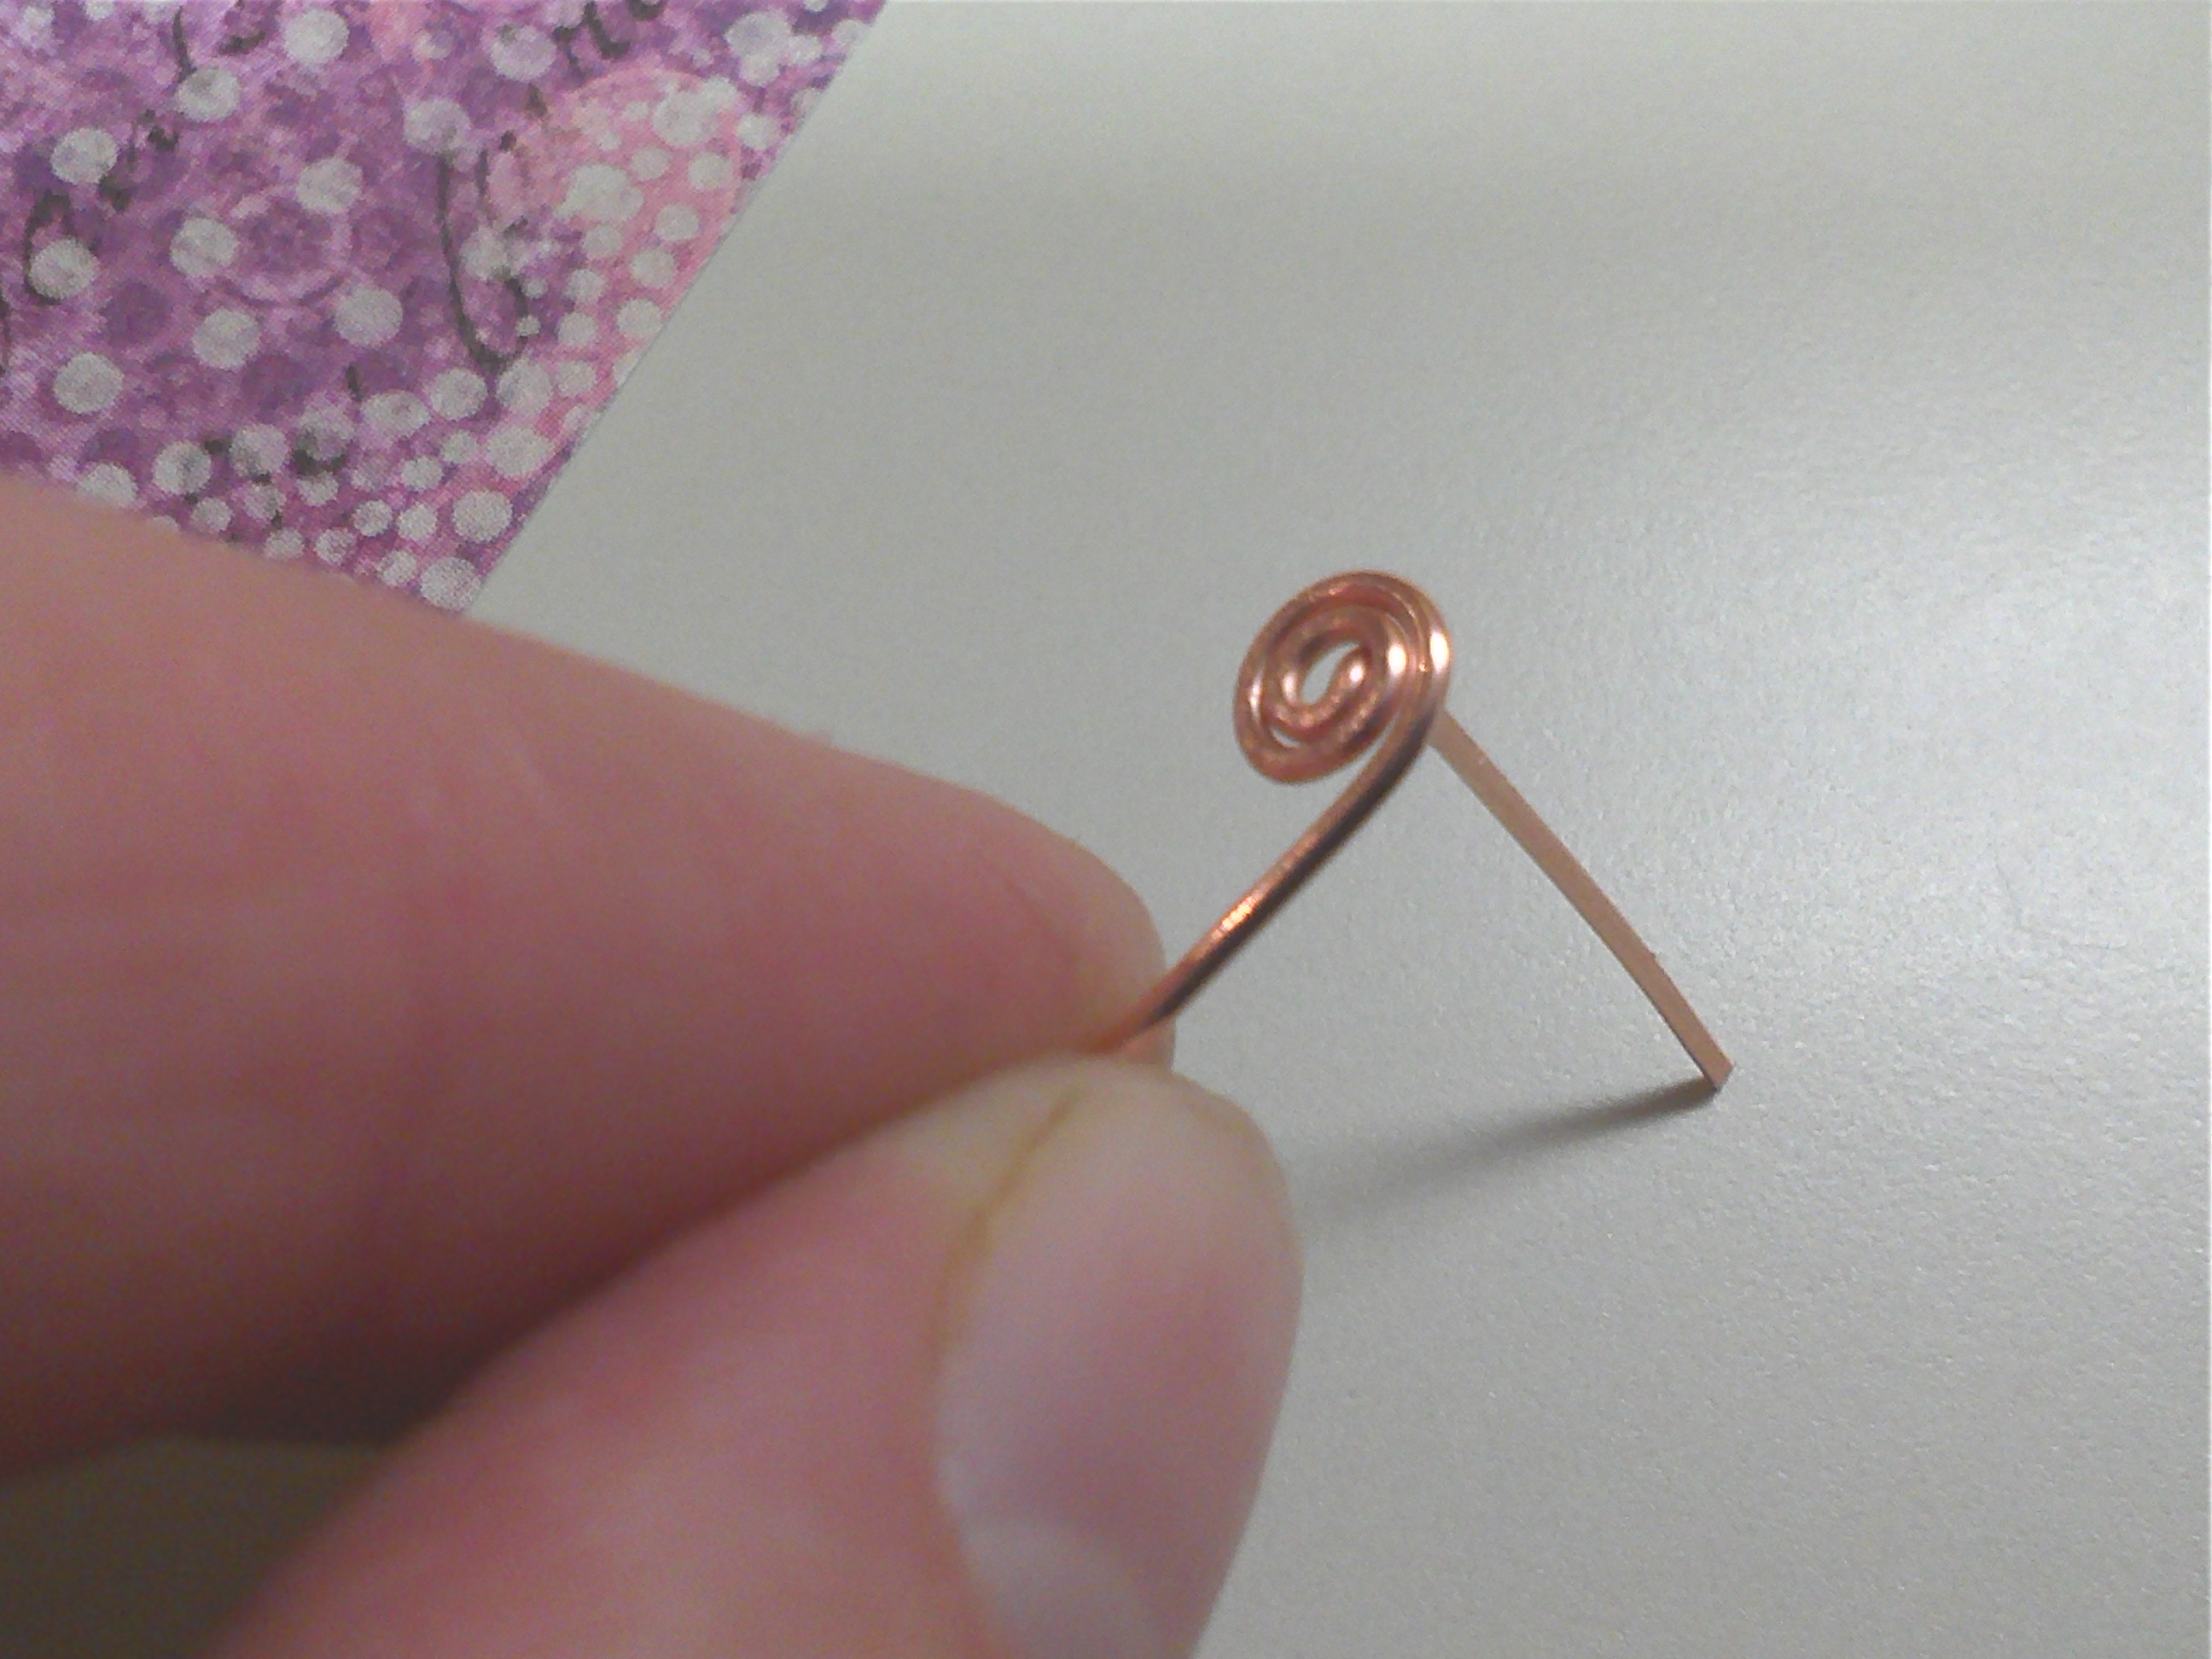
Make a right angle with your chain nose pliers so that your head pins have nice perpendicular look at the end.
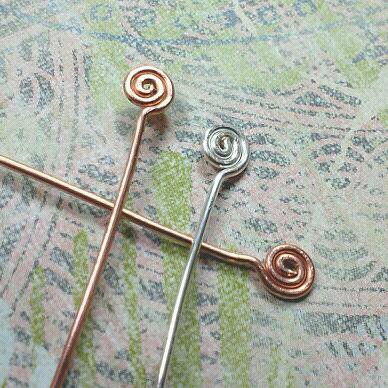
Completed head pins ready for use!
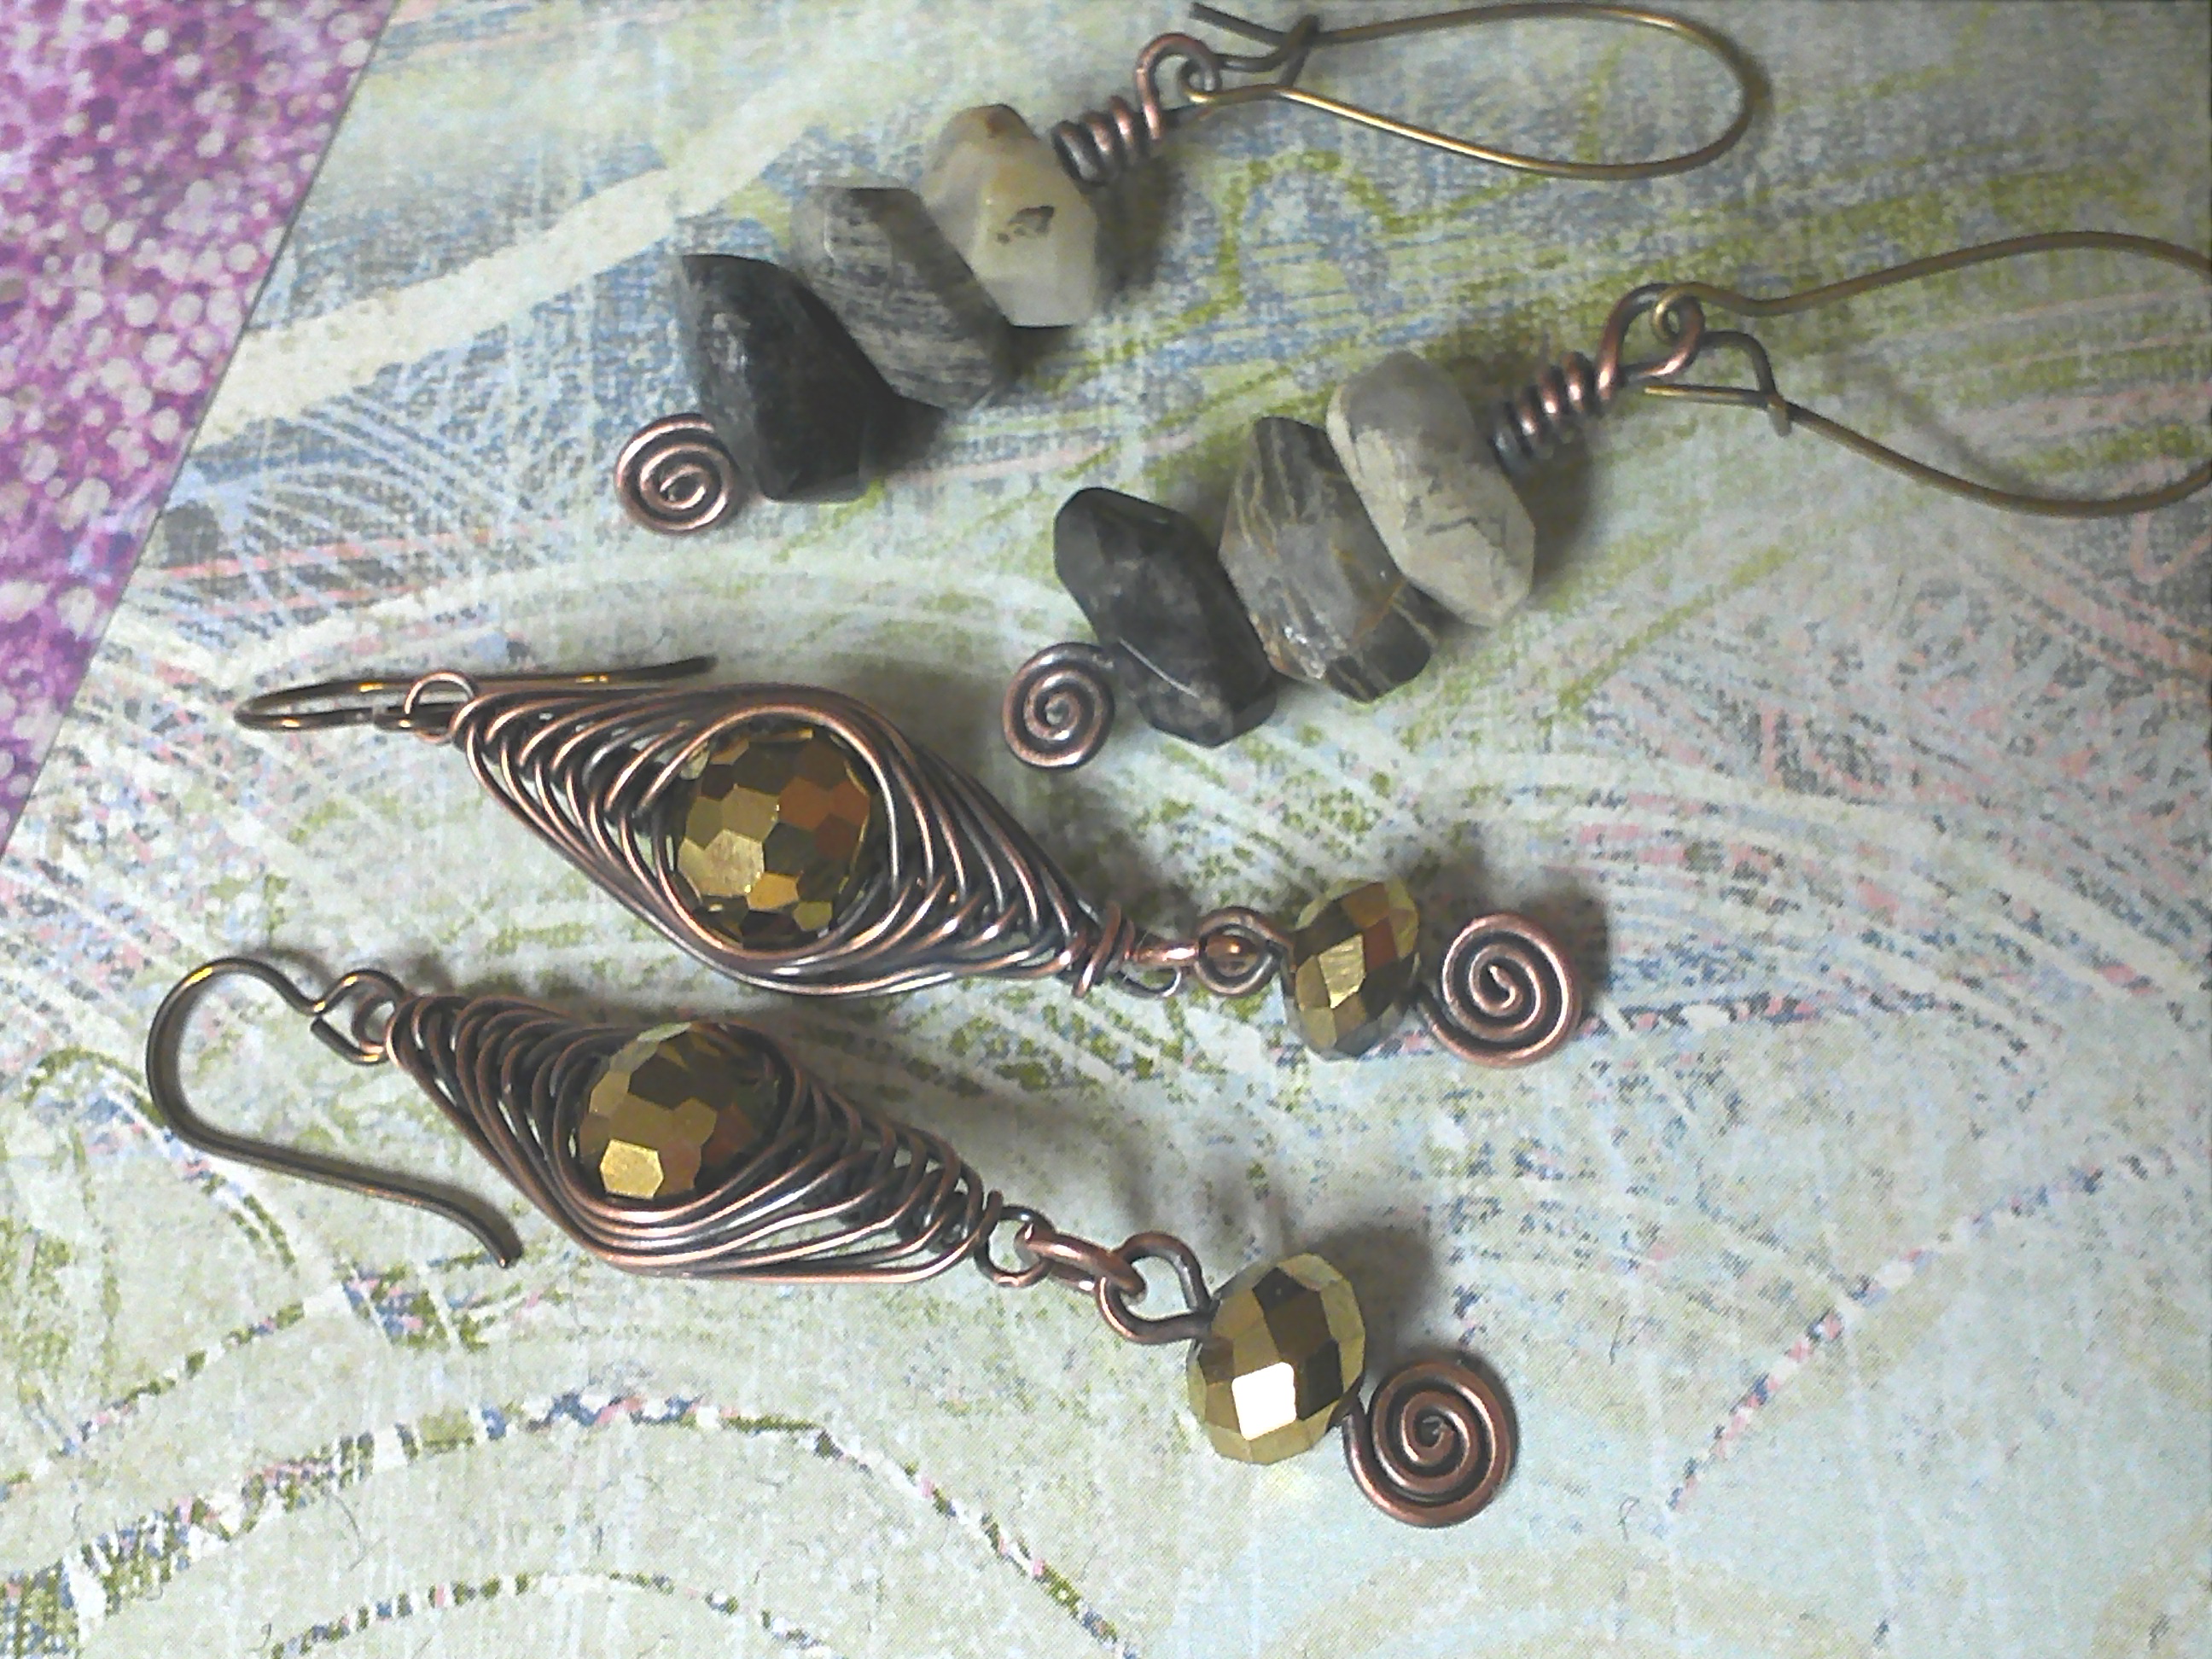
Finished jewelry made using swirly head pins. Both earrings have been antiqued to emphasize the swirl design.
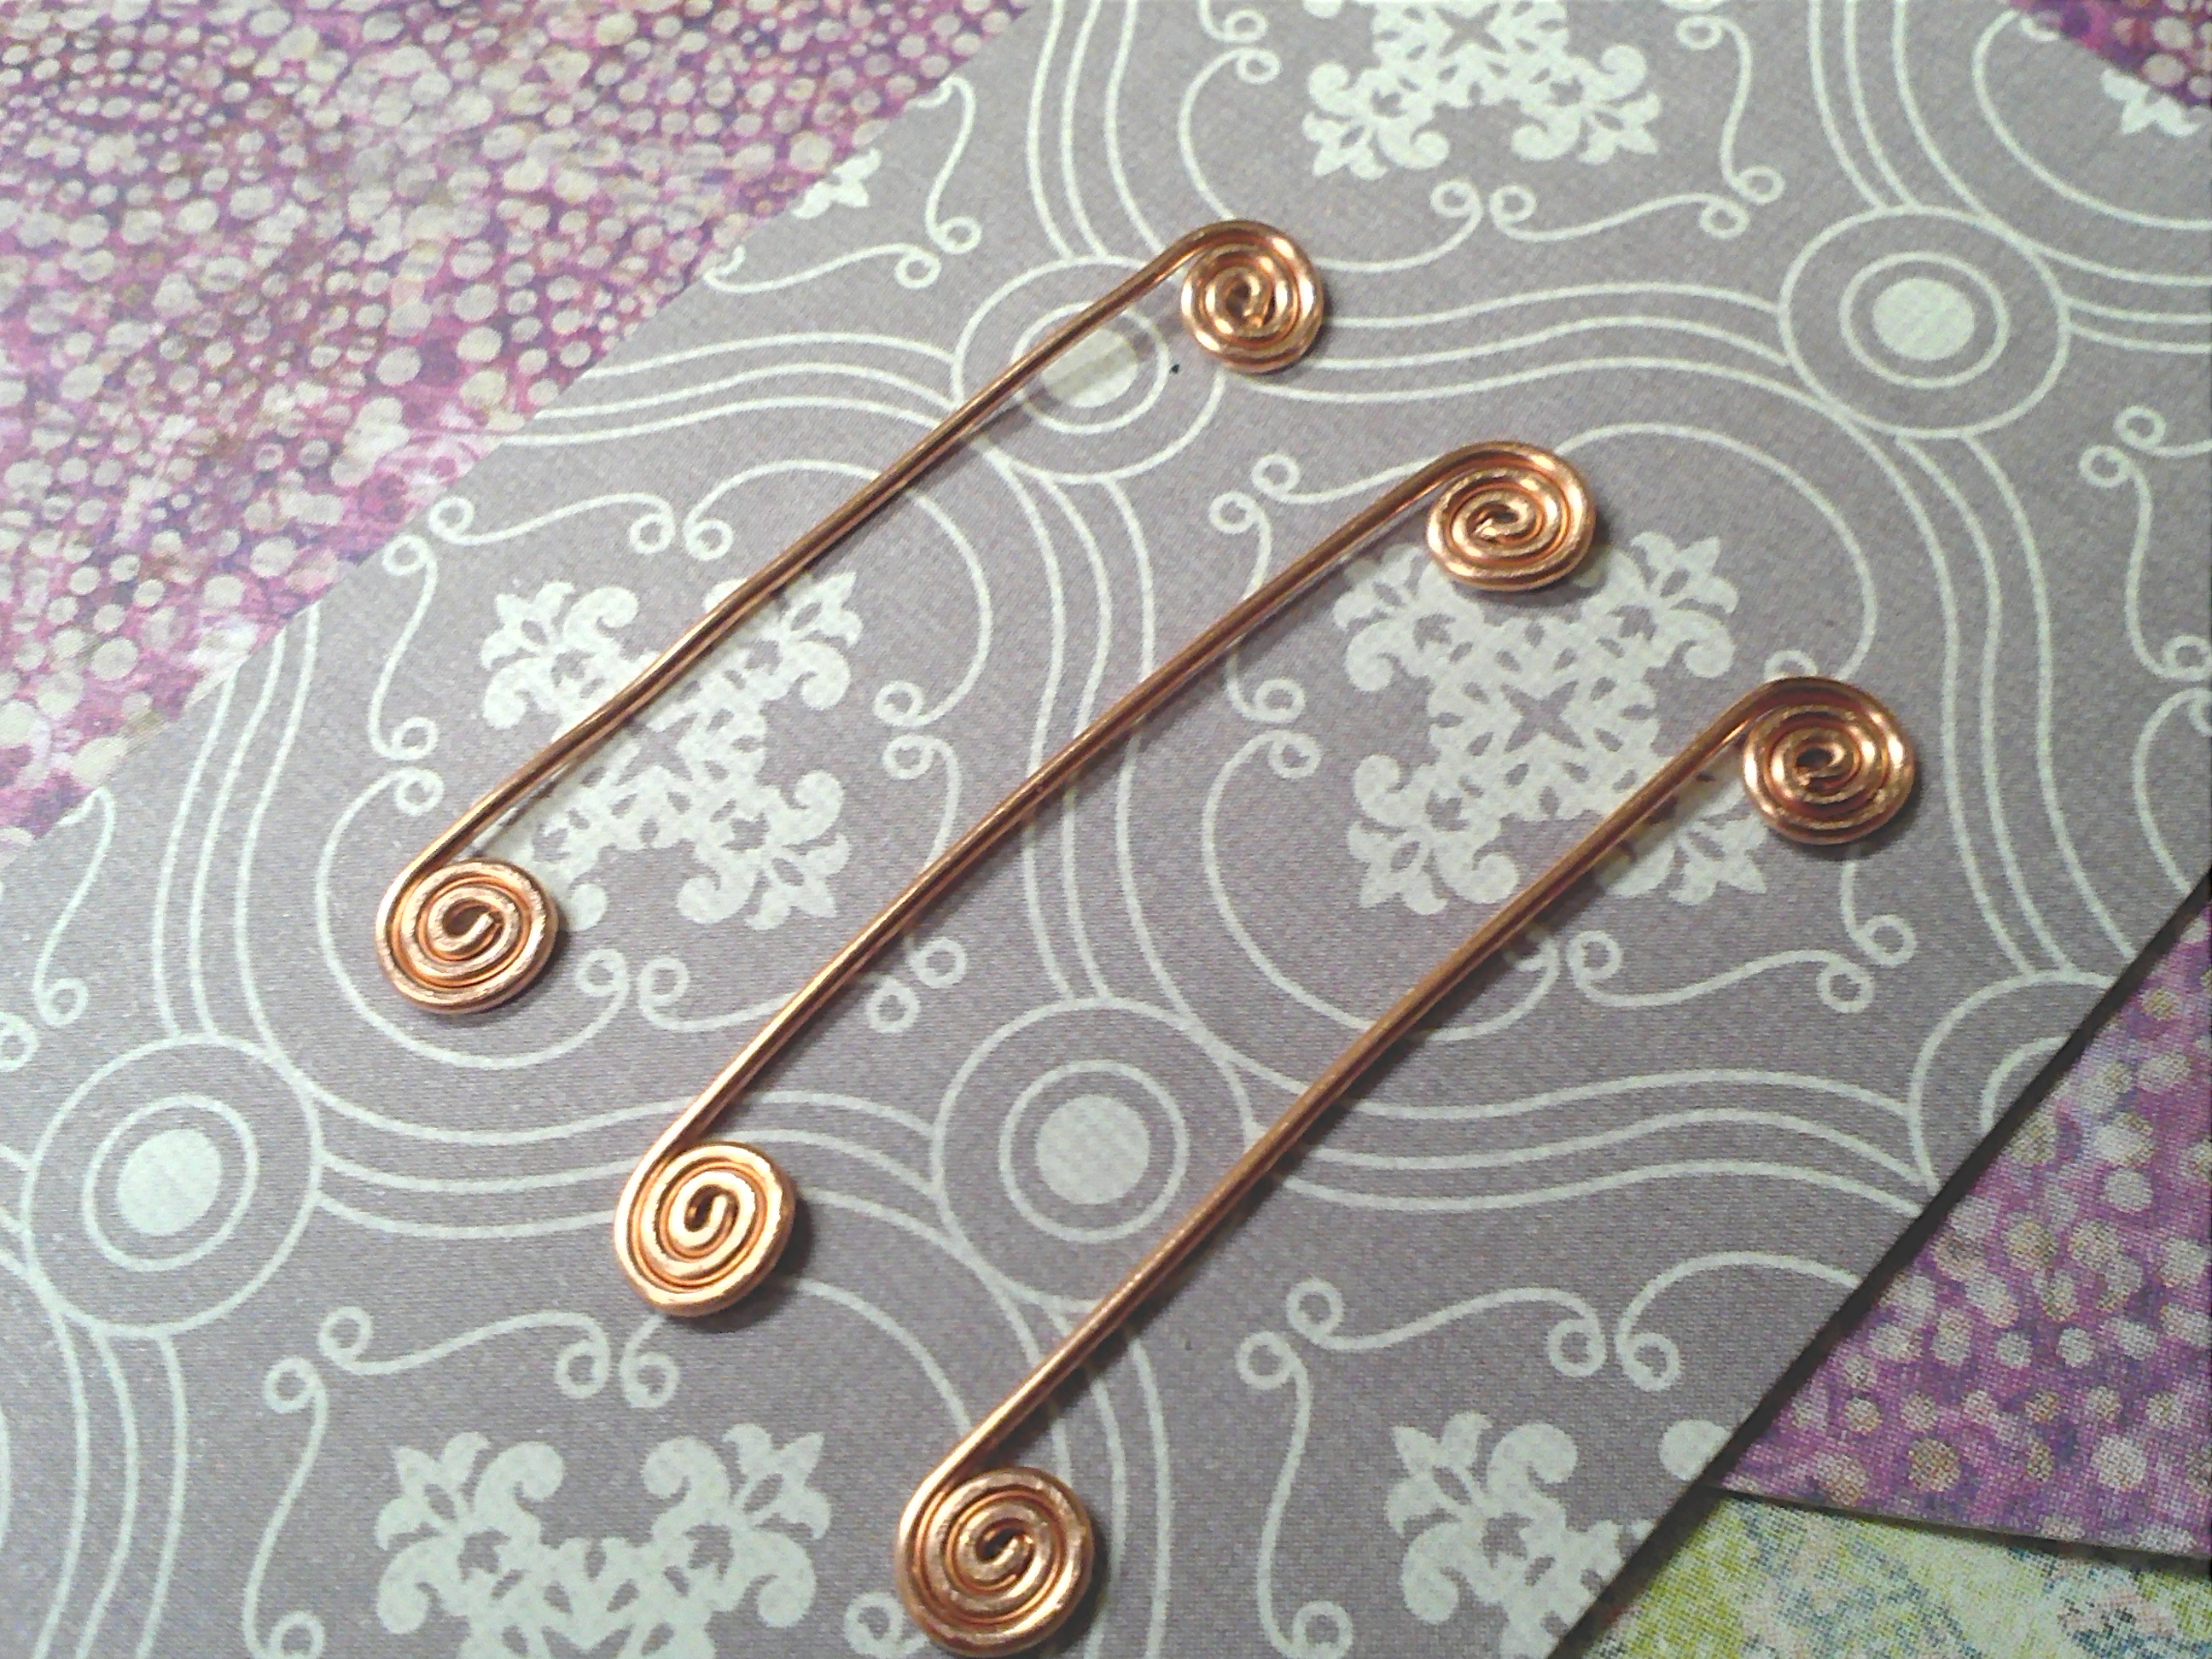
2. Swirly Post Earrings
Making your own swirly post earring findings is actually quite simple. I personally like to use 18 gauge for sturdiness, though standard earring wires are not usually that thick. Most earring findings are no thicker than a 20 gauge. It’s up to you, though know if you do use 18 gauge, you will probably have to use a rubber earring back as most metal nuts won’t fit that thick of wire.
Use a piece of wire about 2 inches long. Make a 90 degree bend in the wire at about 3/4 inch
Make a loop where you bent the wire.
Using your chain nose pliers, build the swirl like you did with the head pins.
You can see the earring being formed. The post that goes into your ear is coming from the center of the loop.
Make a loop to complete your Swirly Earring Post. Also, make sure the ends of the post are smooth. You can do this with either a metal file or a cup bur.

To finish, I used Liver of Sulfur to give the earring wires a patina, then buffed them with steel wool. To prevent your ears from turning green, seal the post with a little Renaissance Wax or clear nail polish.
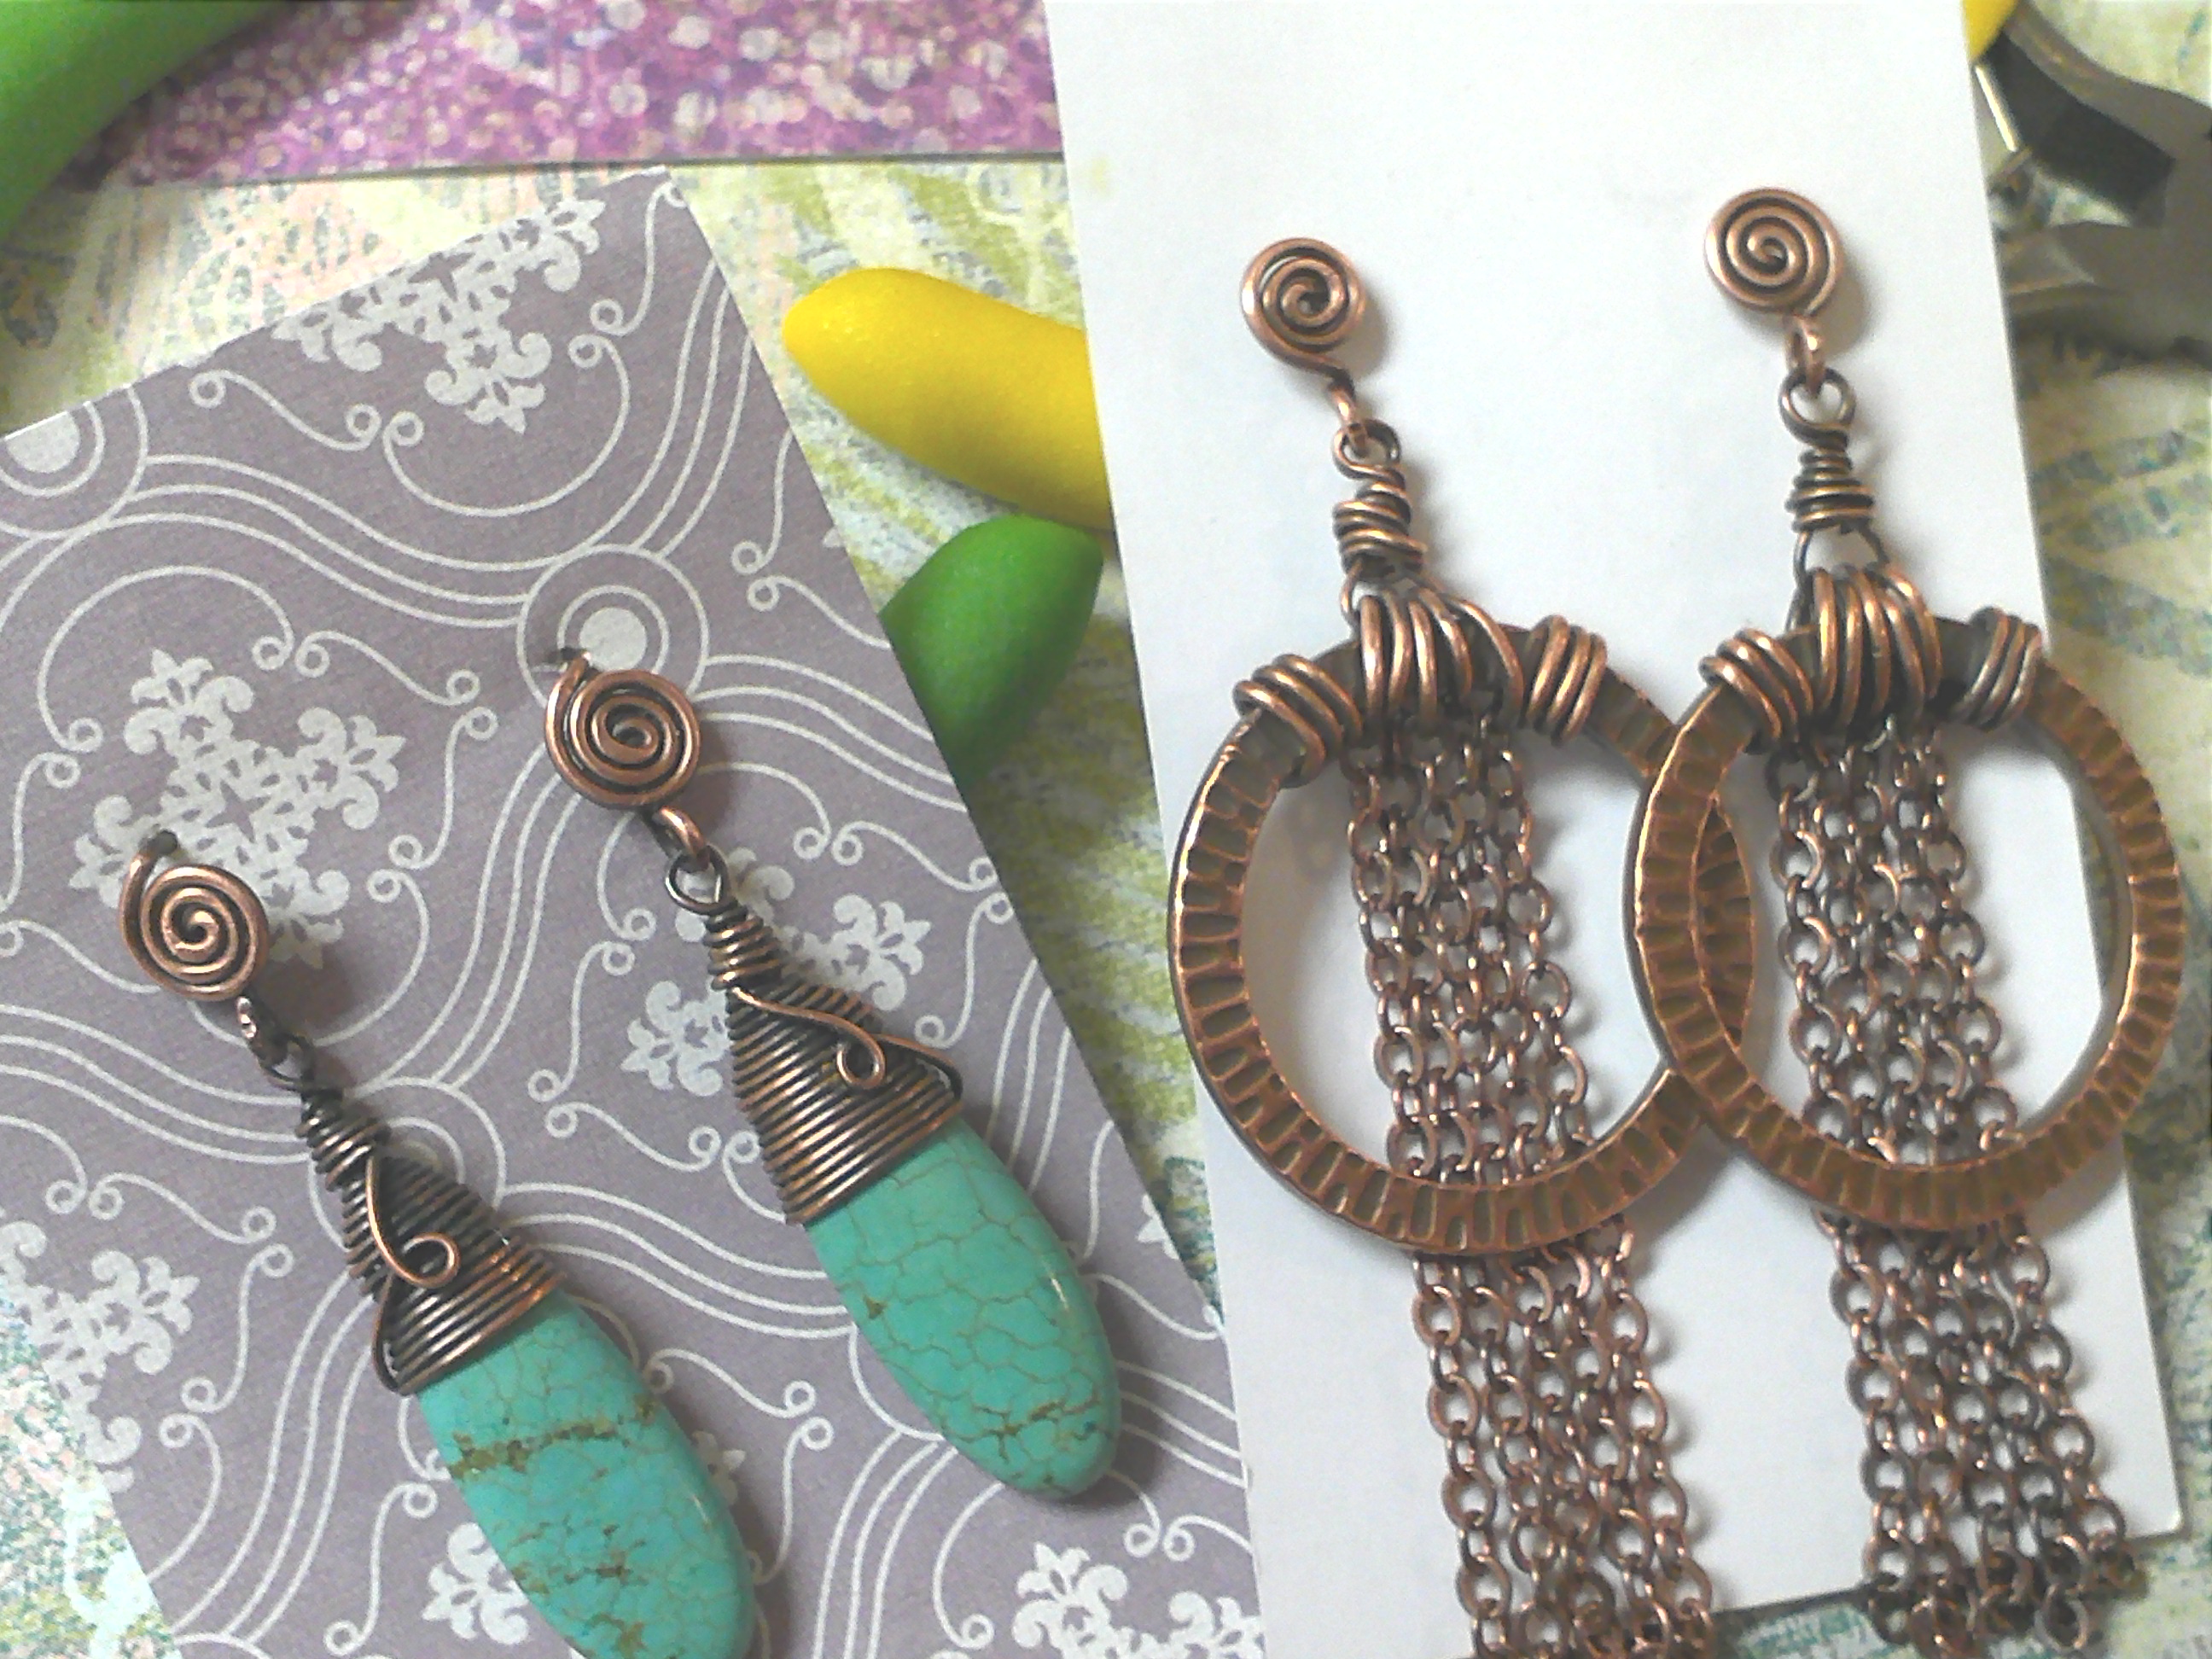
Two completed earring designs using Swirly Earring Post!
3. Egyptian Coils!
Now that you have mastered head pins and earring post, you can move onto the ultimate swirly design, the coveted Egyptian Coil! This design feature multiple swirls and looks so pretty at the top of dangly earrings or as an entire bracelet.
Start by making two-sided swirls. Make sure that they are all the same size.
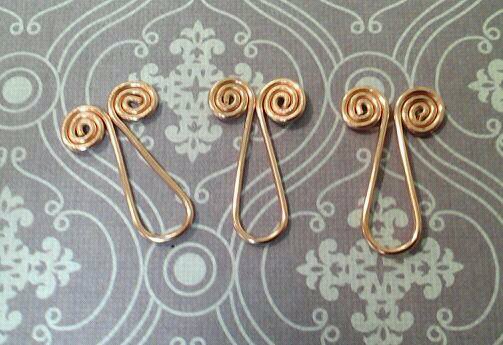
Bend the wire in the center using your round nose pliers.
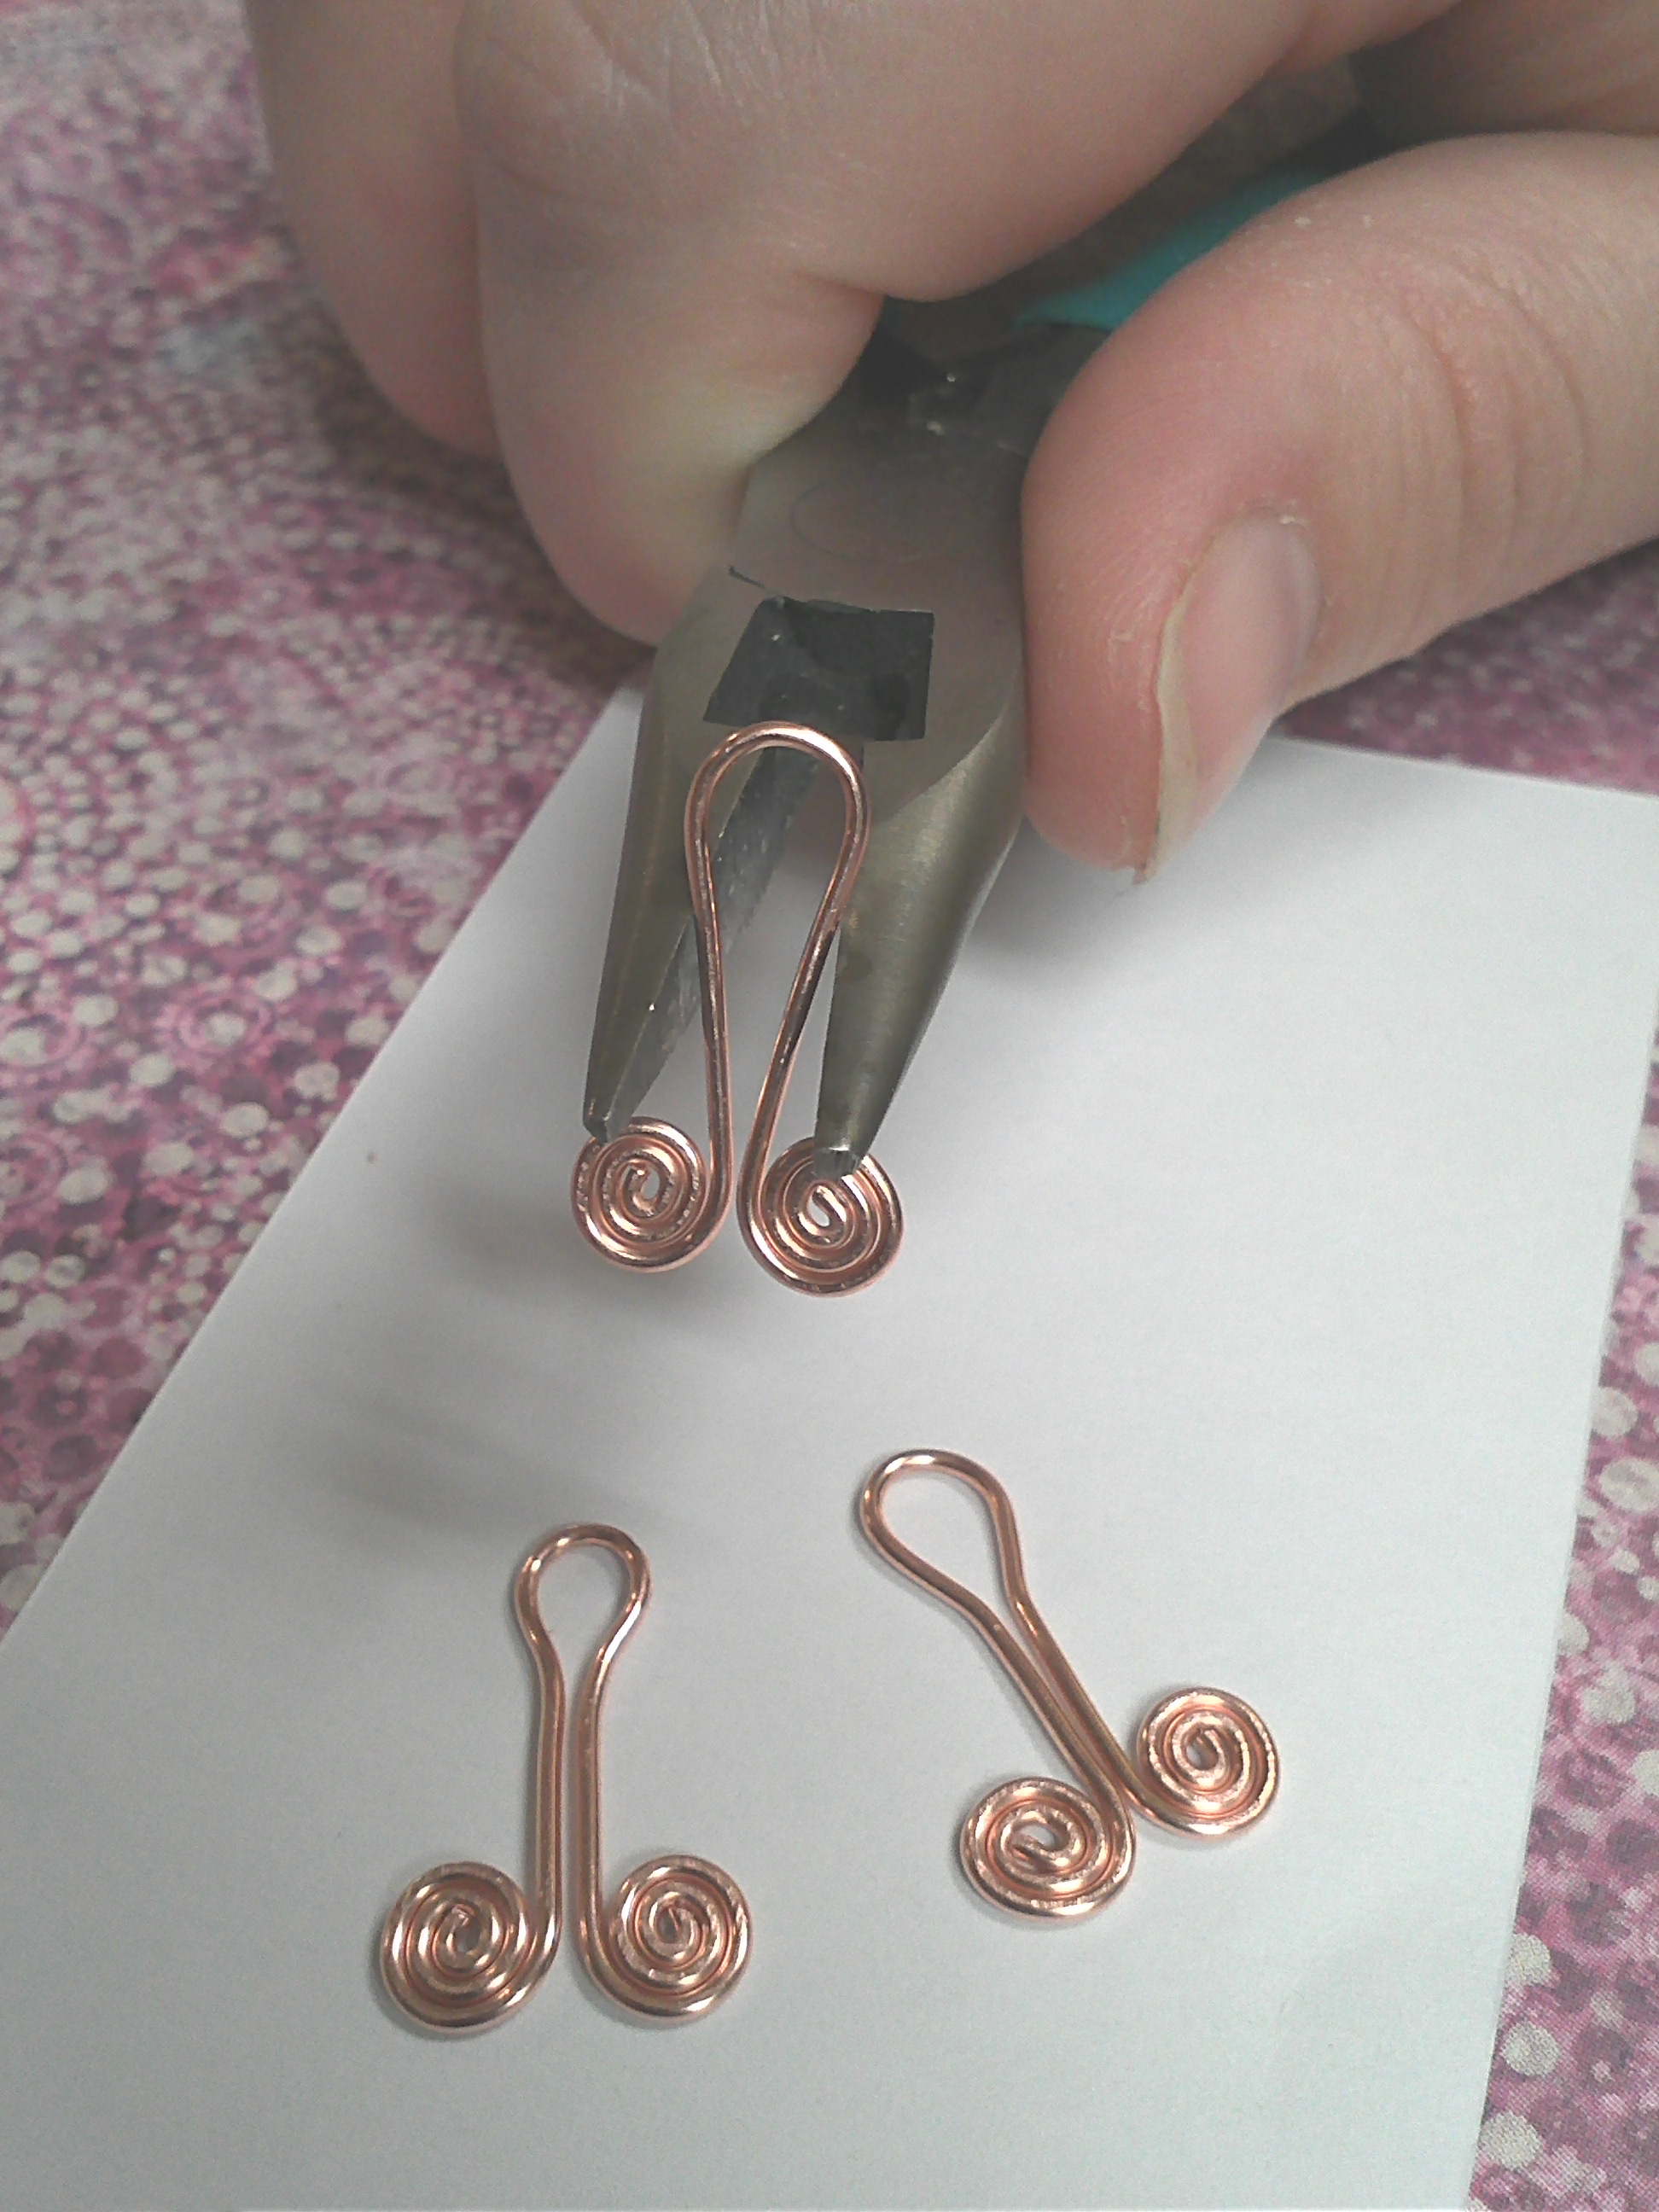
Use your chain nose pliers to flatten links like so. Don’t be alarmed, it is supposed to look kind of phallic at this point.

Use your round nose pliers to bend the loop back. You now have links!
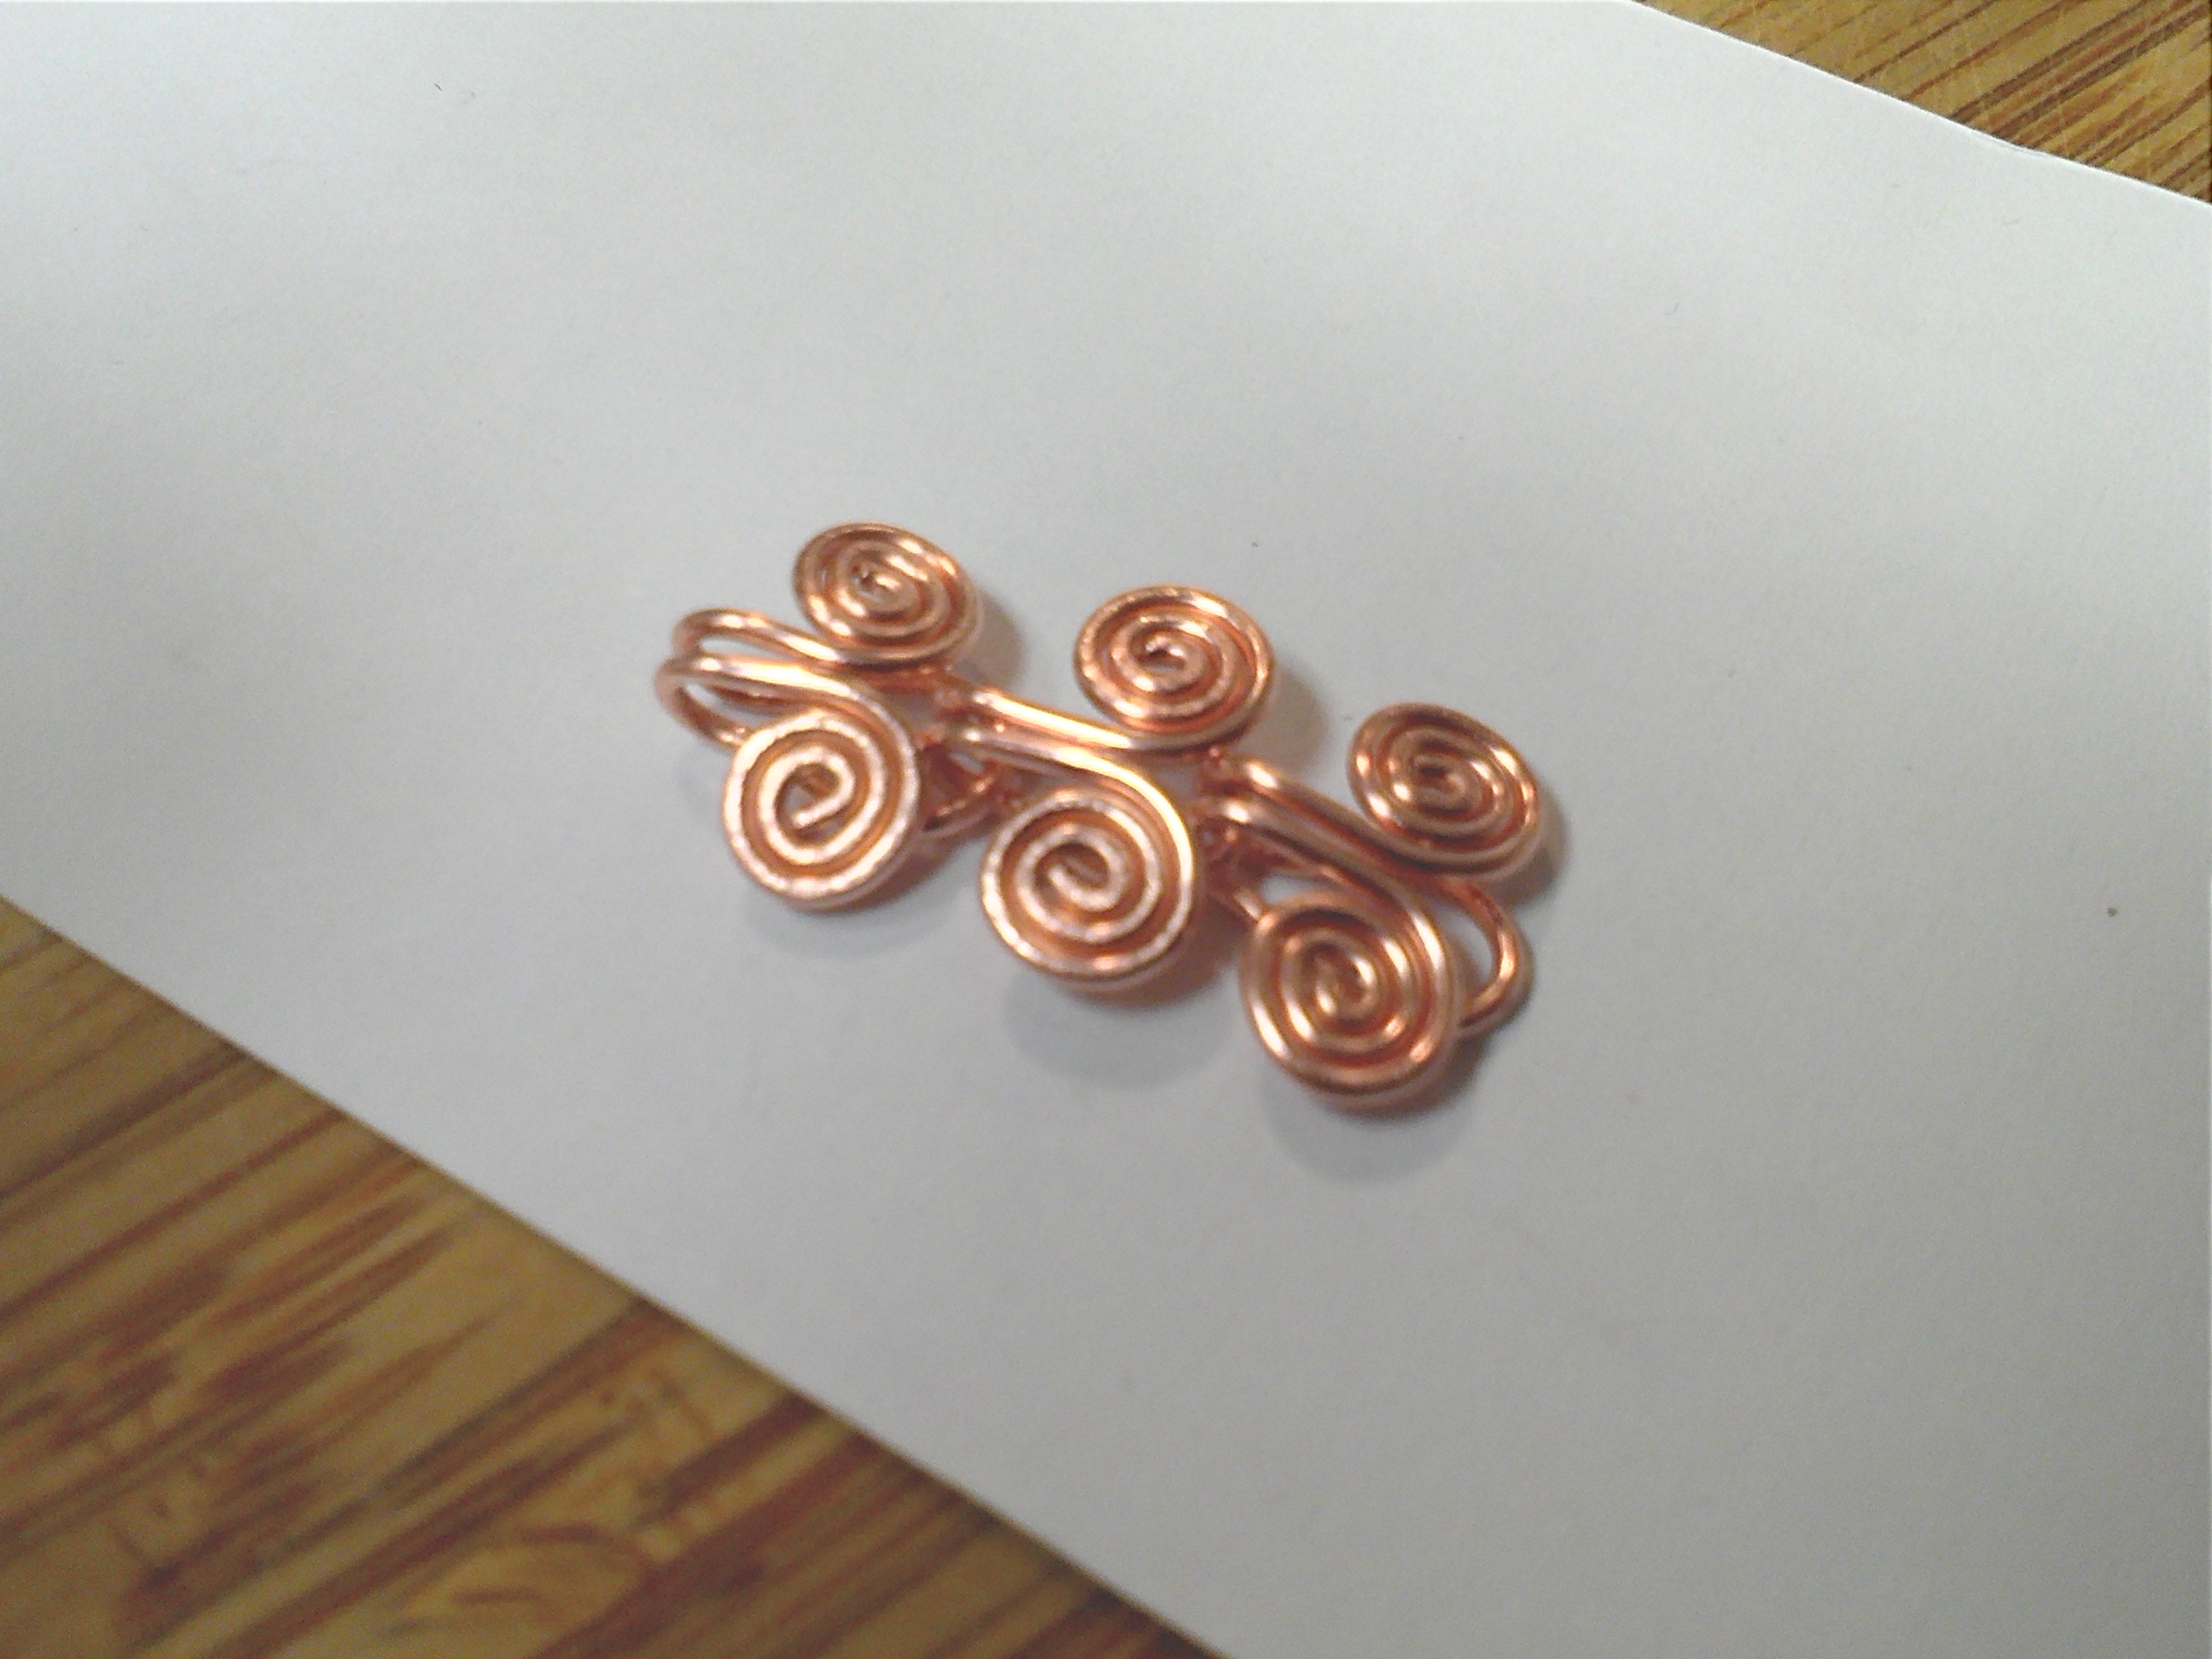
Connect links to make a chain
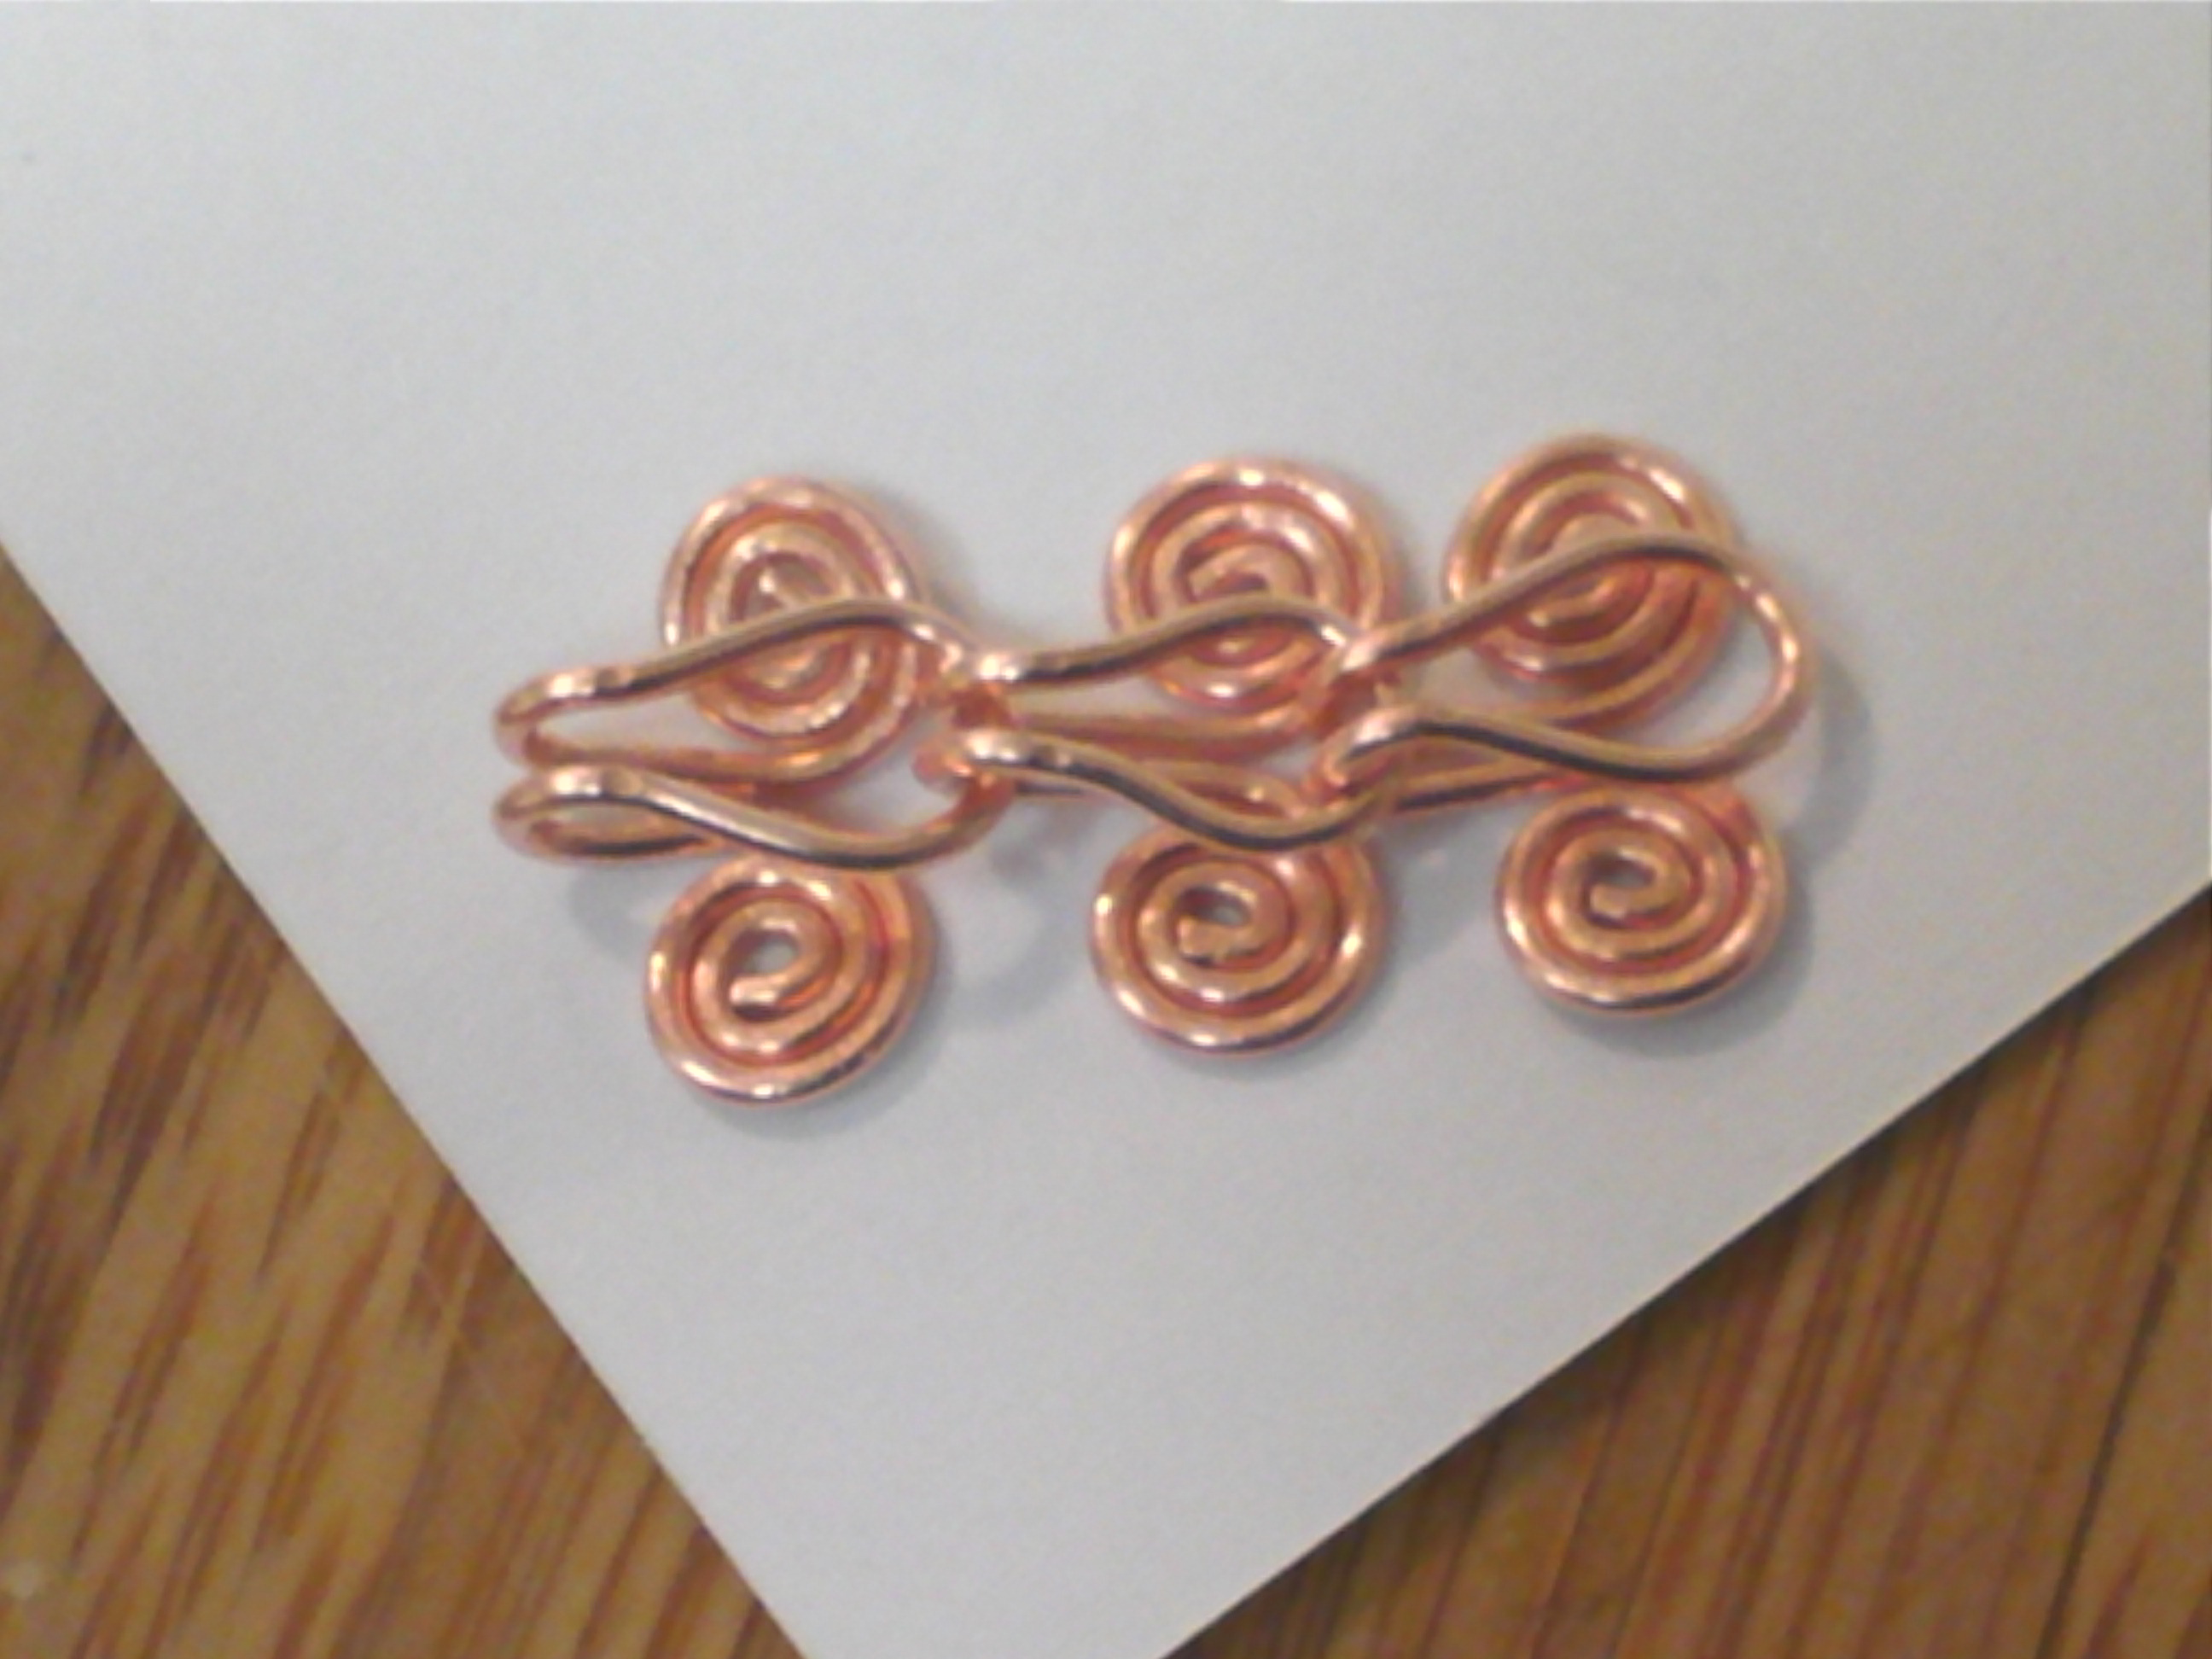
View of links from the back
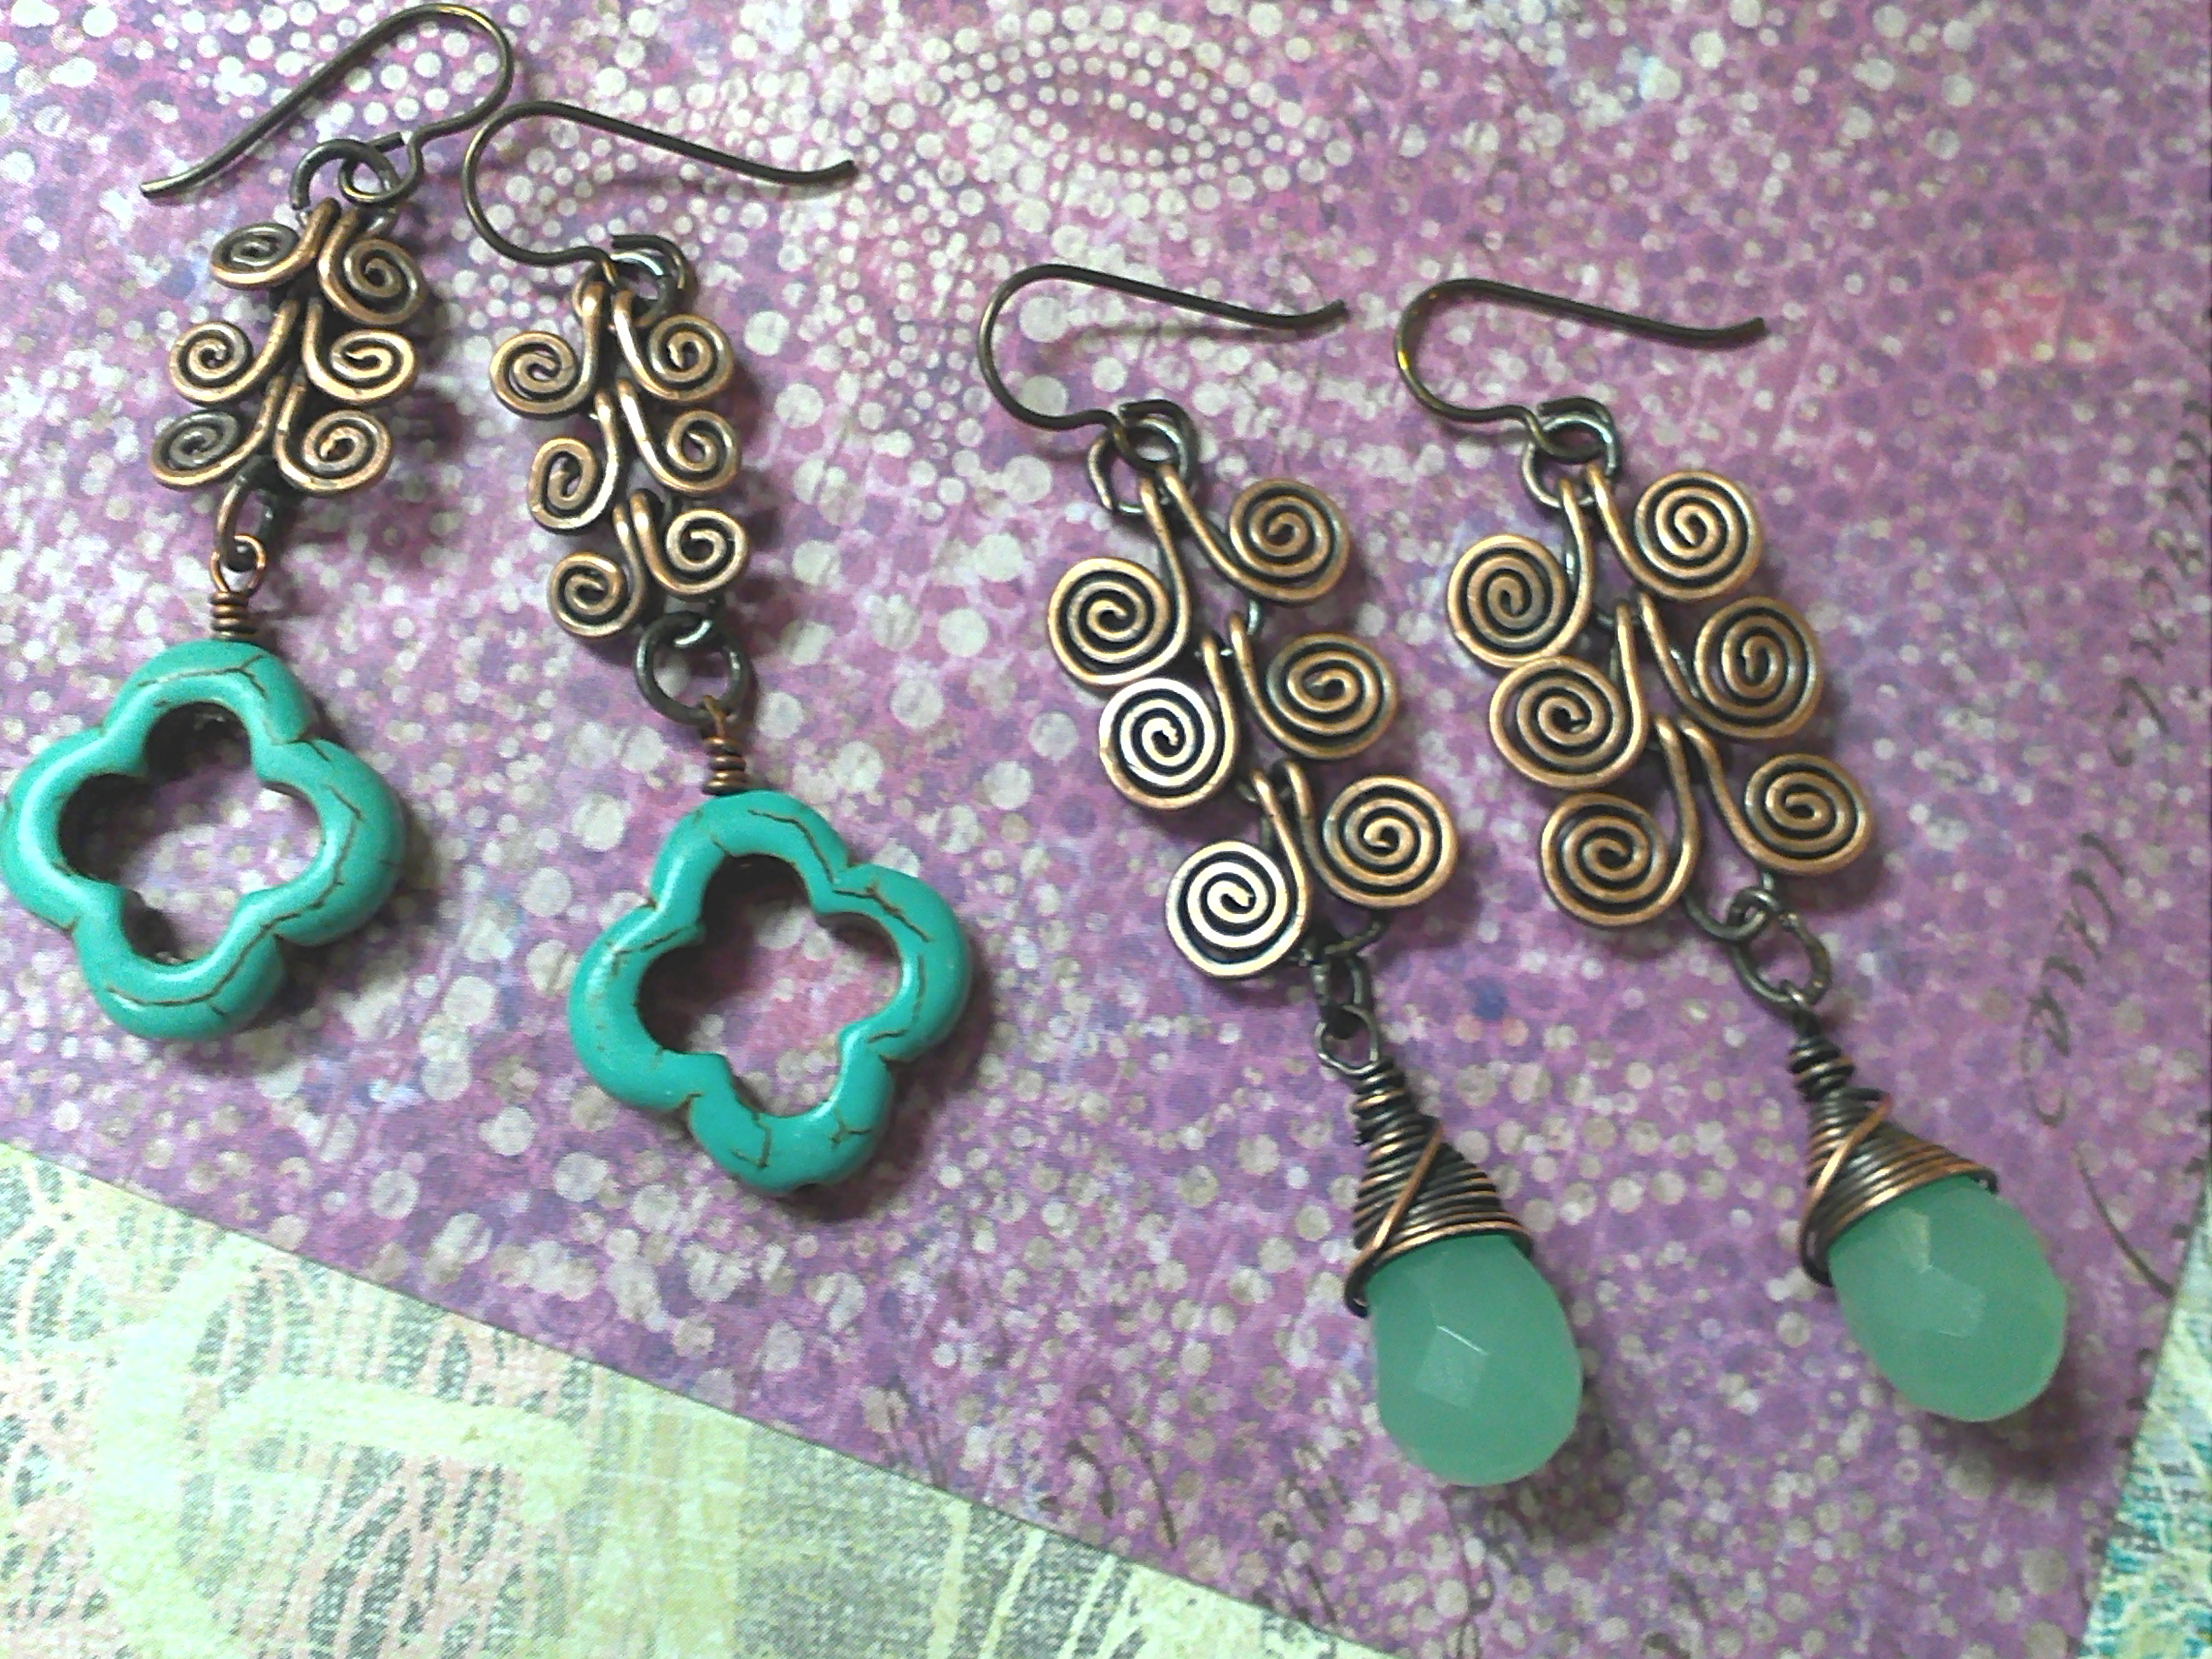
Finished Earrings using Egyptian Coils
Well I hope you enjoyed my swirly blog post and are now inspired to try out some of these ideas. For all of these earrings I used bare copper wire and then oxidized the wire with Liver of Sulfur to antique it. I then buffed the designs with steel wool to expose the bright copper. I highly recommend doing this with your swirl designs because is really makes those curly-Q’s stand out.
~~Tiffany in the Showroom
Feel free to ask me any questions about how I did anything or what materials I used for all the designs.

13 Comments
Never thought that you can create a lot of different swirling designs from gauge wire. It’s just so creative and exquisite! What I love most were the earrings. Thank you for the tips!
I LOVED this blog! 🙂 I have been looking around for tips and tricks to doing swirls. 🙂 Thank you so much!
Thanks for sharing these techniques. I am always looking for new ways to improve the quality and designs of my jewelry and I loved these ideas.
My mother had an alpaca necklace just as the Egyptian coils. I loved how it looked. Now I will start making a set! Thanks again for such clear explanations! Regards!
How do you keep copper from turning a person’s dkin green? If you coat it what do you use?
Hi Rick,
I had a nice long reply with good details and links … and I hit some keystroke on accident that threw it all away. I will re-write it but in the meantime, here is a short version.
There is no permanent way to keep copper from turning a person’s skin green, but there are a number of temporary sealants you can use, that have varying degrees of longevity.
Here is a partial list, while I work on my replacement reply: https://shop.rings-things.com/cart/search/search.asp?keywords=sealant
I have a question that I cannot find the answer for..
This may sound silly, but when you create a piece of jewelry with copper for example with beads (such as the earrings), do you antique the copper with liver of sulfur before completing the project or can you place the whole thing (beads and gemstones included) in the liver of sulfur mixture?
I have not seen this discussed, and I have been searching the internet like crazy for the last week.
How do you do it?
Hi Annette,
It’s safest if you antique the copper before completing the project, because you can’t be sure how each component will react to the chemical. Some beads might be damaged. Steel can cause unexpected effects.
I made the mistake of antiquing a riveted piece made of steel watch parts on a base of copper and brass, and I accidentally copper plated my brass when I dunked the entire piece into my liver of sulfur. And that was a gentle mistake. Brass is often antiqued with Winox, and if you dunk aluminum into winox (for example, if you have a recycled colorful aluminum can sandwiched between 2 layers of brass), you get nasty smoke when the aluminum its the winox.
~Polly
Hi Annette,
I should add – if you are certain that all your materials are fine in liver of sulfur (like the copper swirl earrings with niobium ear wires), then it’s fine to antique your piece after assembling it. I normally antique mine at the end, but if there are mixed materials that you don’t SPECIFICALLY know are ok, err on the safe side. Don’t dunk them.
~Polly
What length of wire do u use for the coil bracelets?
Hi Felicia,
Tiffany is out of the office for a while, so I’ll try to answer.
The single swirl used about 2″ of wire, so I would estimate 4″ for each double swirl.
Then the length of the bracelet depends on how many you use. It looks to me like 3 of the links make about an inch, and a standard bracelet is 7″. 7″ x 3 links per inch = 21 links. 21 links x 4″ per link = 84″ of copper wire.
If you use a clasp, then it will be a bit less, since the clasp will use up .5 to 1″ of that 7″.
Or, if make a bracelet that fits over your hand, then it will take more. (This depends on your hand size — measure it with a piece of chain or a measuring tape, and then use the 3 links per inch math above to determine your actual # of links.)
~Polly
How do you ozidize the copper?
Hi Amanda,
Tiffany used Liver of Sulfur: http://www.rings-things.com/Products/Oxidizers-and-Antiquing-Solutions/ following the instructions on the jar. Basically, you mix a small amount of Liver of Sulfur with warm water in a container (I use an old tupperware container that I don’t plan on using for food any more), drop your copper items into it for 15 – 60 seconds, take them out, rinse, pat dry and then shine the high points. ~Polly